I'm also missing the thermal spring choke mechanism and cover - any leads greatly appreciated.
I found a supplier on the internet for the choke spring assembly a while ago, but I forget who I'll do some digging and let you know ... they are hard to find. I reused my old choke cover.
Re the choke spring (choke thermostat). While many may look the same, I know for 1970 the 2 barrel ones pull the rod down as the engine heats up, whereas the 4 barrel ones push the rod up as the engine heats up. They however look the same.
By the 1970 they had a whole different animal when it comes to chokes.
It looks exactly the same as the ones on my 70 350's. My 70 454's look totally different.
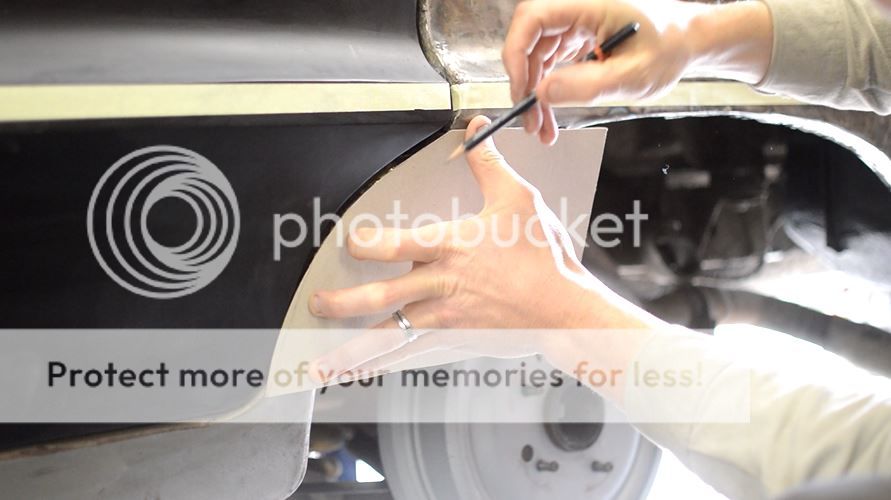
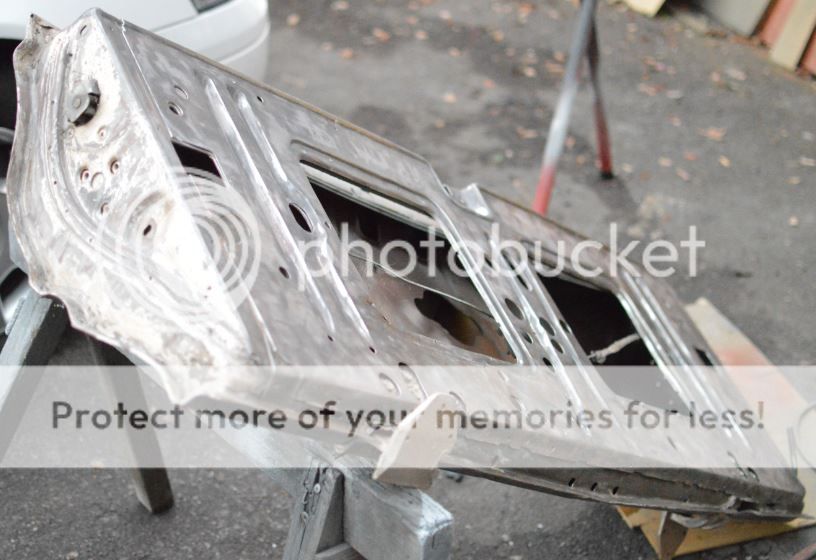
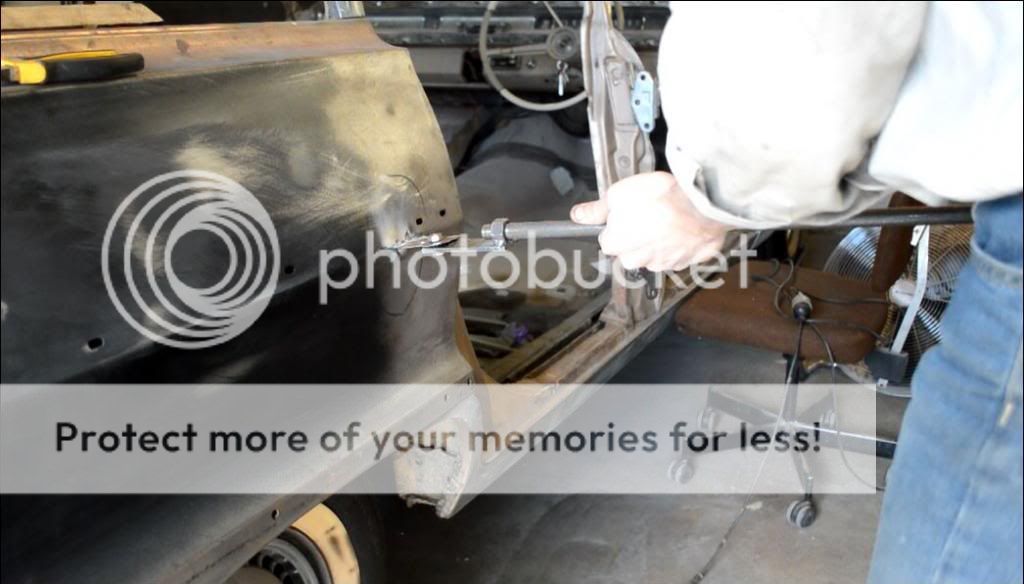
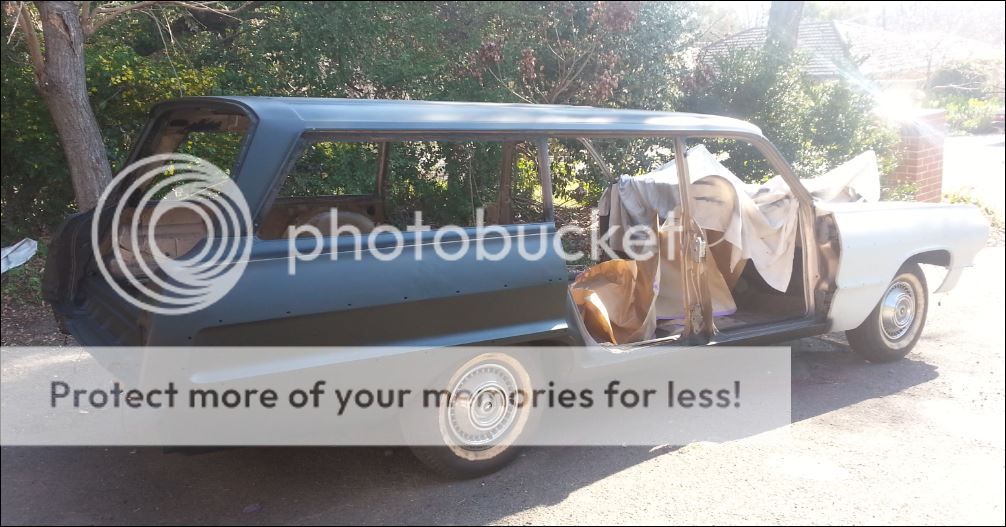
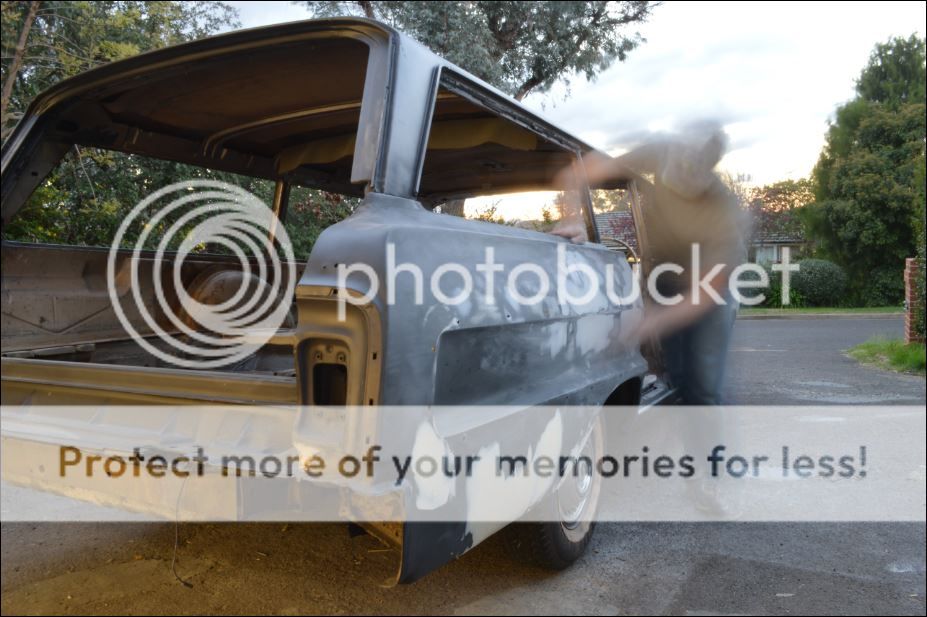
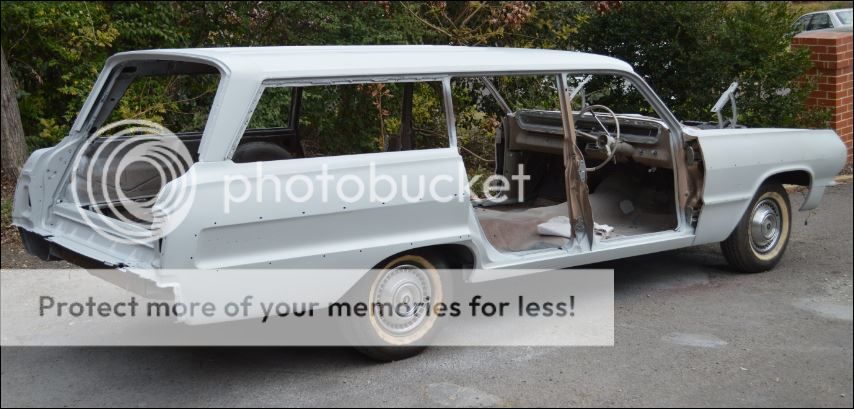
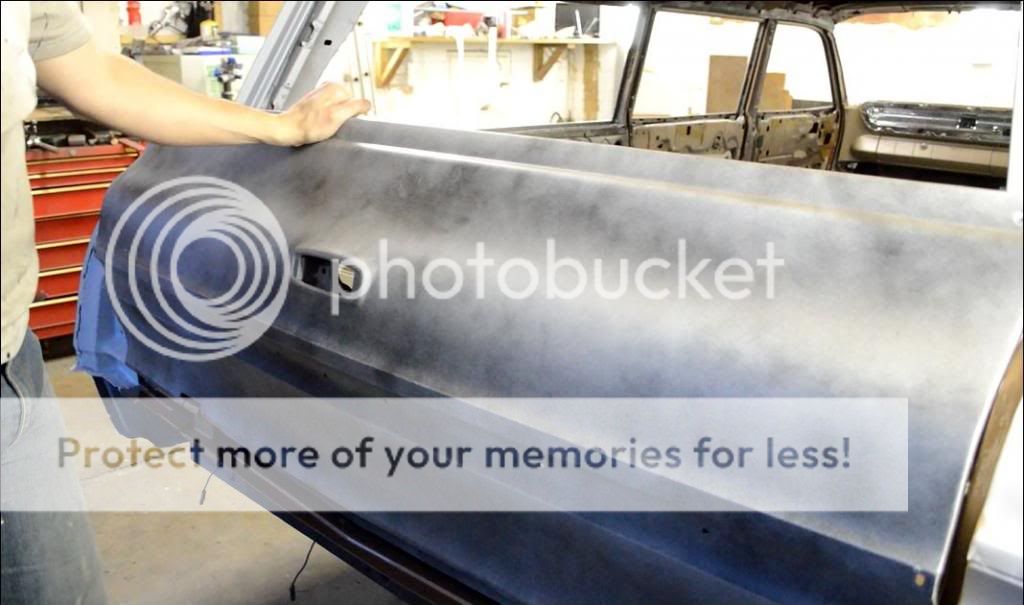
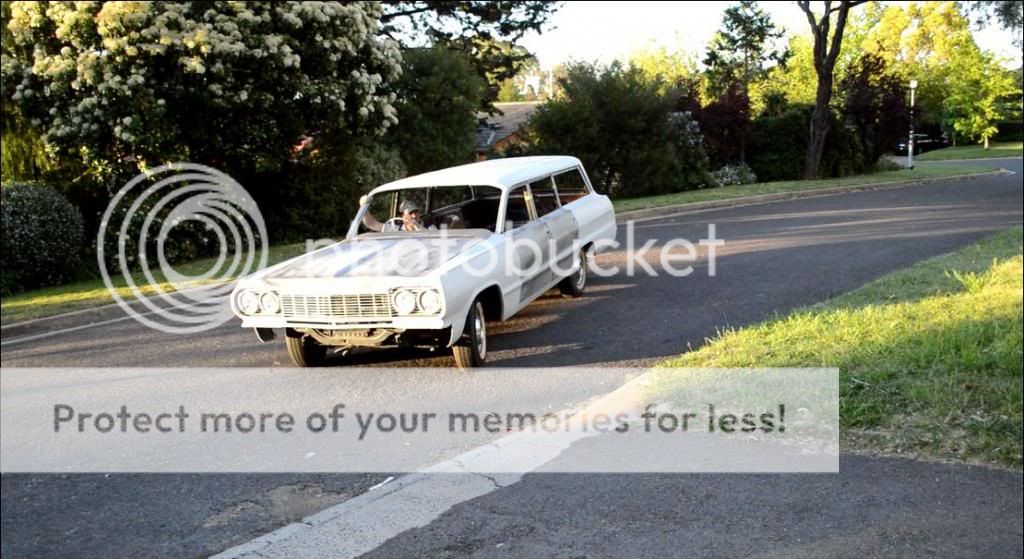
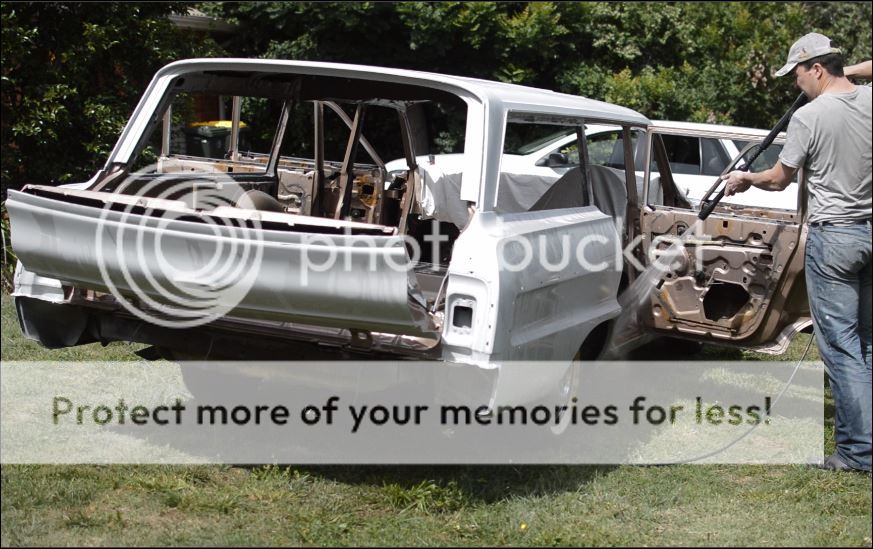
From there it was onto the achilles heel of this car - the left rear quarter.
Just to remind you, an Audi Fox ran a red light and smacked it pretty hard, taking out some of the rear door and the rear dog leg in the process.
After this the car was parked, put up for sale and bought by me for $900 back in 1990. Unfortunately with no donor cars nor repro panels back then (or now) it was a case of working with what was there.
Our first go at it back then involved drilling it off, roughing it out, slicing down the trim lines and applying literally hundreds of heatshrinks with an oxy. At all times the car was driven daily so the panel was attached with screws and removed once a week over a 6 month period while attending night time "Basic Vehicle Restoration" - a hobby type course run by the local trade college. While it was off we also oxyed in some rust patch panels around the petrol filler and behind the wheel arch.
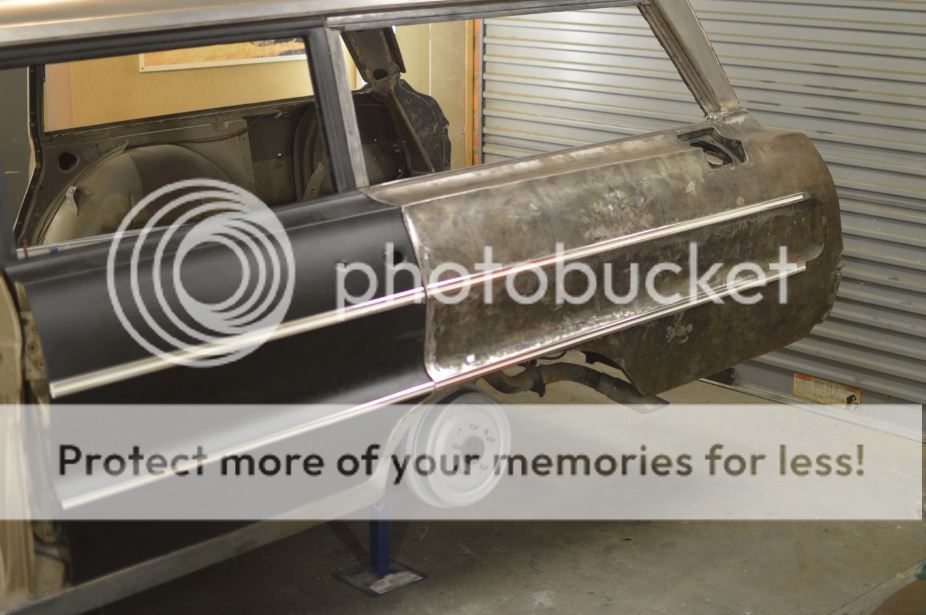
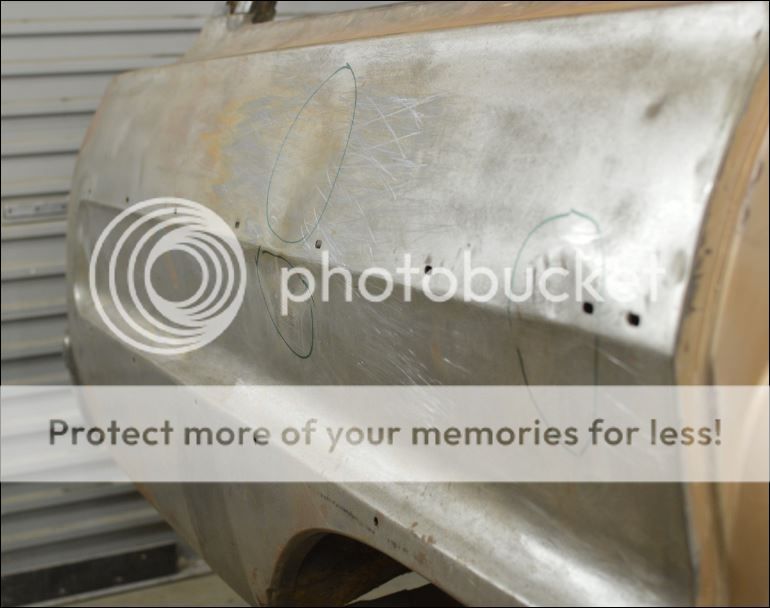
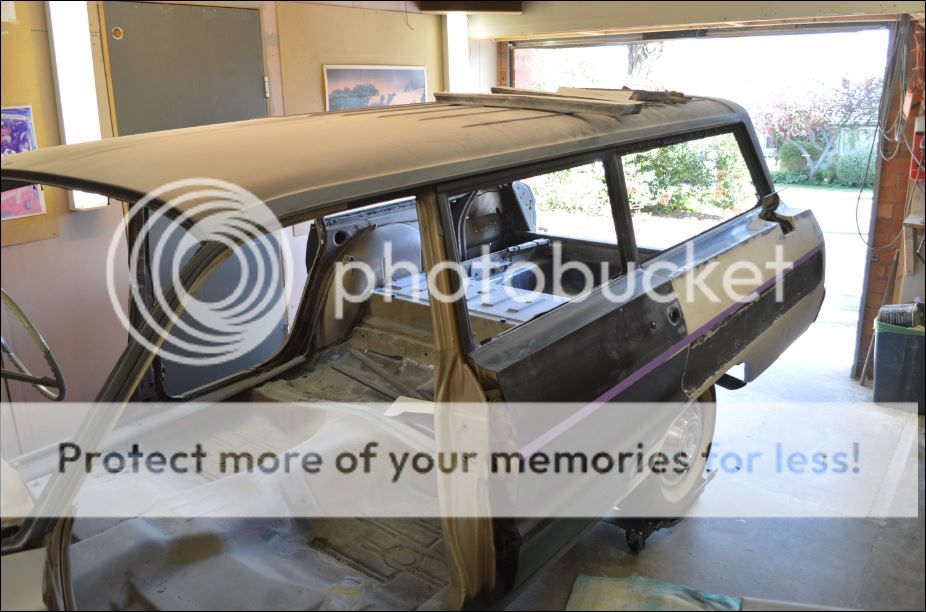
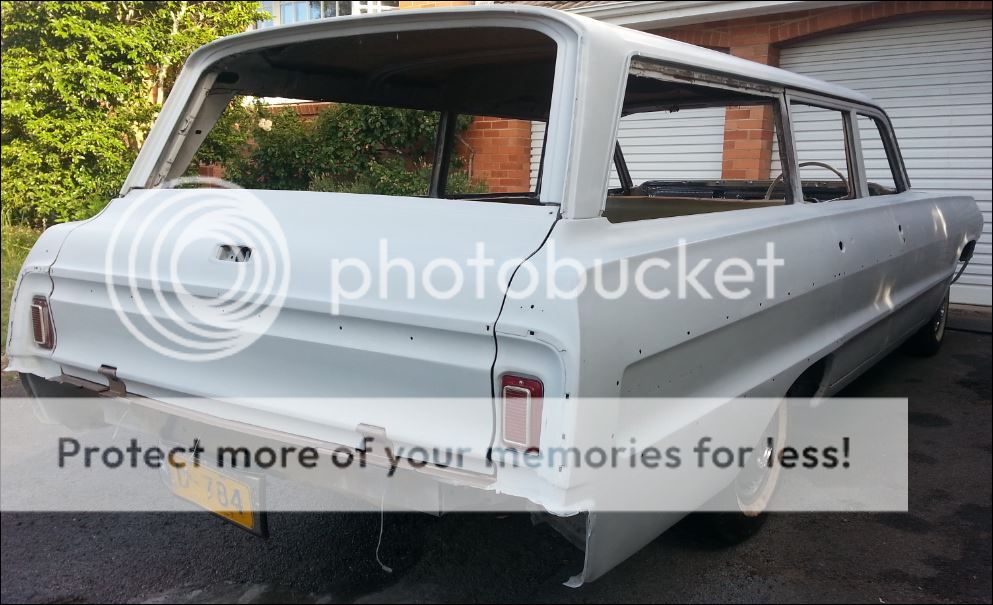
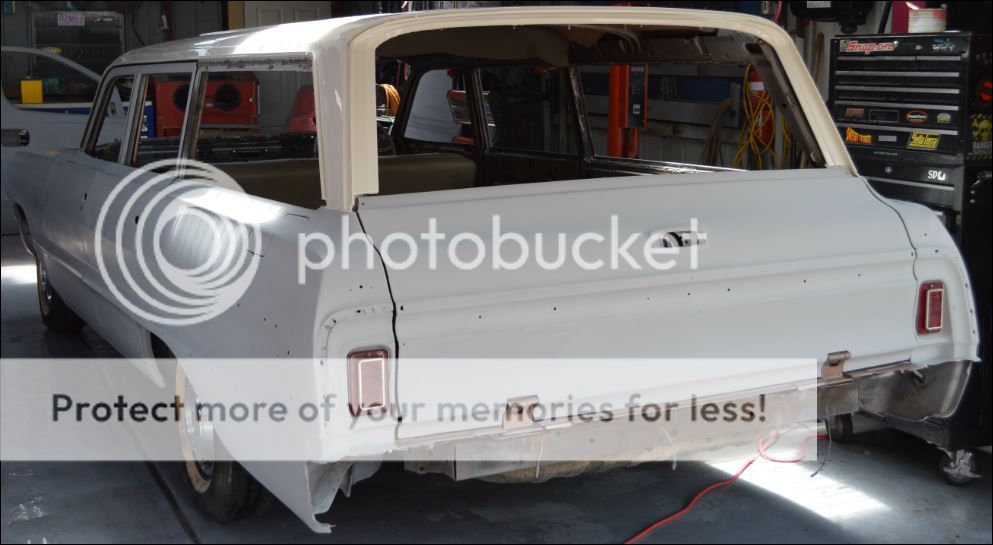
Here's where we got it to back in 1991:
Although it looked "close" the downside of doing such massive repairs with the panel off the car was that the nice straight lines and uniform profile when it sat on the bench, turned into waves and bows when the panel went back on. This was made even worse by the fact that there is no way to get in behind the panel when it's on the car. Eventually my patience ran out so it got a coat of primer, some dodgy gold paint and it remained screwed on for 15 years looking bloody awful. As much as I love this wagon there was always that embarrassment to the point of always strategically parking it so the good side was on show.
...so after 23 years it was time to finish it properly.
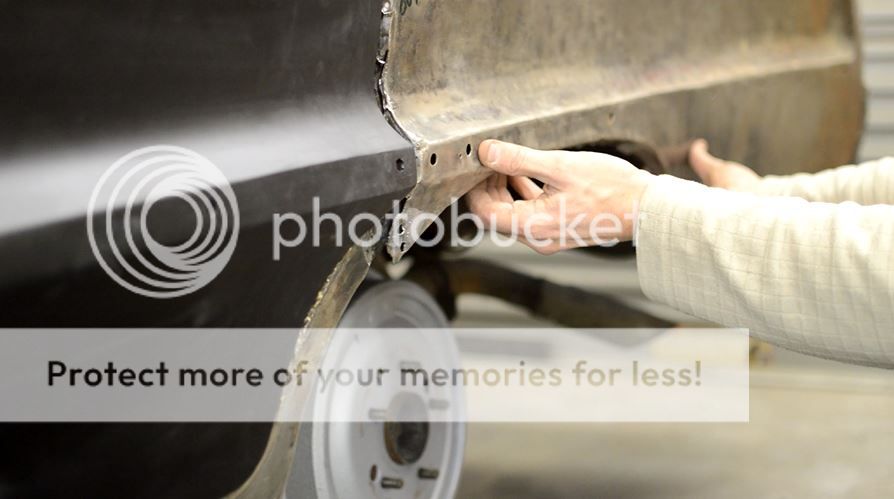
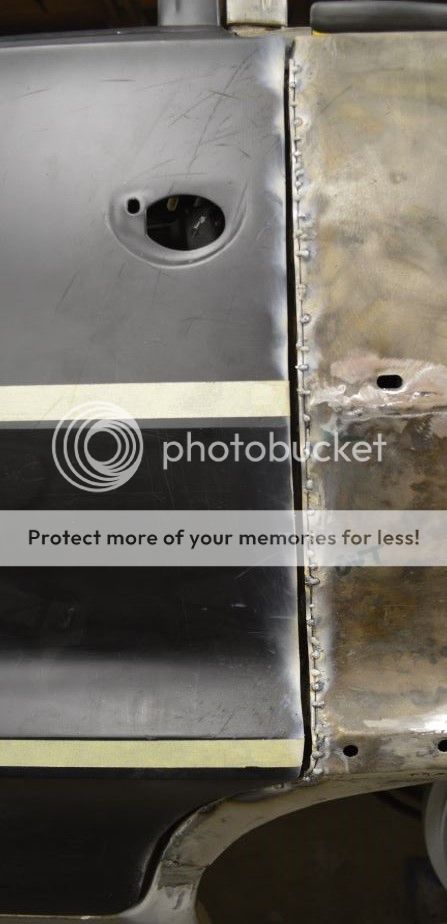
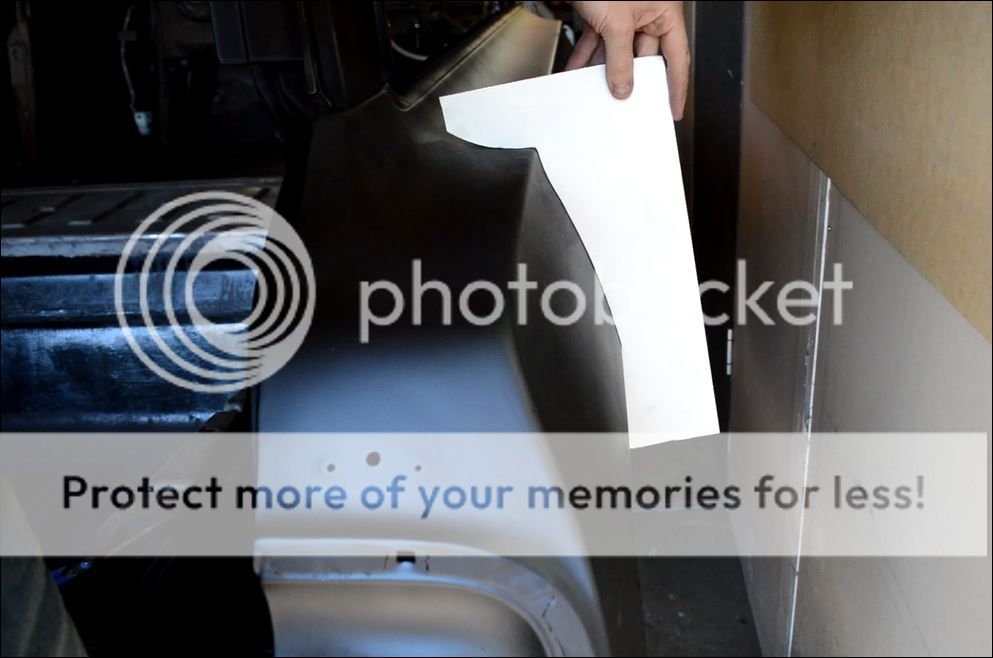
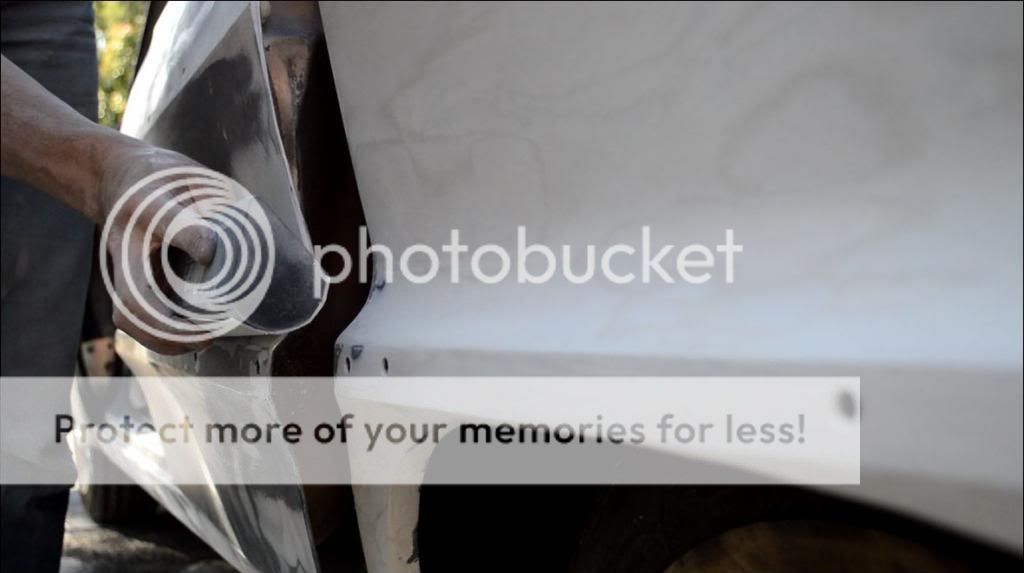
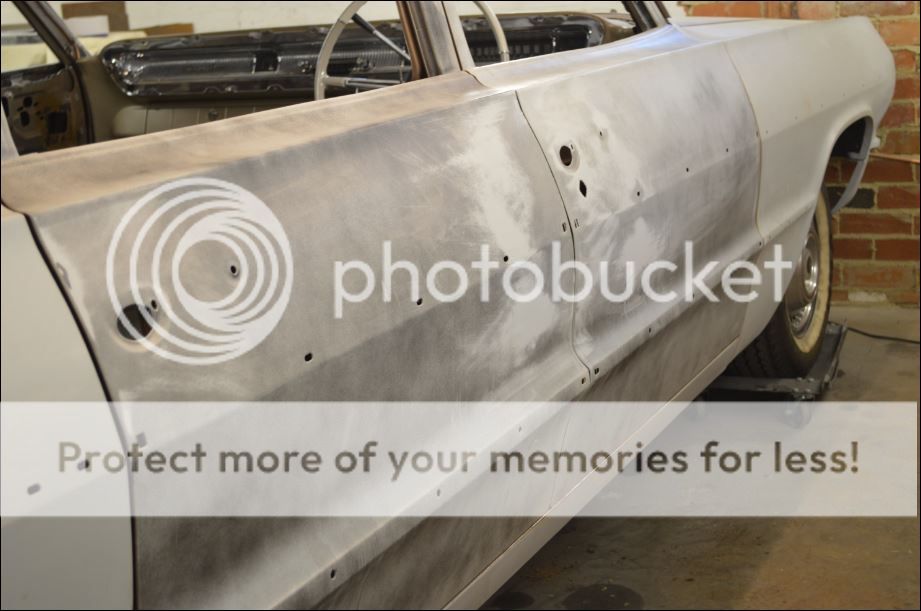
First job was to get the quarter sitting straight and attached properly. When I stitched it back on in 2007, I completely ignored the door line and got it all wrong around the wheel arch and dogleg - so started by putting the nice straight rear door on for reference and unpicked and then re-stitched the quarter properly with the door line.
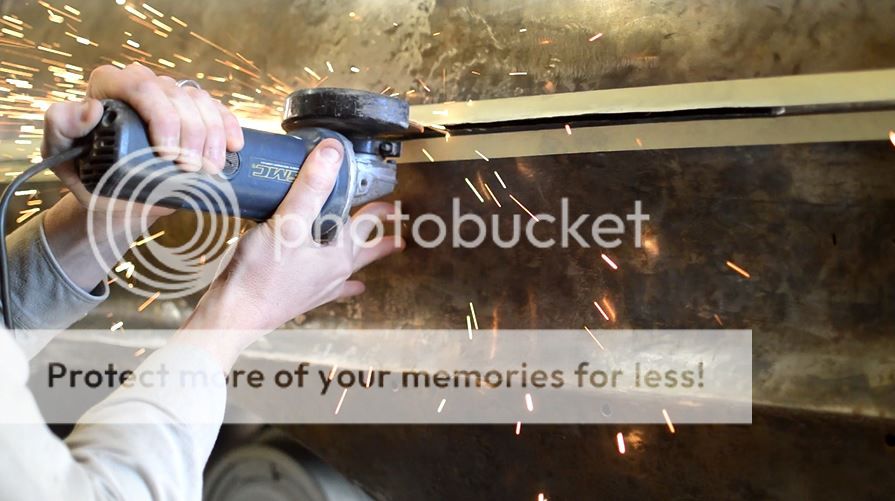
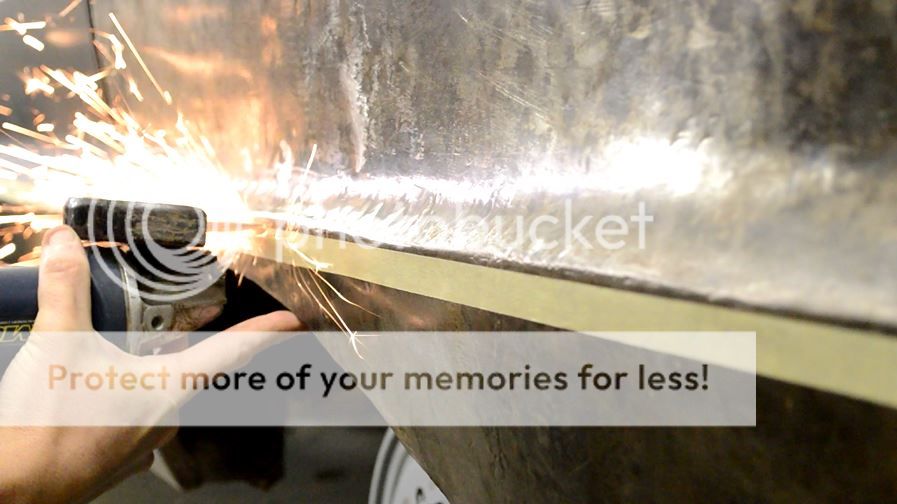
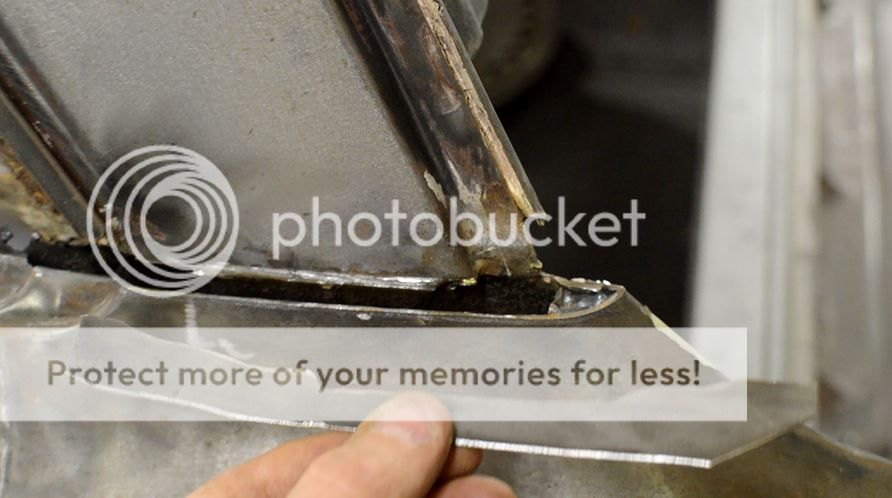
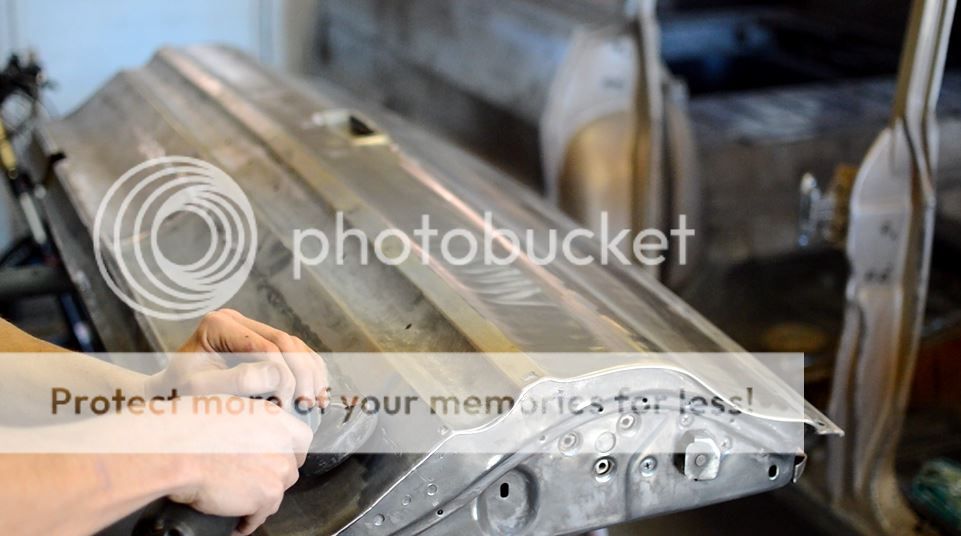
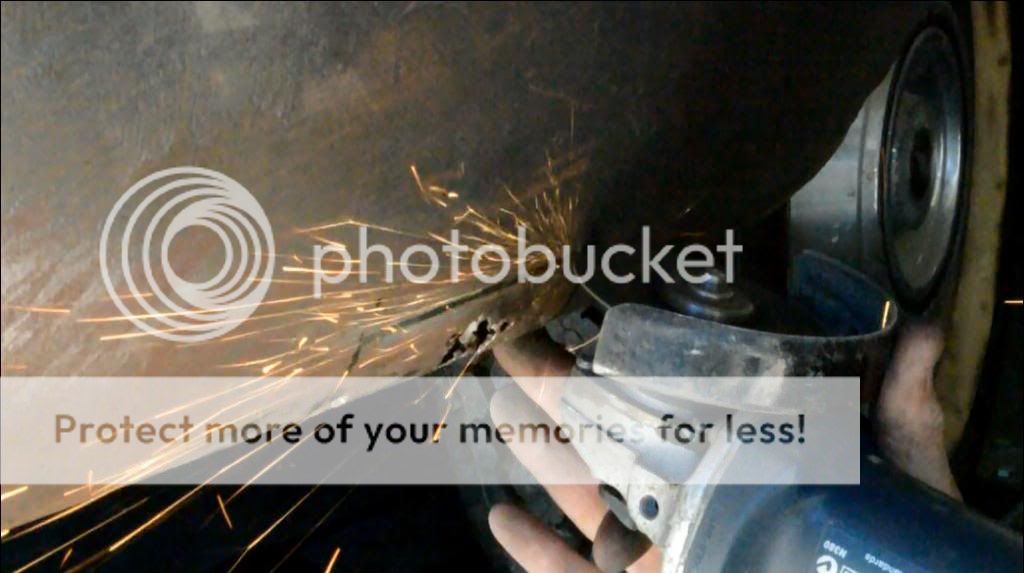
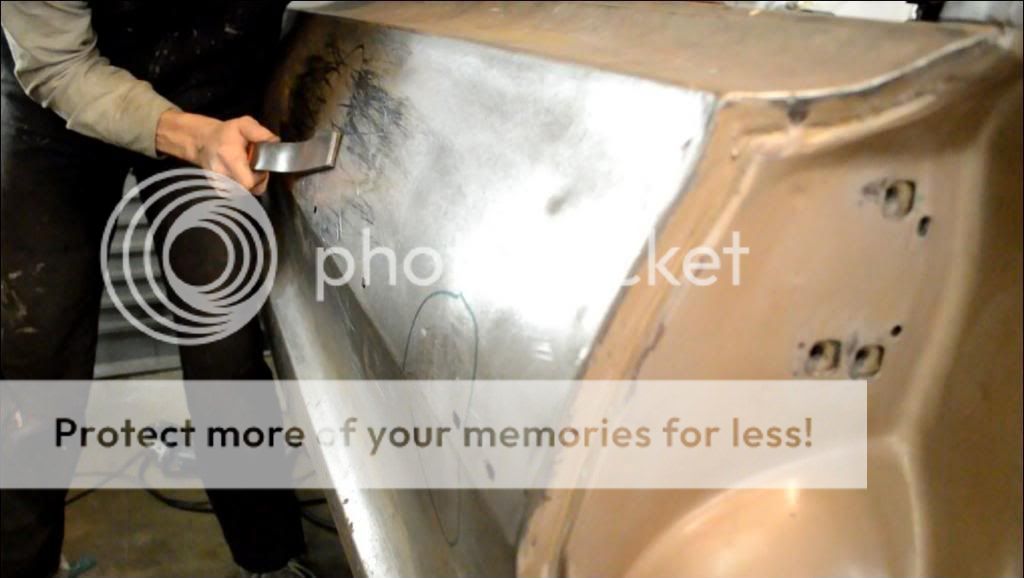
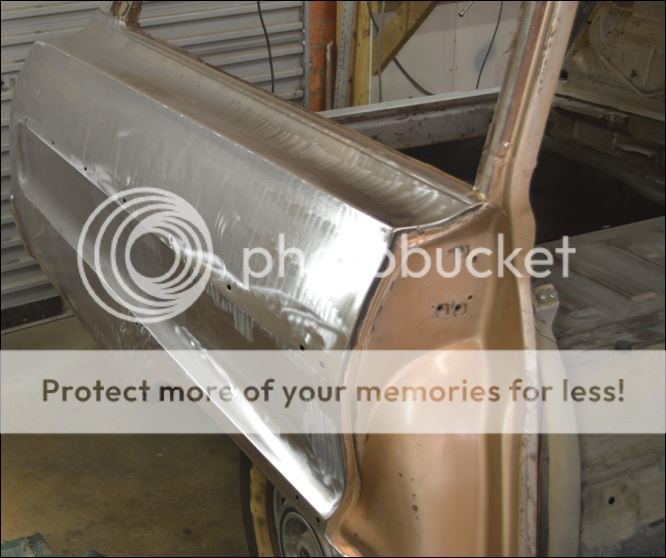
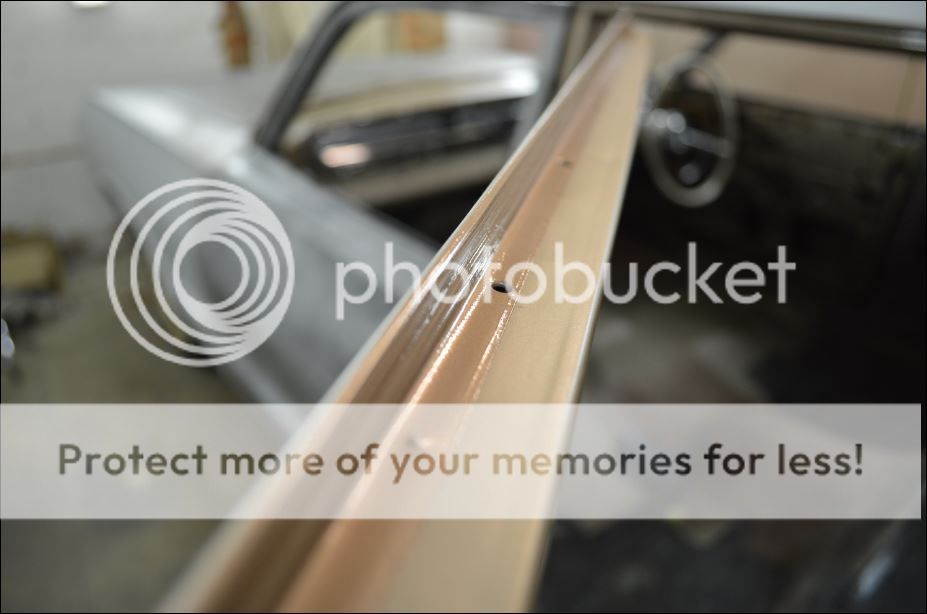
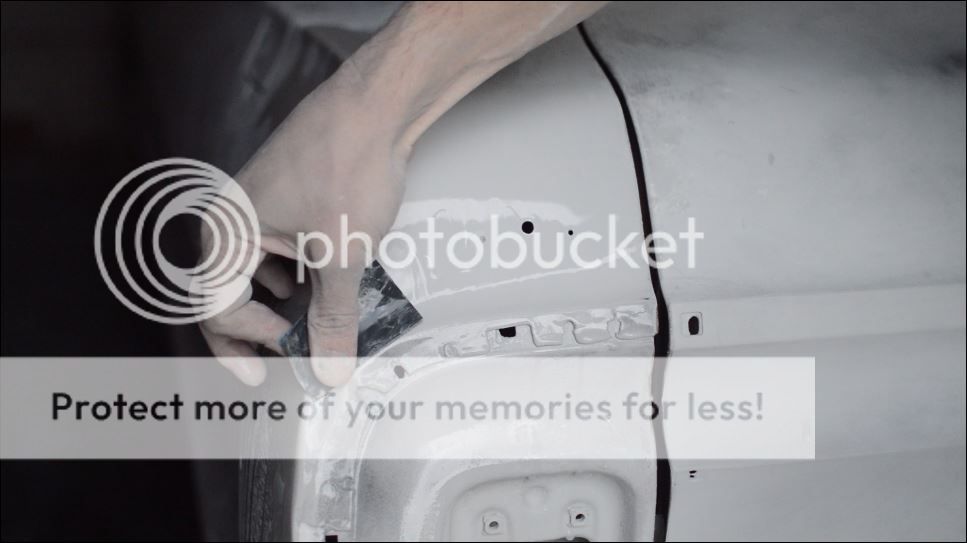
Next was the top trim line which still had too much metal in it so had a noticeable bow outwards. I considered the shrinking disk but there was just too much there. So some tape lines and a thin cutting blade and it was opened up....again... before being stitched flush.
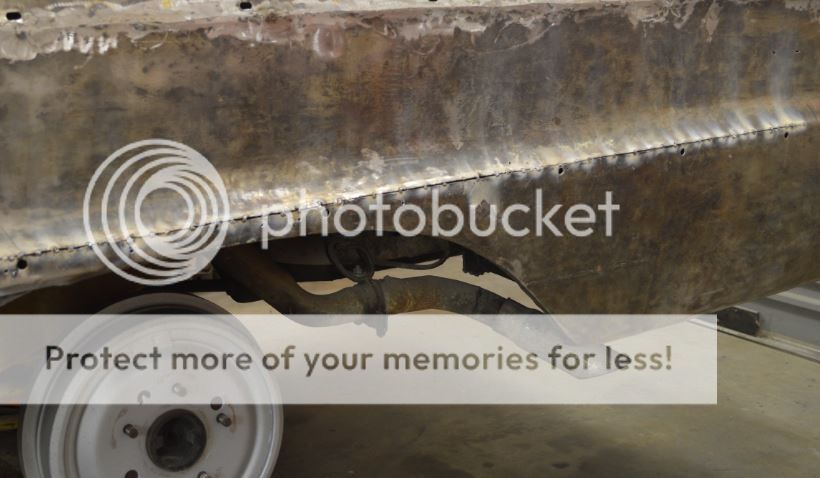
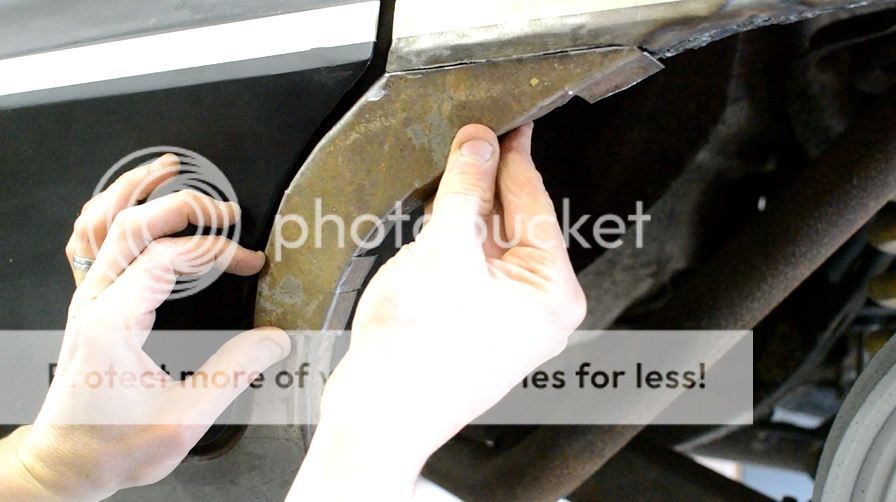
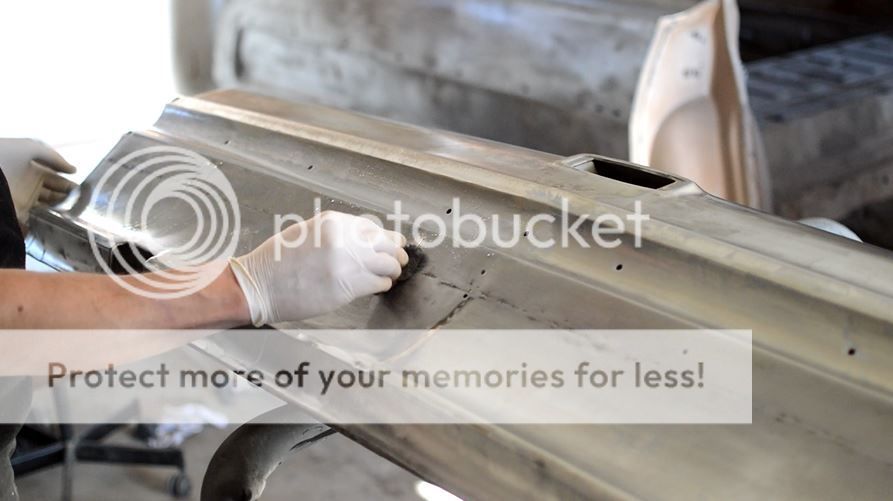
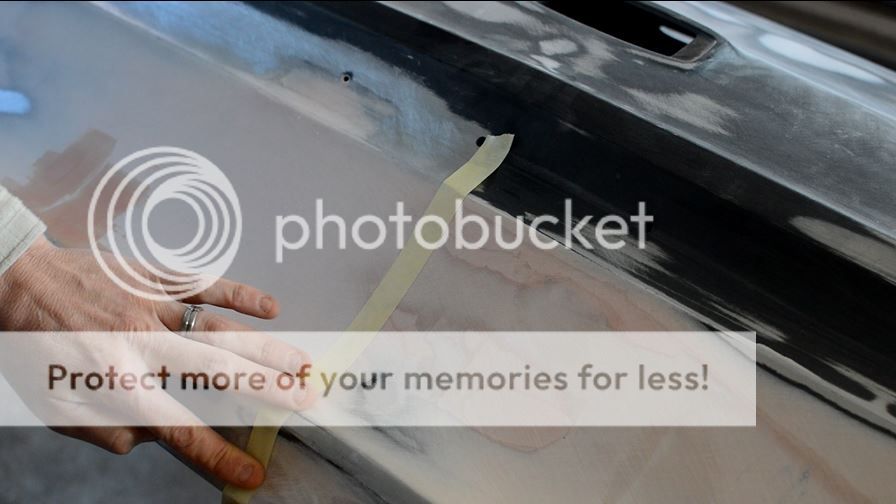
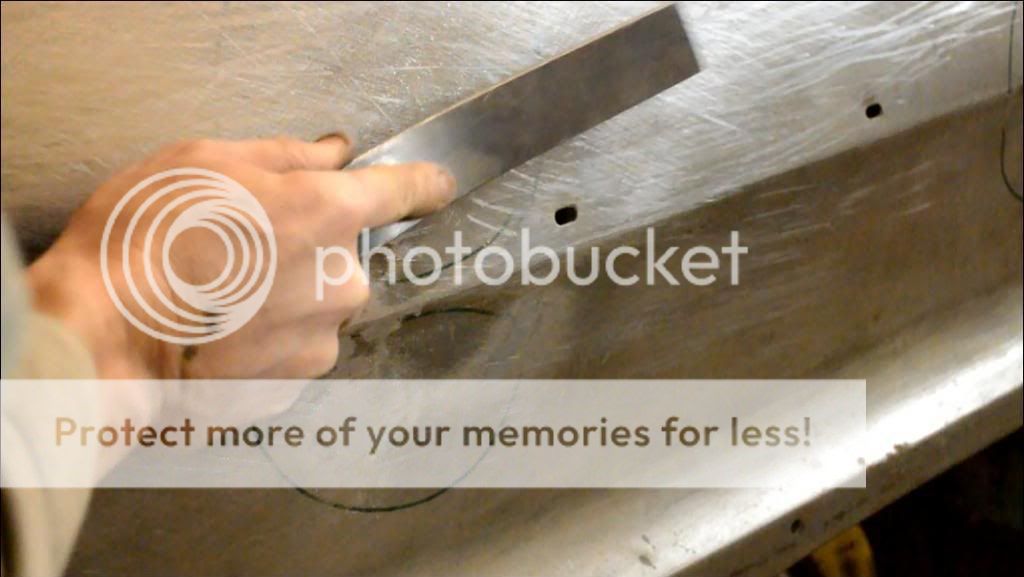
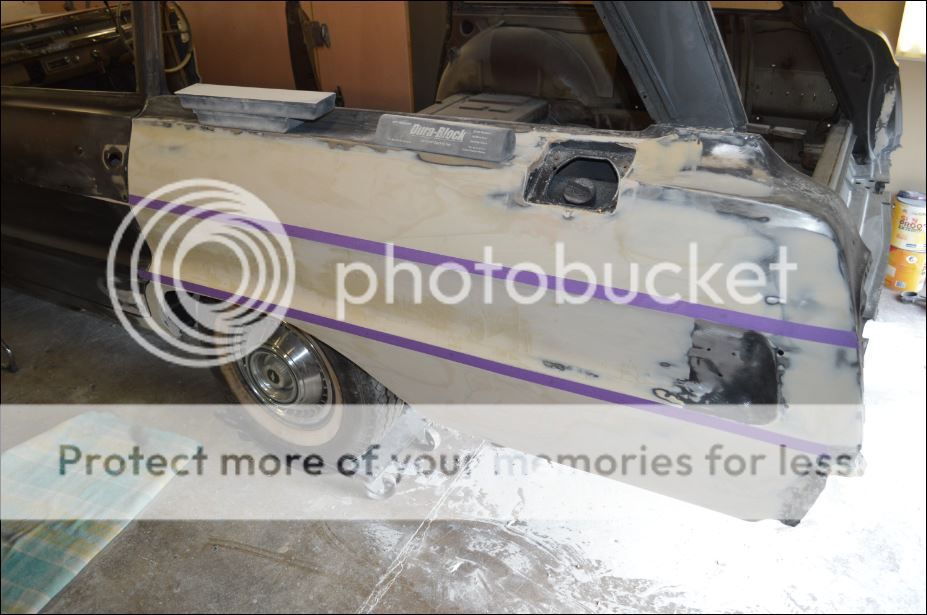
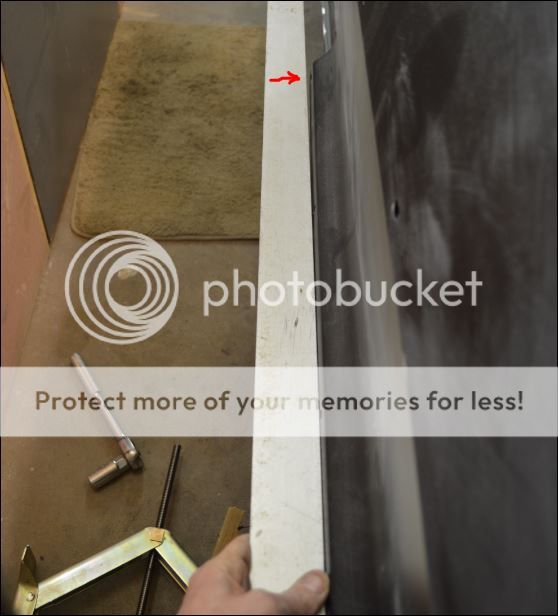
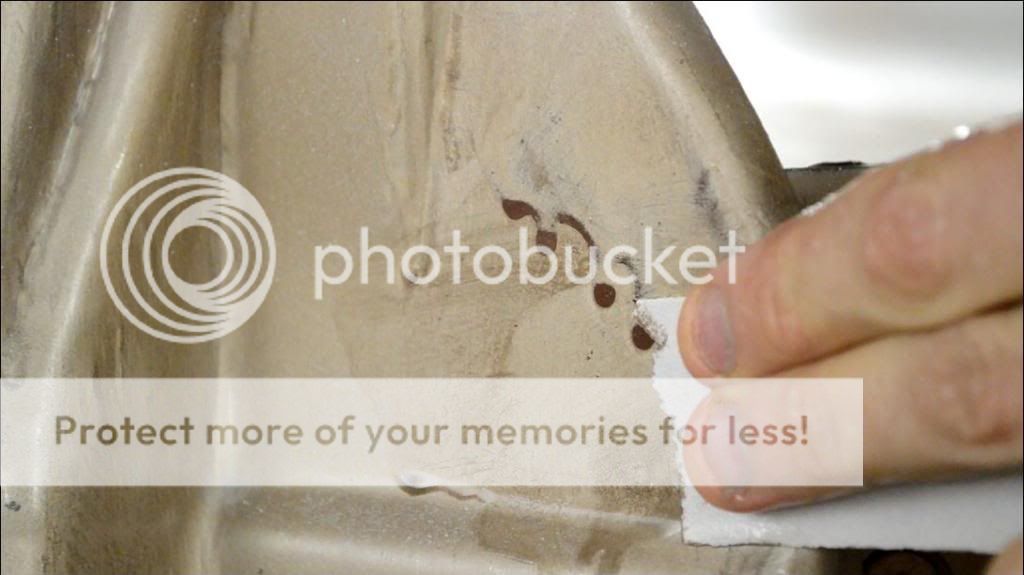
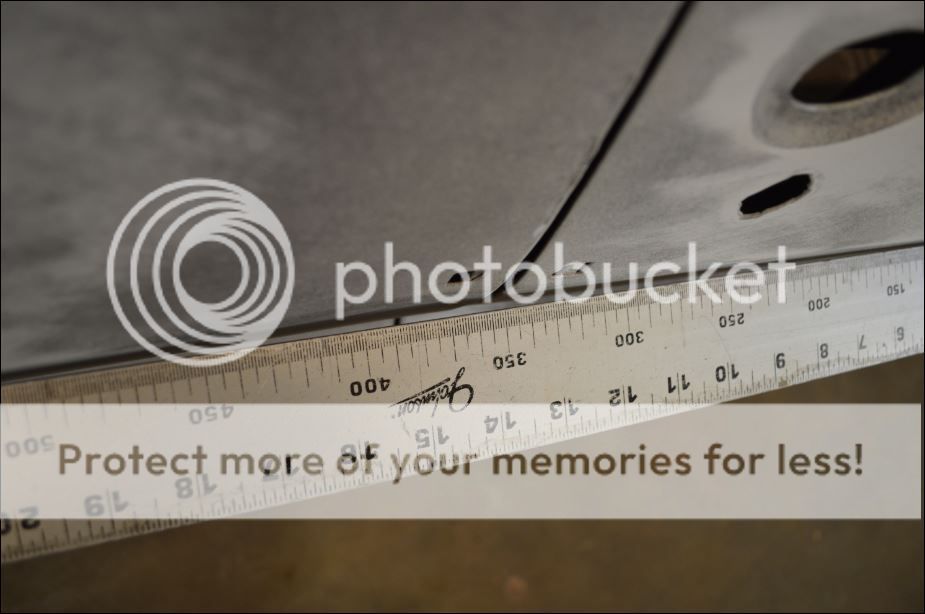
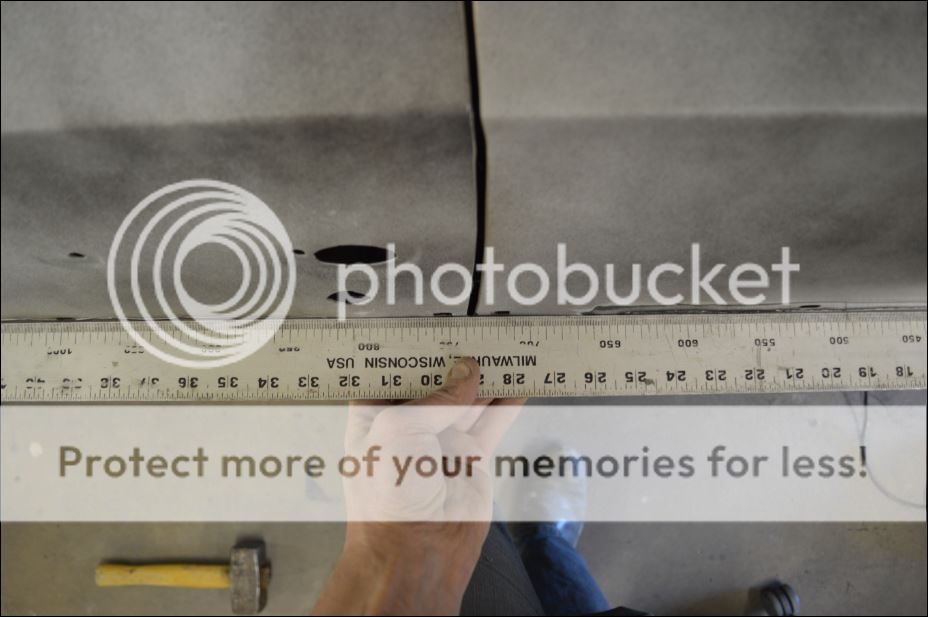
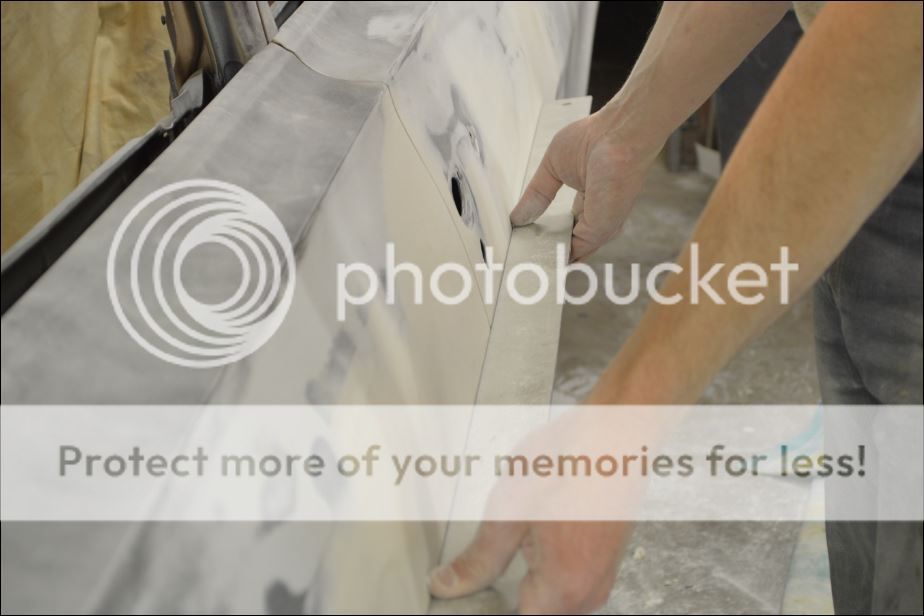
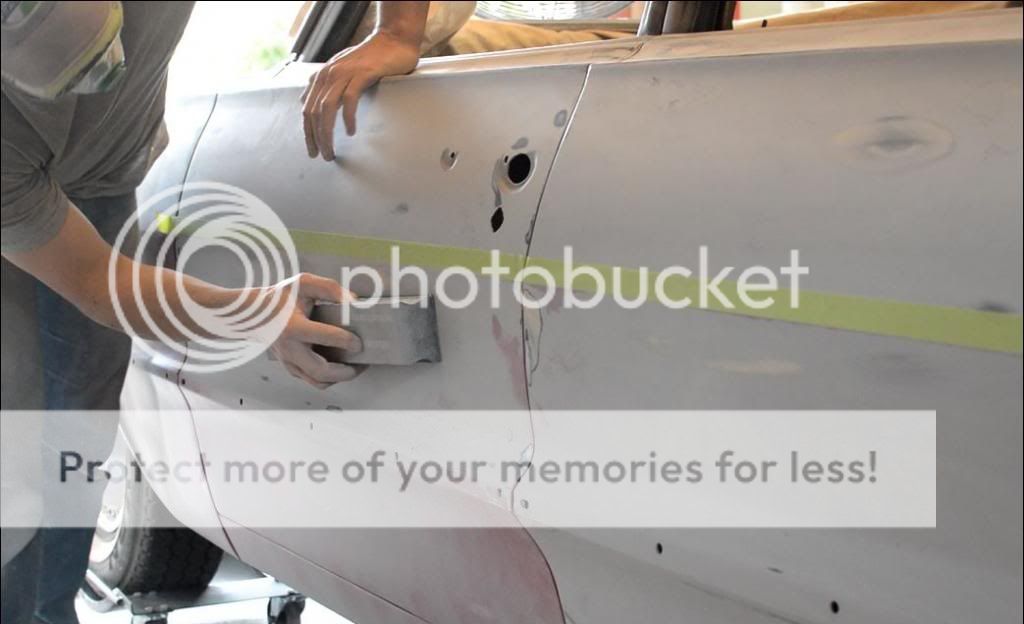
Next was the bottom trim line. While it was relatively flush with the doors, the tape line confirmed it had an upwards arc in it (note the metal above the tape line in the photo below). Because these trim lines run the full length of the car there is no room for error - the lines are either straight and parallel or they are wrong and stand out. So yes.....another slice job, along the tape line.
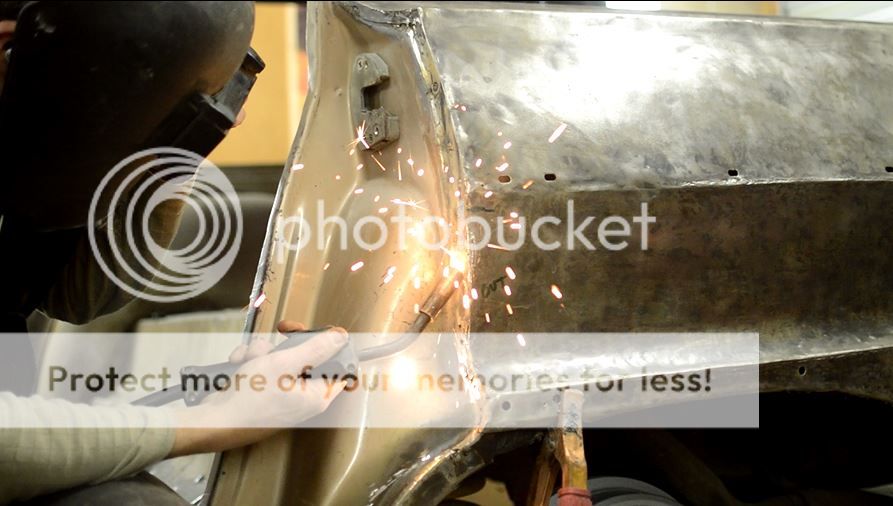
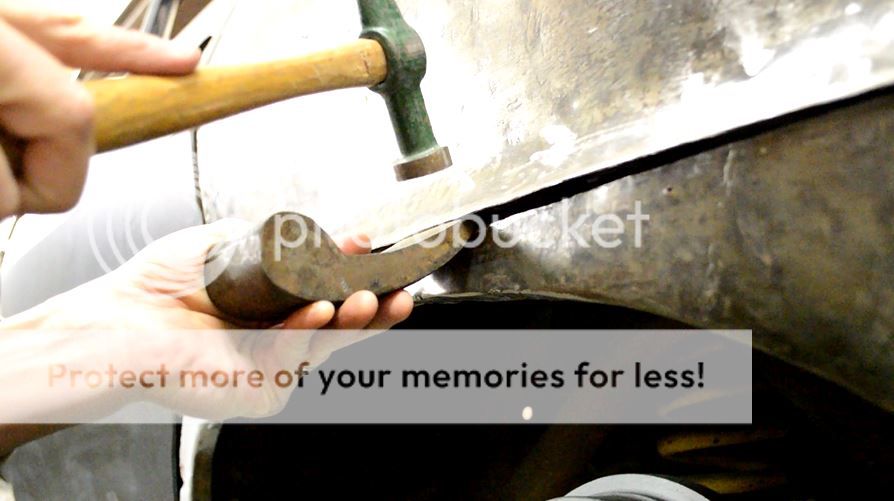
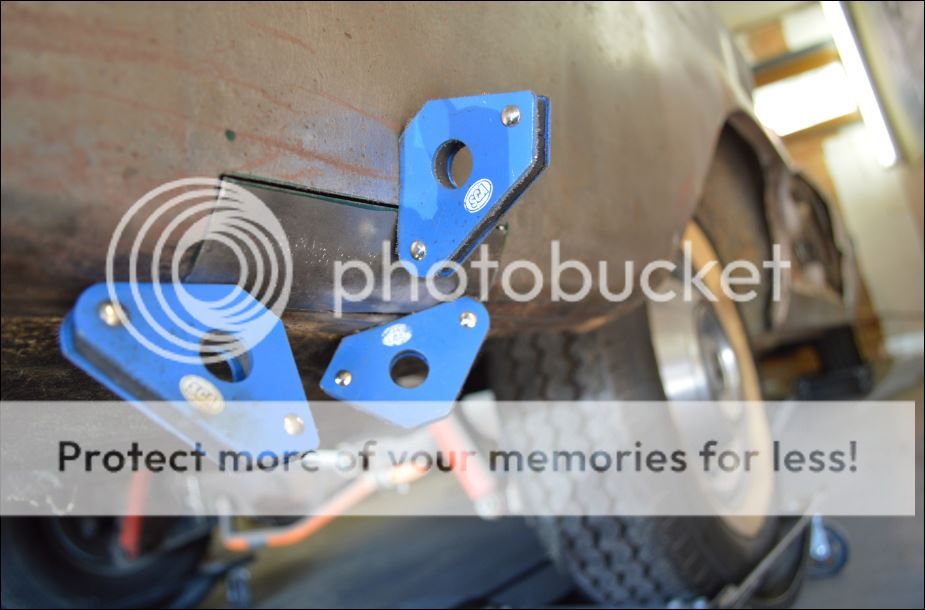
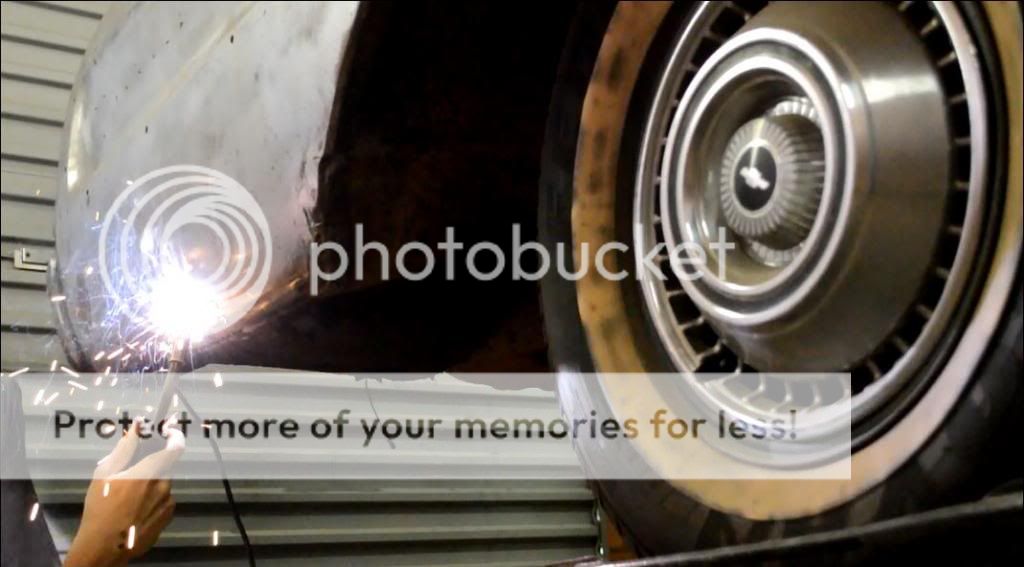
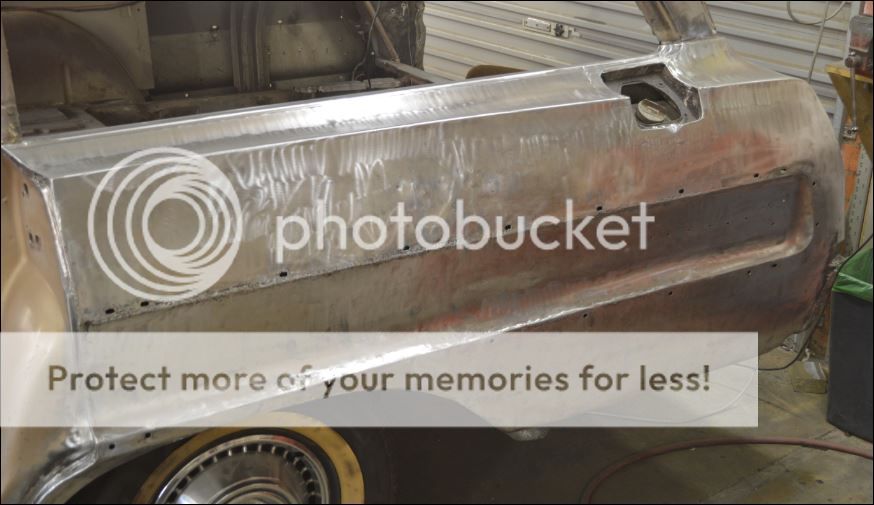
In this instance I didn't want to lose any metal so a tidy up with the hammer and dolly and stitched carefully across a small gap - straight this time!
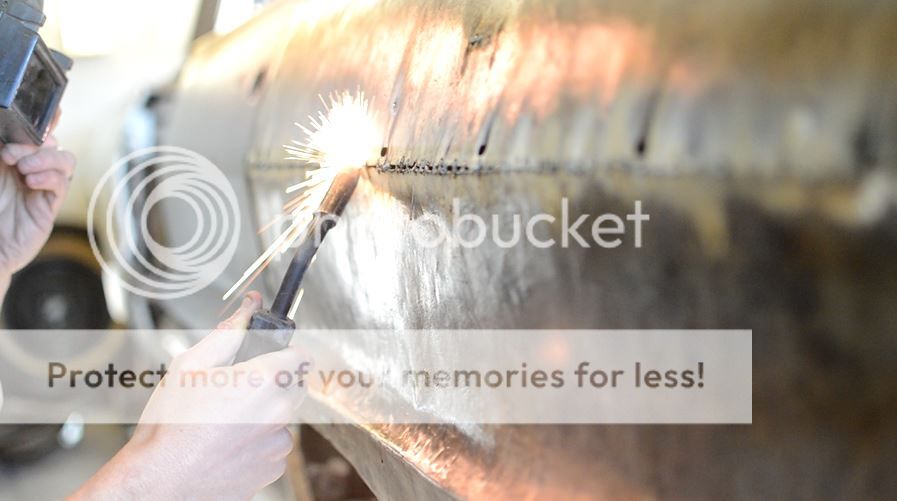
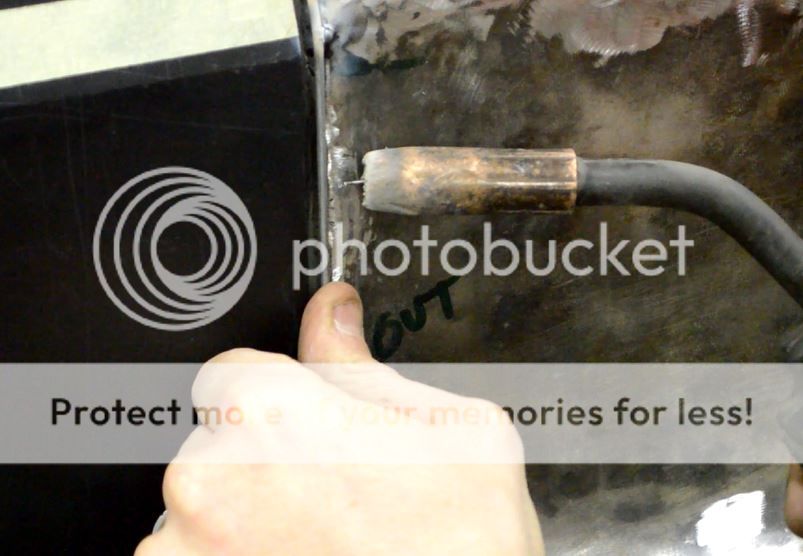
I like to check my welds for pinholes using light in behind them. It was a bit of a challenge on the quarter as I cant get in behind it so a $3 led keyring poked through the trim holes worked a treat.
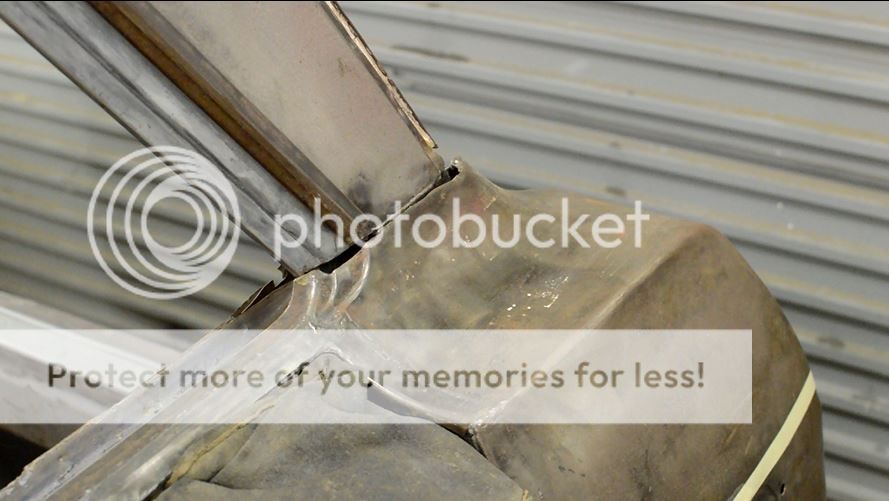
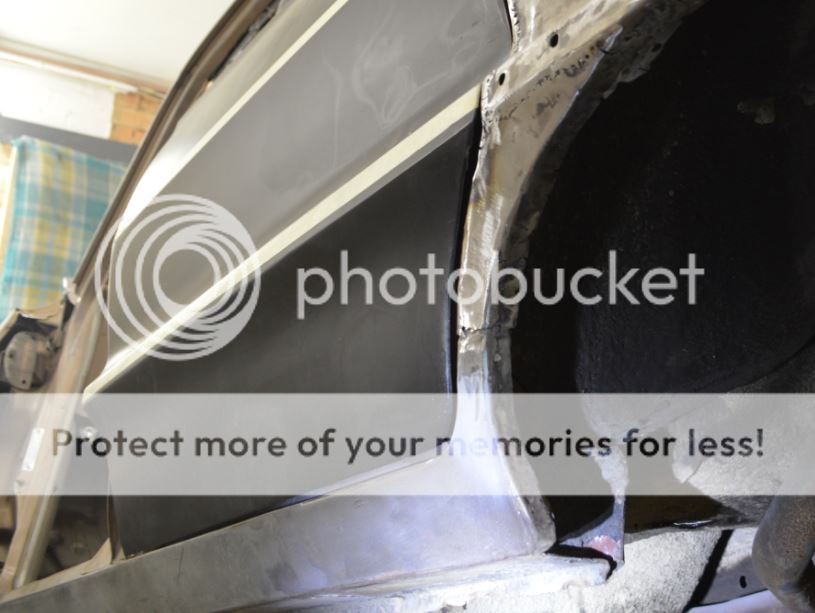
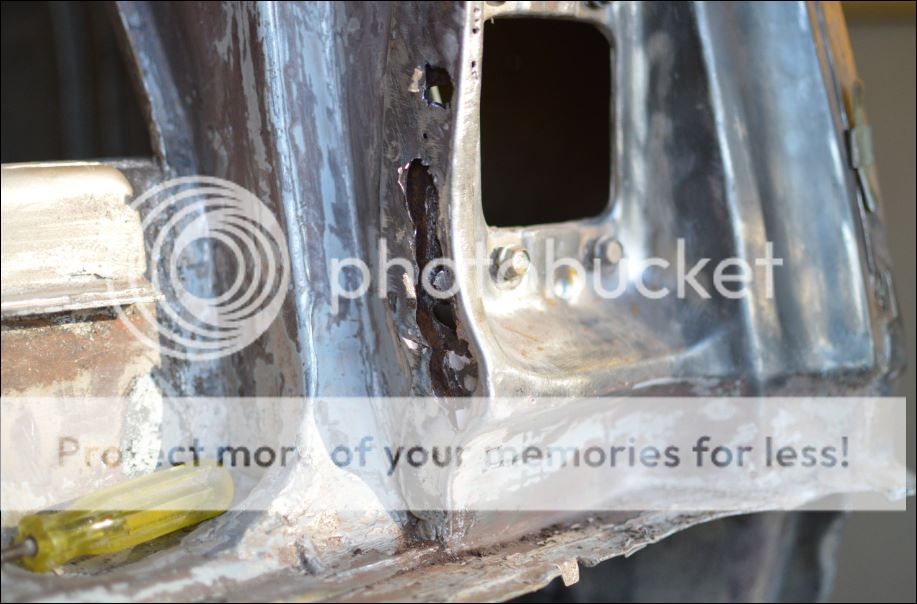
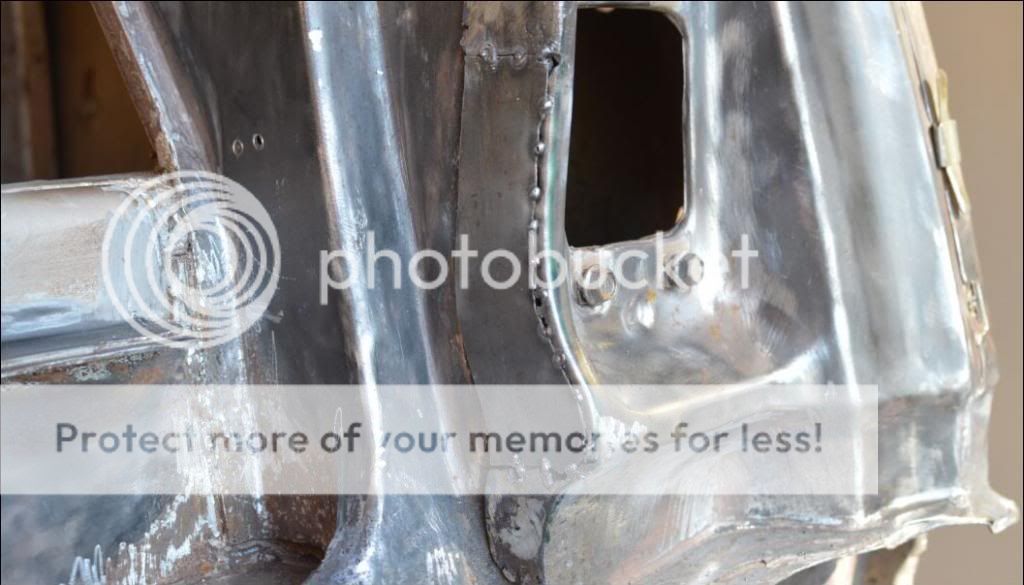
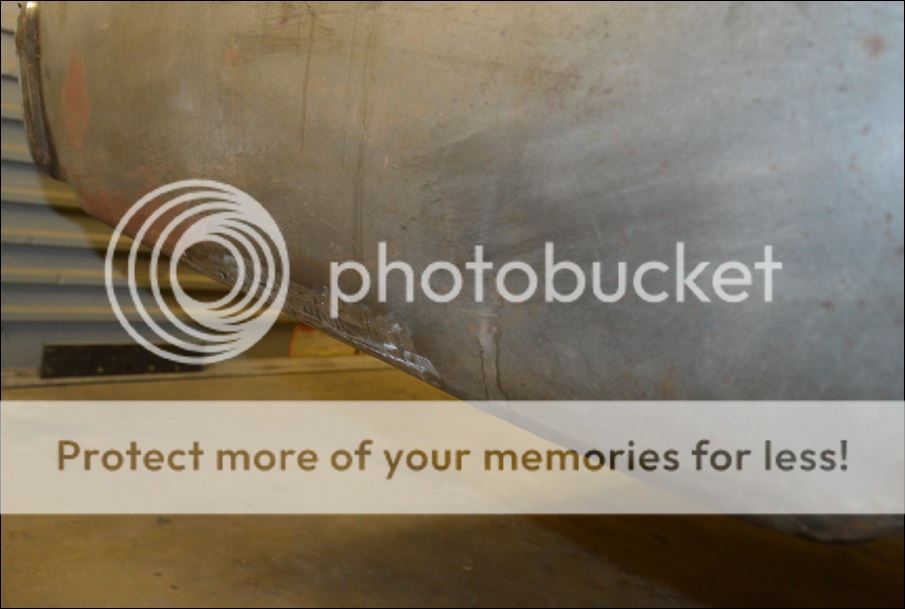
Next job was where the quarter meets the rear pillar - it was hastily butchered by us in order to get the panel off all those years ago, leaving a gaping hole.
So an odd little patch carefully migged in to replace the missing metal
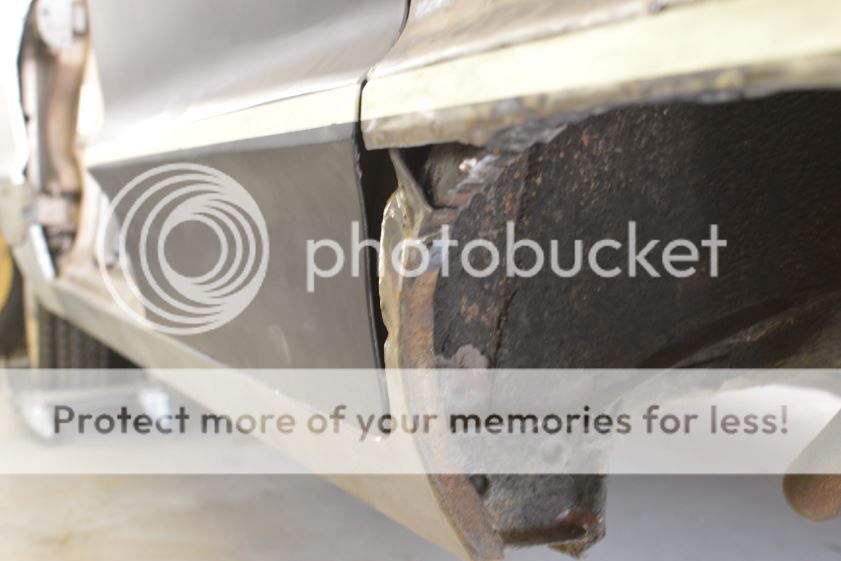
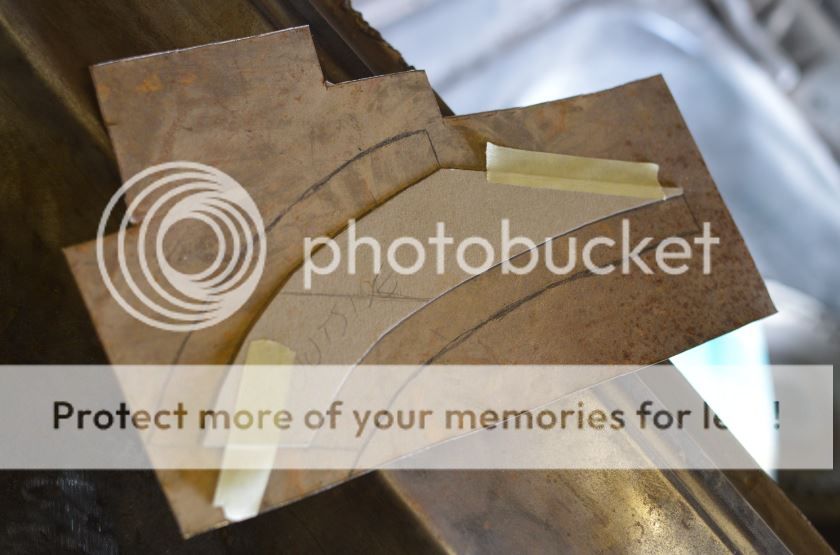
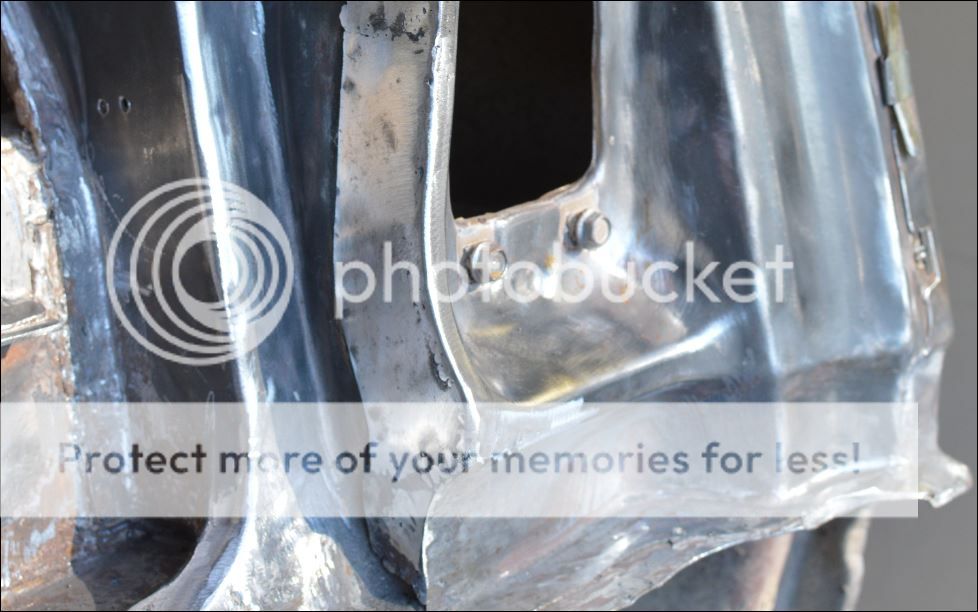
Next was the dogleg - it was pushed in a couple of cm from the accident so the original dogleg on the quarter was toast so I trimmed it back and made and patched in a new piece.
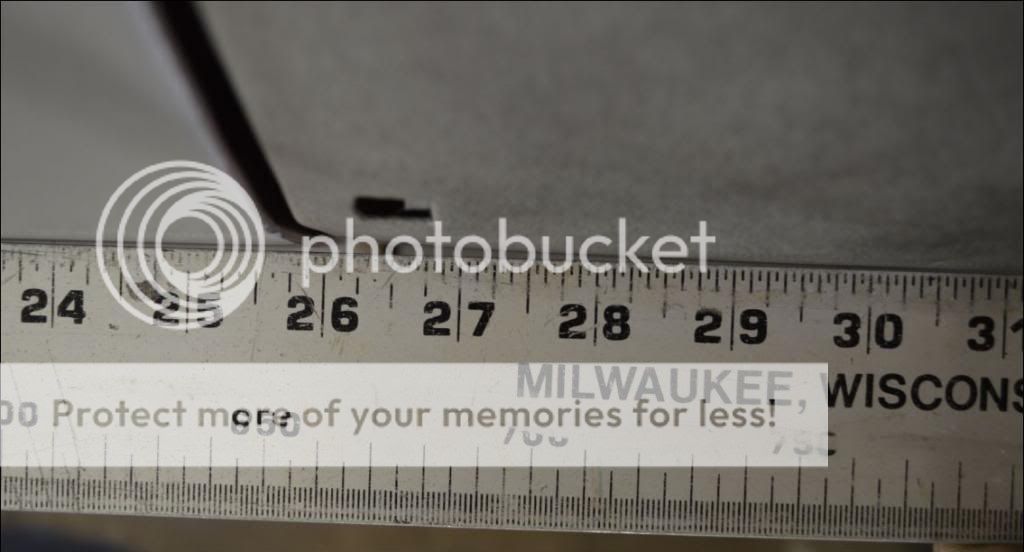
Next was the door gap at the rear quarter. Not surprisingly with all smashing, bashing, slicing and shrinking over the years it left a 6mm door gap... so I reduced this by 3mm with a length of wire carefully migged in at the edge.
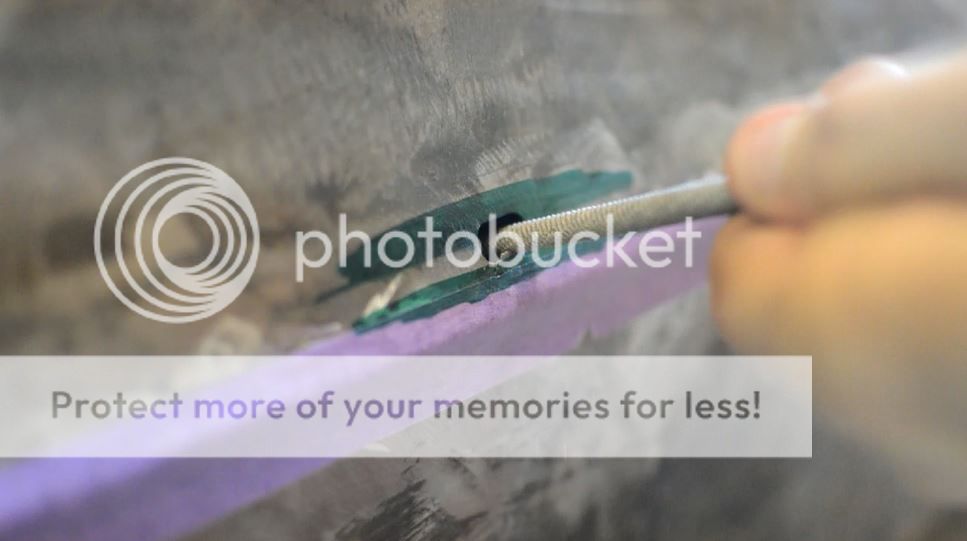
And finally, it was also no surprise that the original trim holes were all over the place. More tape, more migging, a rat tail file and lots of trial fitting of the repro moldings until everything was nice and straight.
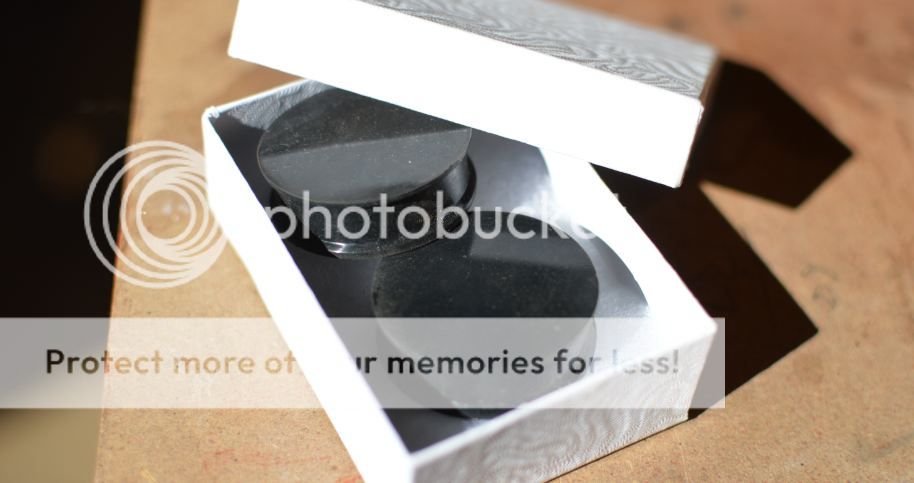
After deciding to fix it properly and not being able to find any 35mm blanking plugs I started thinking laterally and came across these. Ladies and gentlemen, these are......wait for it.......earrings! Yep, 35mm silicone plug earrings that those scary looking people use to stretch the holes in their earlobes. They fit perfectly and after a little scuff with some 400, they look factory correct and have the added bonus of being medical grade and hygenicaly safe!
On Ebay there are factory style plugs.....are they the right size for those holes (1-3/4" or 44.5 mmm)
Greaser - many thanks for the link. 35mm is 1-3/8 so a difficult size. If you can find them in that size let me know.
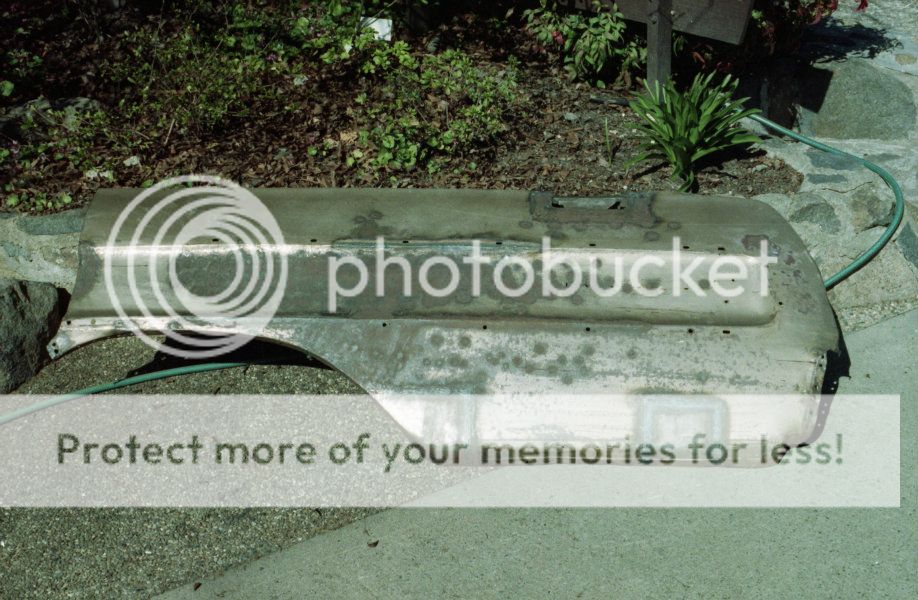
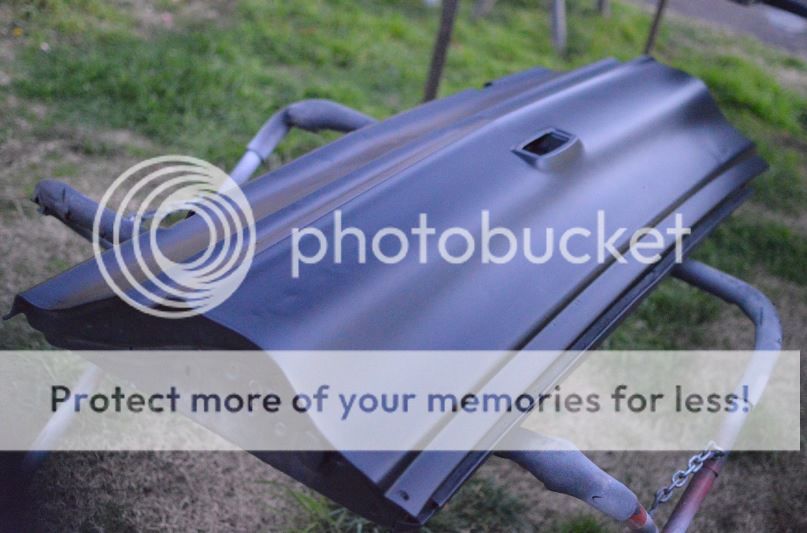
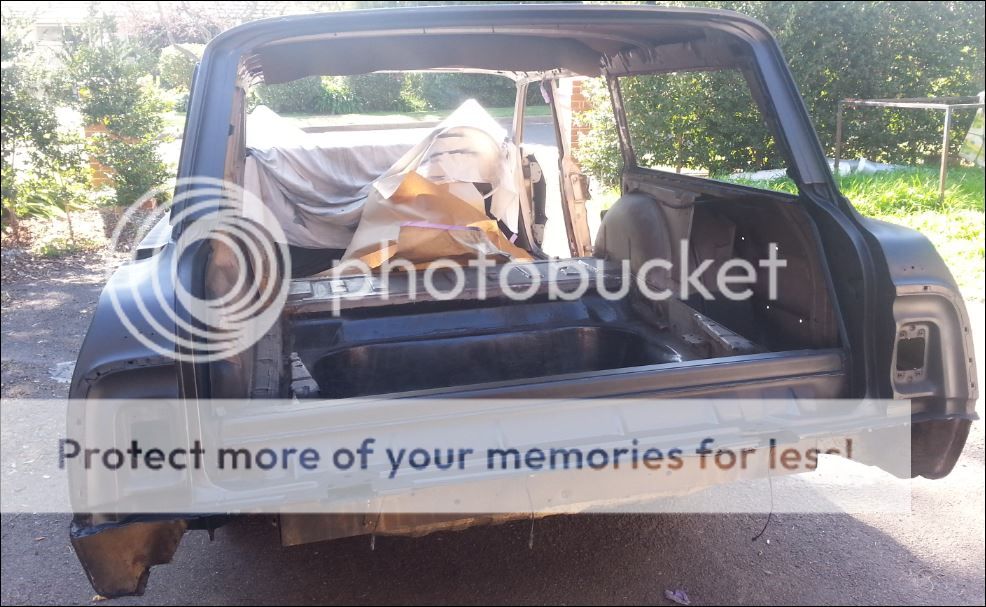
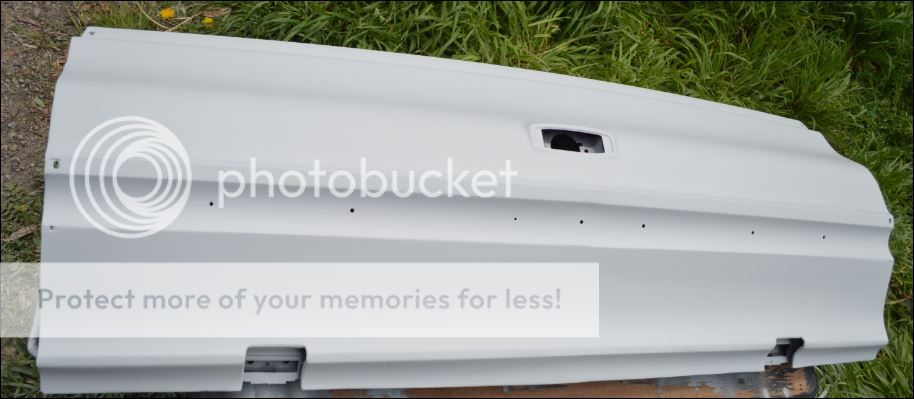
On to the tailgate. I mentioned earlier in the failed restoration of 2007 that I painted the insides in the ""almost right" gold base and clear. Although it was in perfect condition the colour difference to the factory colour was too great....so off it came with paint stripper and wire brush
I also mentioned that the bottom third of the tailgate was remade and patched in 23 years ago and is still perfectly clean and rust free so gave it a shine up, some deox and the whole thing got some black etch.
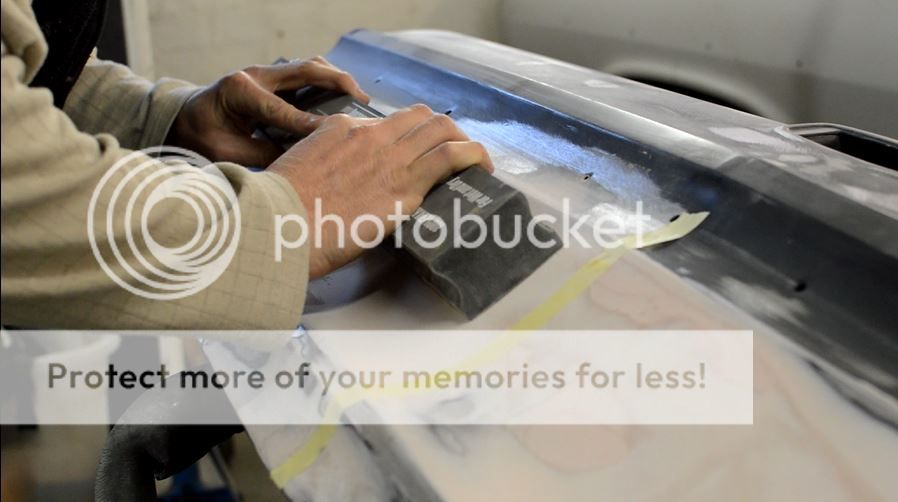
After the etch I skimmed the tailgate with filler - aside from the full width patch there were a few ripples in the top that i just couldn't get to.
I needed to work a peak back into the bottom of the tailgate so I worked to a tape line with the big blocks and used the teardrop block for the rolled sections.
This has since been re-etched.
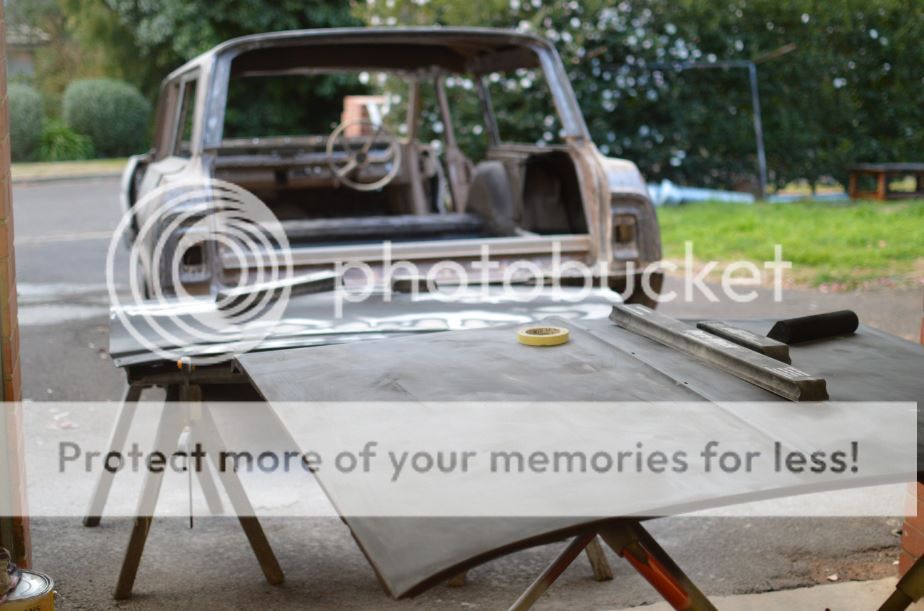
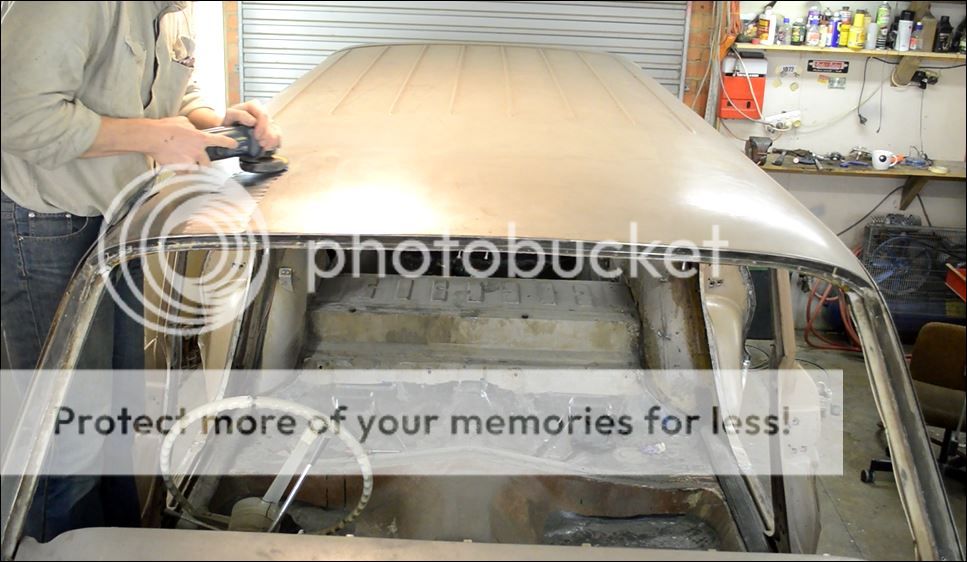
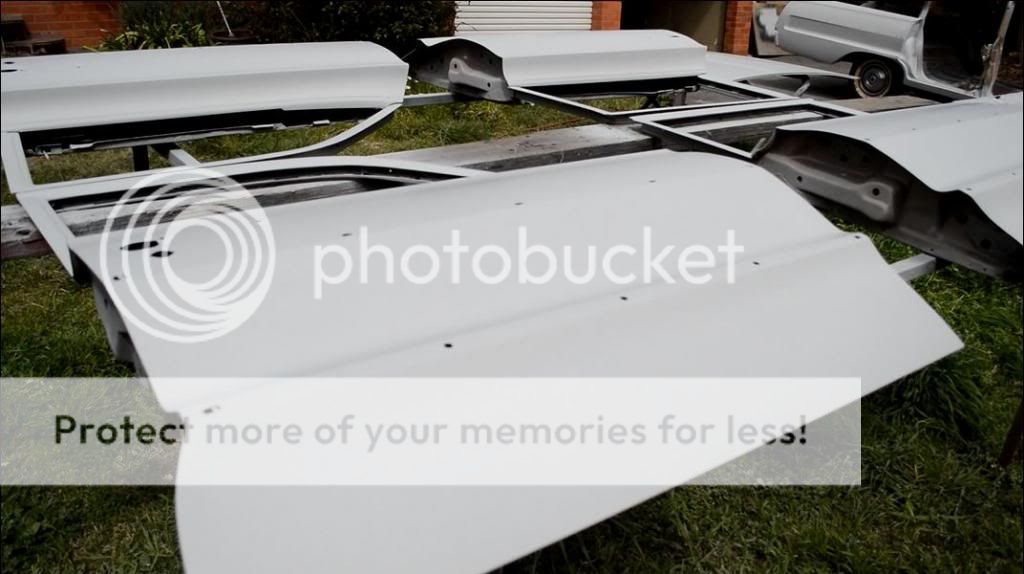
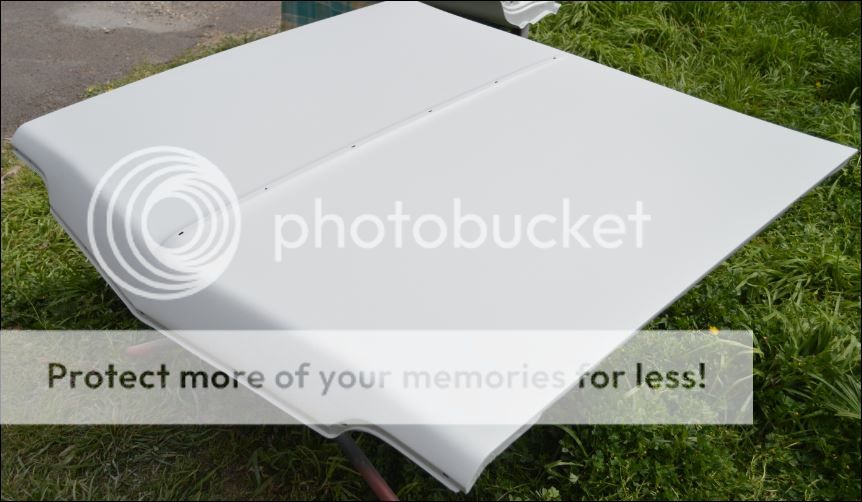
The top of the bonnet is nice and straight so a light block of the etch with 320 on the 700mm board just to show the highs and lows.
A tip for young players is to support the bonnet on the edges when blocking otherwise you get false highs from the bonnet frame being pushed up from underneath (in other words, not like it is supported in the picture!). I worked this out after my "highs" began to develop a strange symmetrical pattern!
Simon, I have to say, and not knowing how you were as a musican, you "may" have missed your calling or at the least, derailed for the the first 20 or so years of your adult life! Now, that being said, do you have an 8mm footage clip of your rock n' roll life for me to compare? (lol)
Your doing a great job and the photographer you have must be attached to your hip pocket! It is great to document all of your working on this car... One you finish this one, I could send a minimum of 4 wagons of mine to you to work your magic!!!
67Poncho - Very kind of you. To be honest, I am just drawing on my limited skills from 20 years ago, and supplementing them with what I have learnt from endless online research about paint and panel (I can recommend autobody101.com) Throw in a willingness to "have-a-go", and the patience that comes with being a bit older and the results have surprised even me.
The photographer is in fact a camera on a tripod in HD Video mode - the photos are screen grabs from those videos. I'll be doing a short video on the full resto for the benefit of my "non-car" friends who have no idea why I'm spending so much time in the garage. Sorry I can't help with your wagons as I'm starting work on my other Oshawa Impala (4 door sport sedan) as soon as this one is done.
Oh....here's me as a musician. No video but I'm singing and on lead guitar.
After the left rear quarter, the right was childs play.
First up was a small rust repair around the taillight. I actually just bondo-ed over this back in 2007 so it was on borrowed time. Dug out the bog, chopped out the rust, a little bit of POR15 in behind it and a simple patch.
Before:
During:
After:
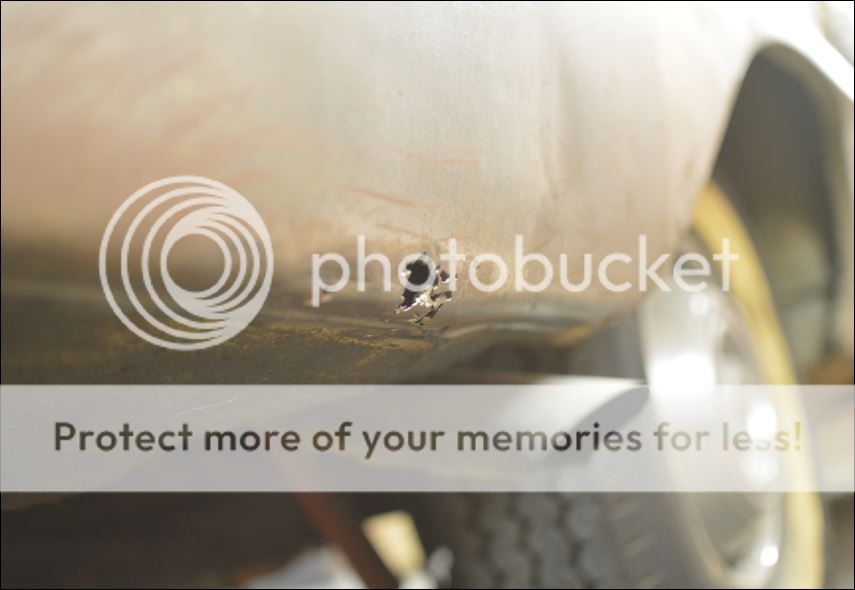
There was also a small hole in the lower part of the quarter - another very easy patch.
Before:
During:
After:
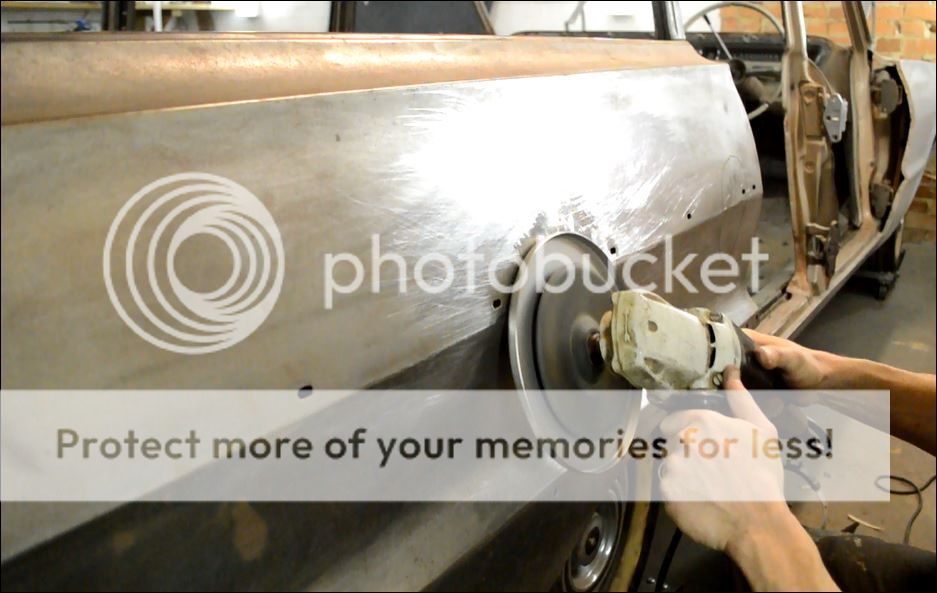
Then it was onto the dents:
Fortunately I could get in behind the first one so dolly, slapper, body file, shrink disc. Was left with a few slight ripples which will get skimmed.
The other dent I couldn't get to so pulled it out with the slide hammer and some tabs.
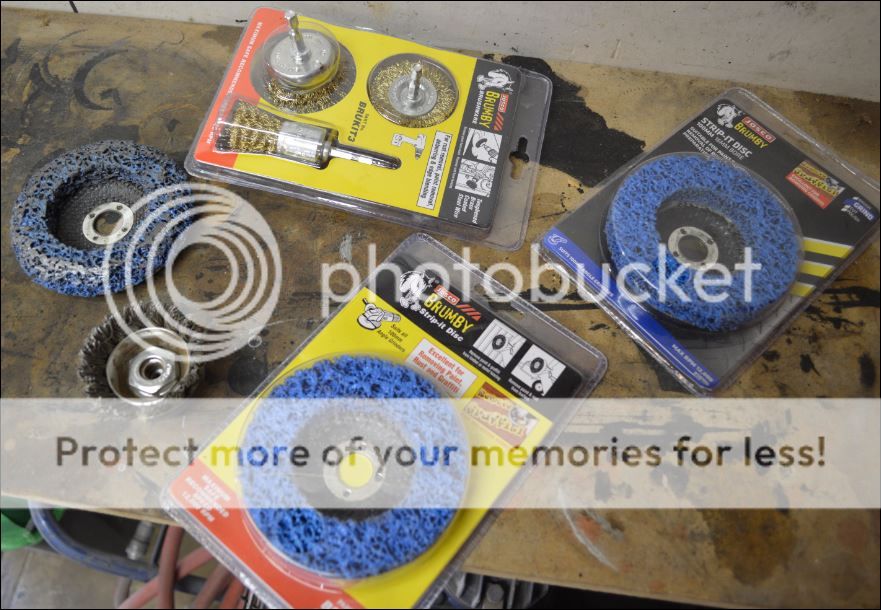
To celebrate Fathers Day and the fact that all the metal work is done, I bought myself some presents!
Bring on the shine!
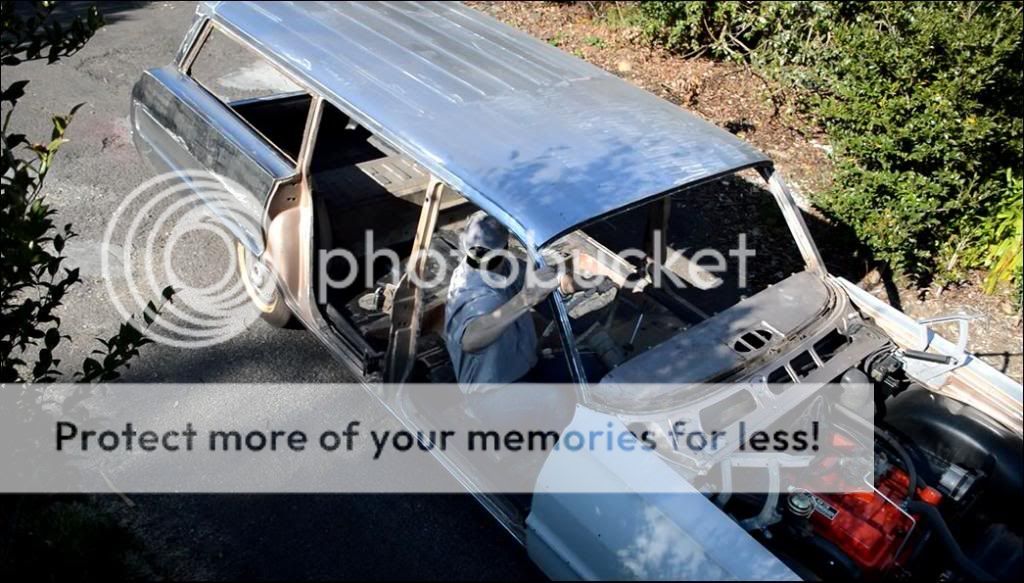
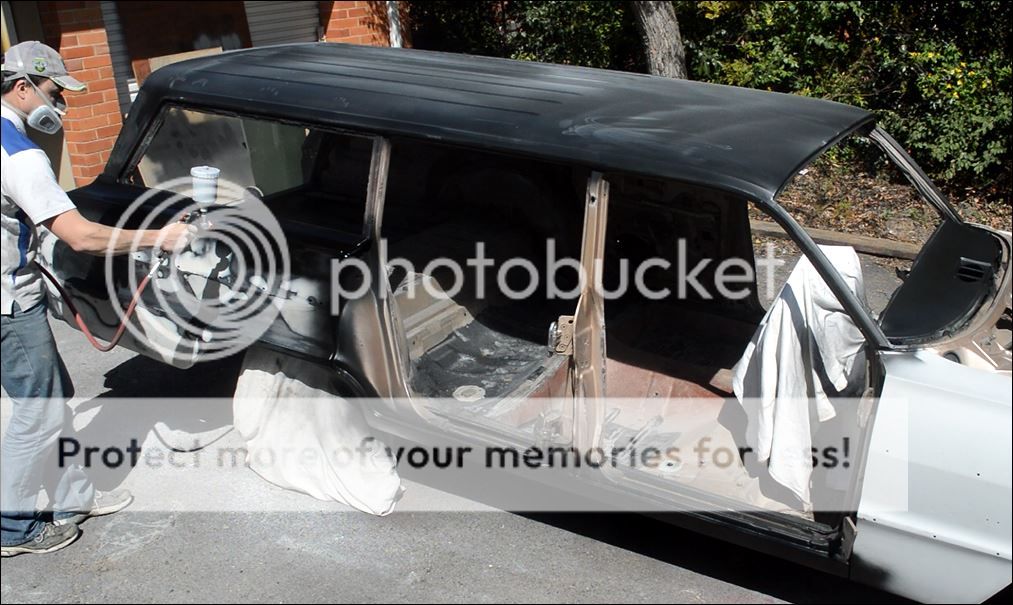
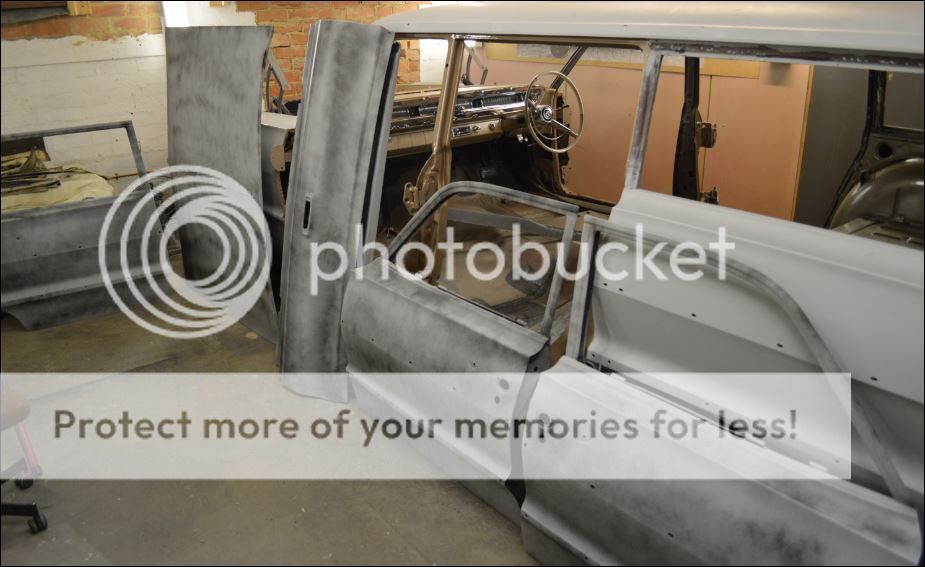
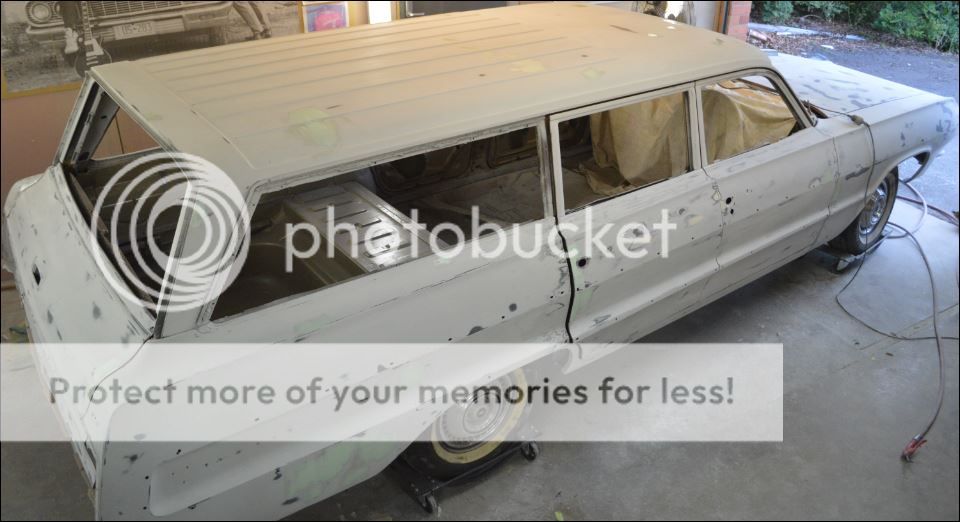
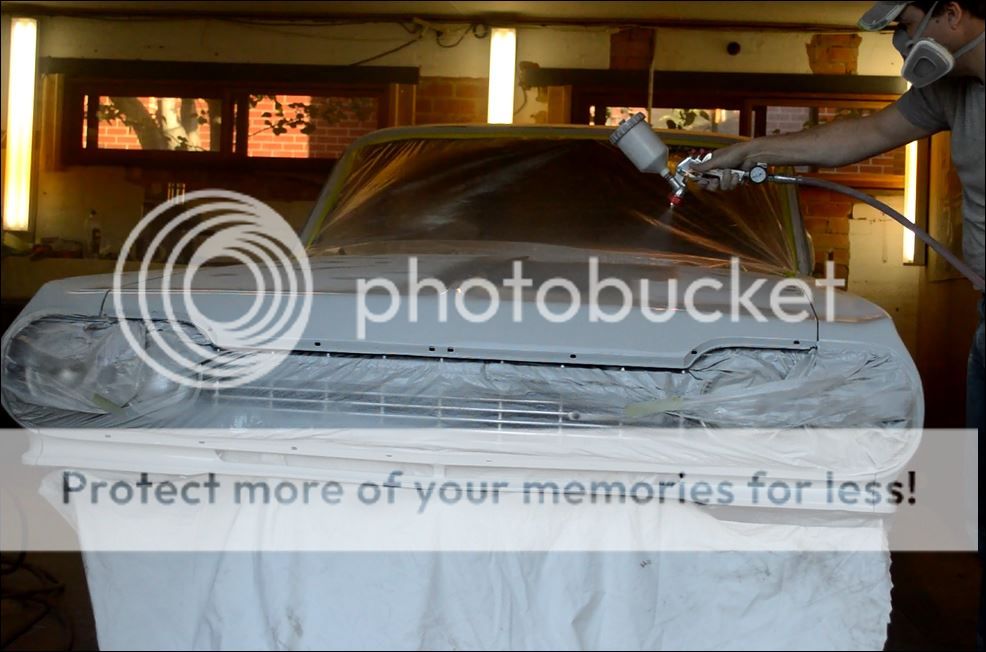
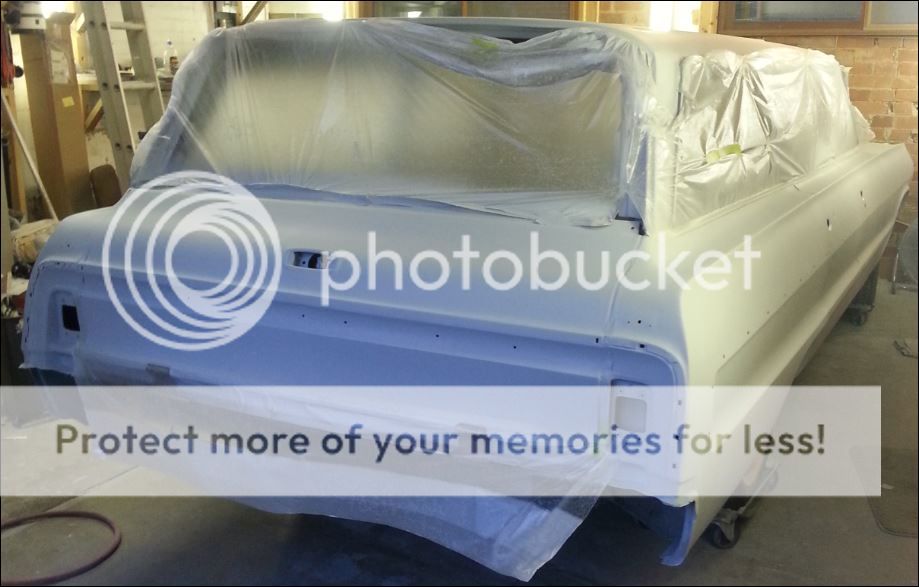
Then it was out into the sunshine to reverse it into the climate controlled cross flow solar spray booth!
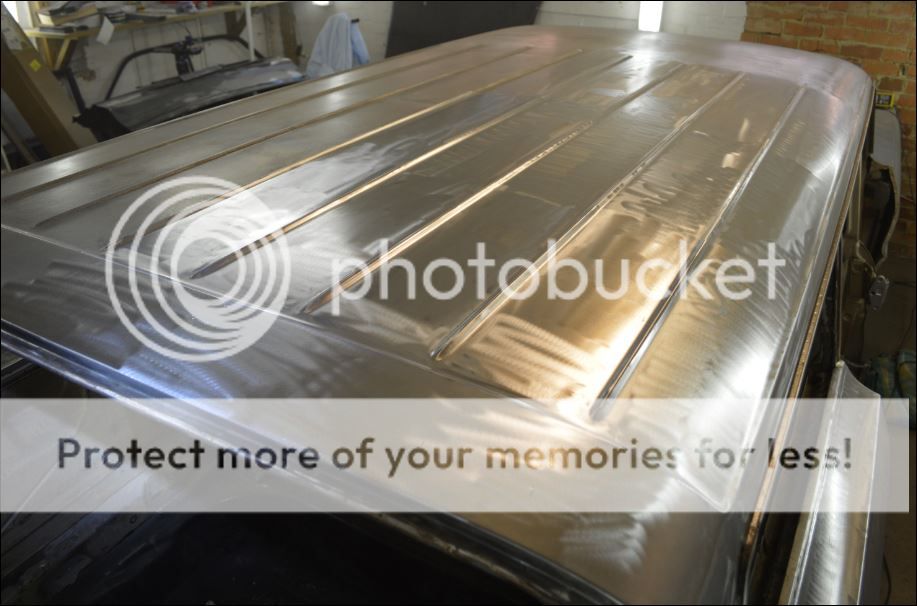
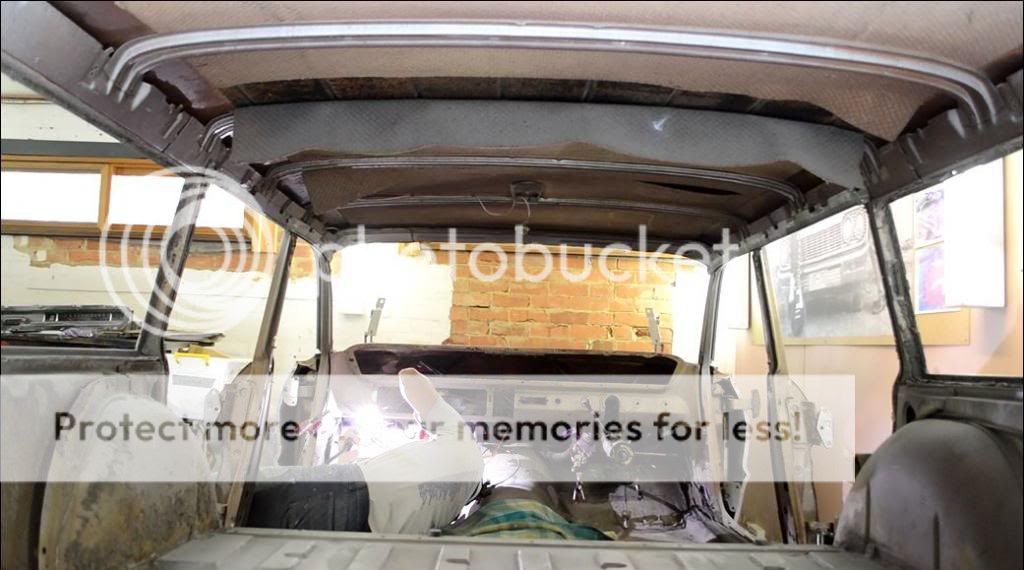
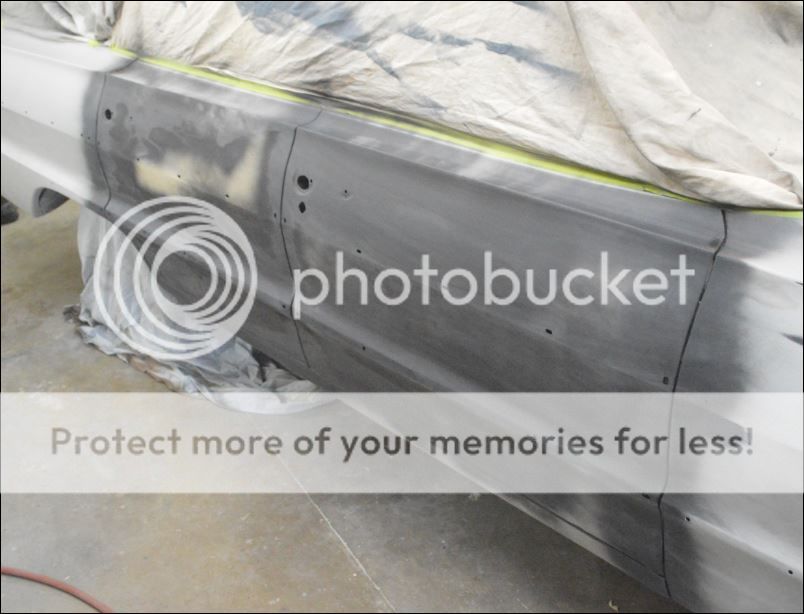
3 hours worth of de-oxing with steel wool, wet rags, dry rags etc, etc. (I forgot how big these roofs are!)
........and then it was black! Bit of a milestone seeing it all sealed up again after being naked for 7 years.
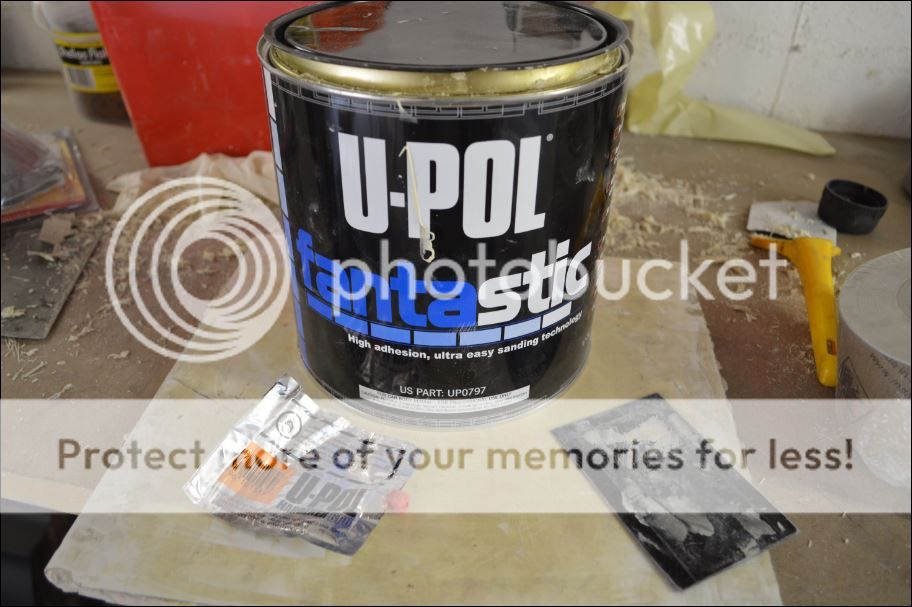
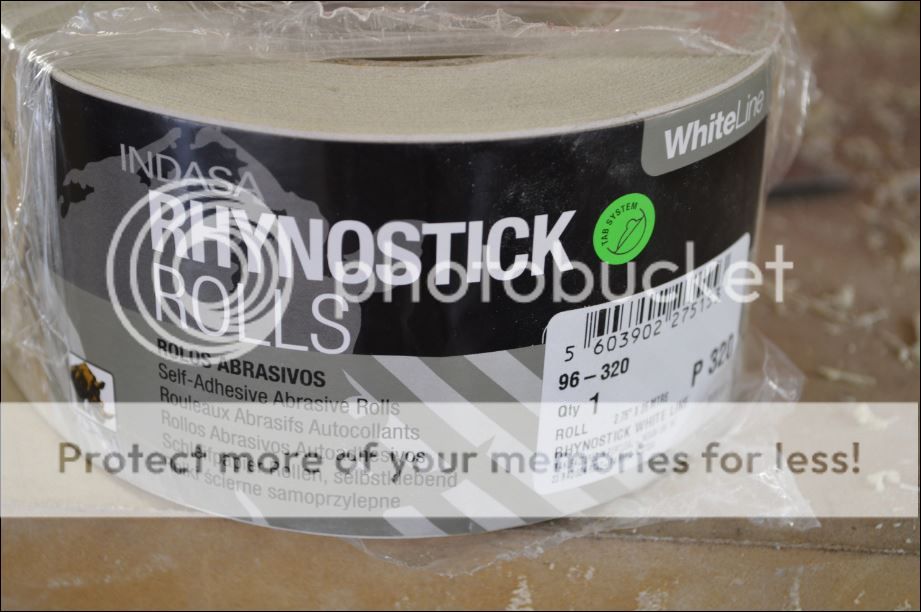
Filler of choice is U-Pol "Fanta Stick" and paper is Indasa 80/180/320.
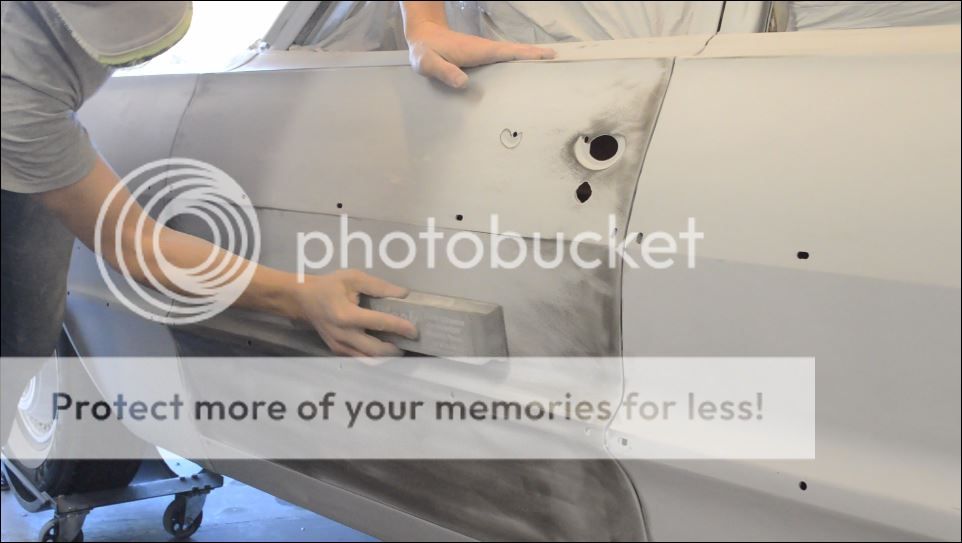
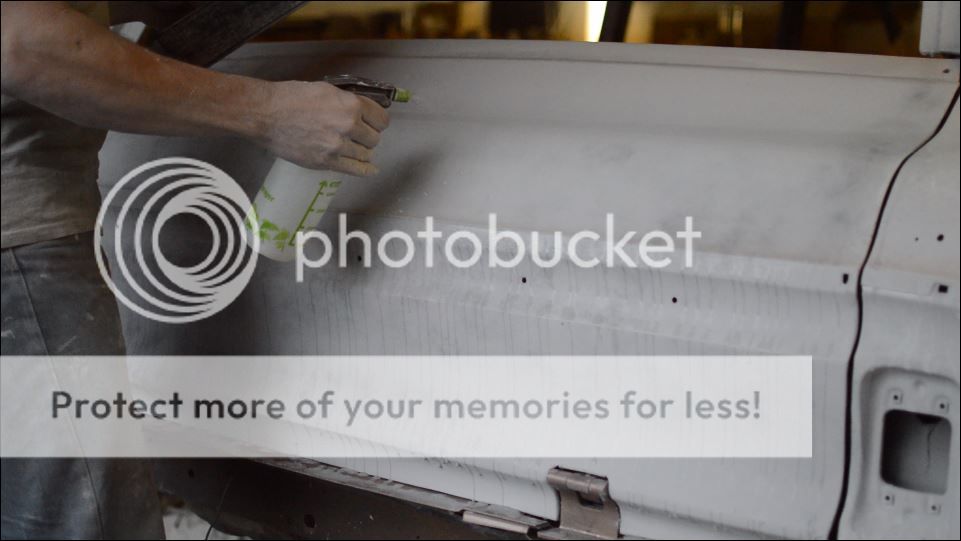
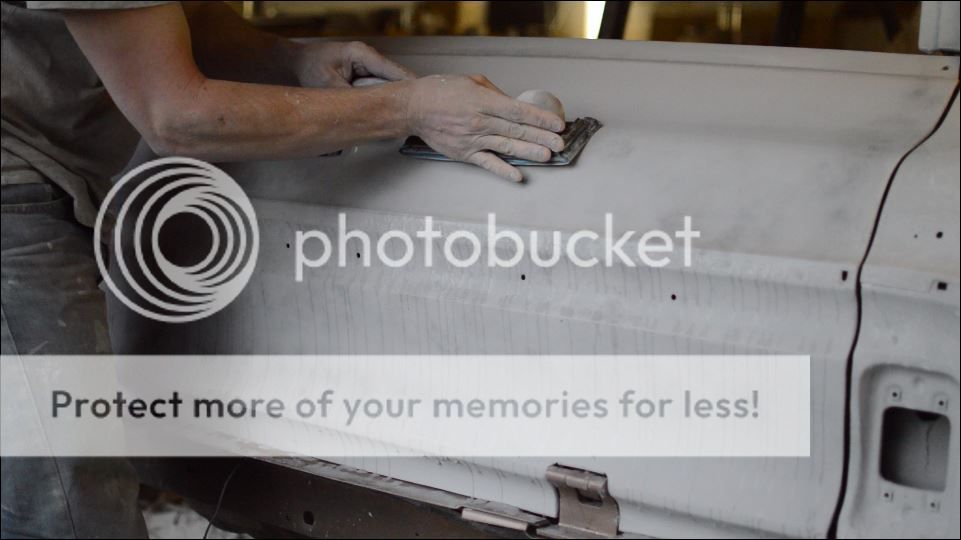
Started with the left rear which after two bouts of open heart surgery was the waviest.
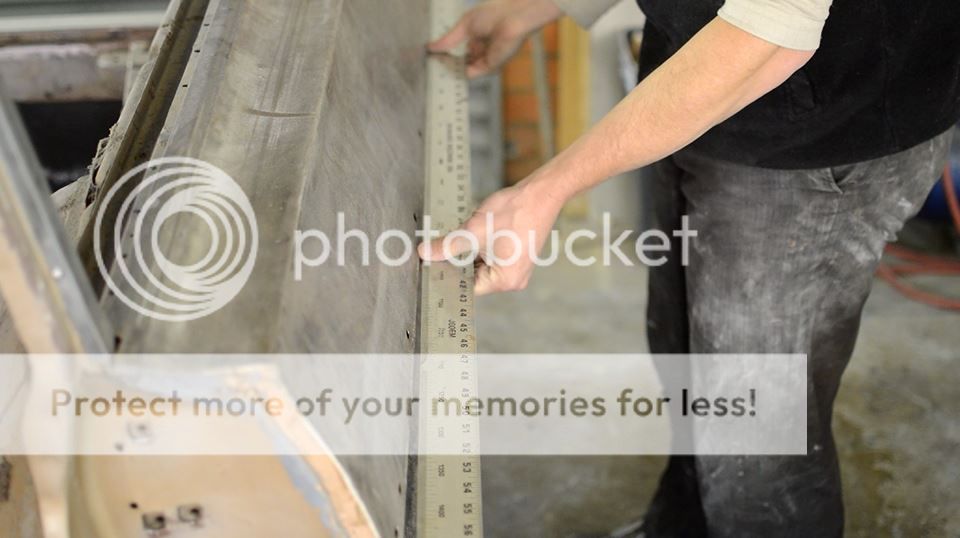
Made a template off the other side and then out with the tape lines and the big long metal straight edge. My preferred method is to creep up on it slowly so top third, bottom third, then middle third over three straight days.
If I did this for a living I'd go broke!
Right Quarter was a bit ropey in spots particularly behind the wheel arch. Cutting filler is a horrible job but on mild spring evenings it aint too bad!
The top of the tailgate also got a skim after many years of having guitars and music gear dragged over it.
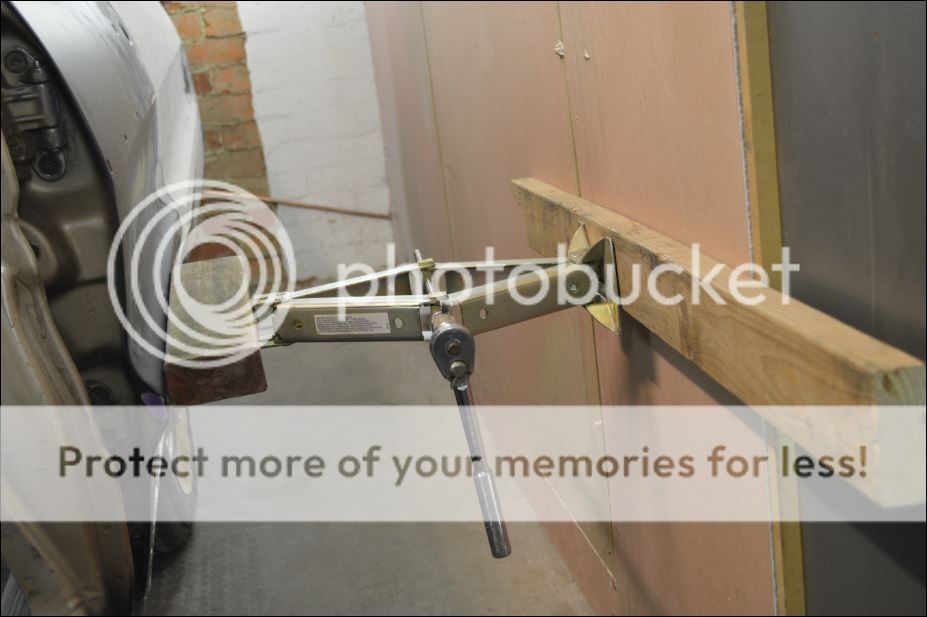
The next fix was a strange but effective one. 1 in every 2 of these 64 full size chevs has "balloon doors" - that is doors that bow out along the trim lines. Unfortunately mine is one of those - don't know if they were like that from factory or they shift over time. Anyway, straight edge shows a 10mm bow out.
The fix...? Car jack, tape measure and sturdy wall!
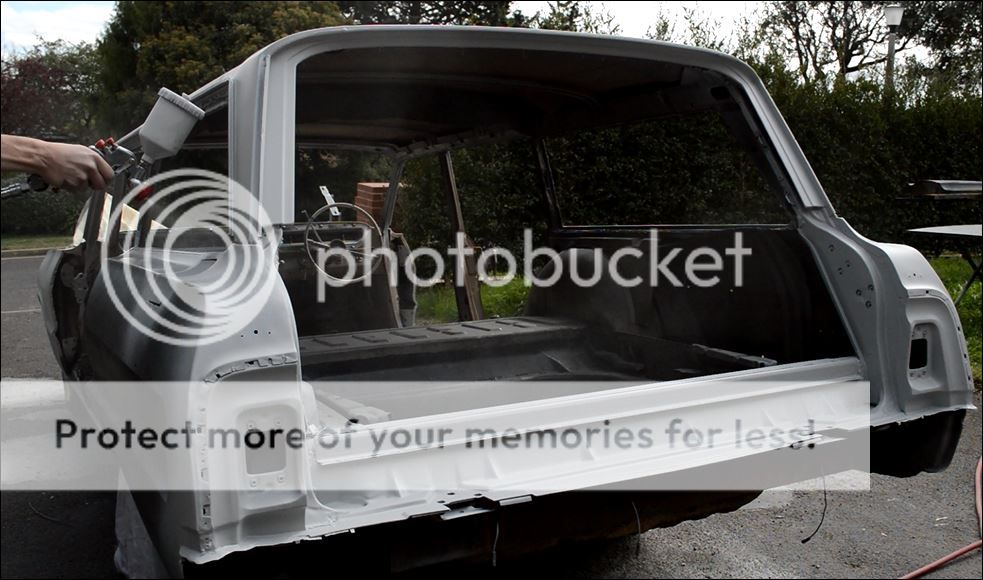
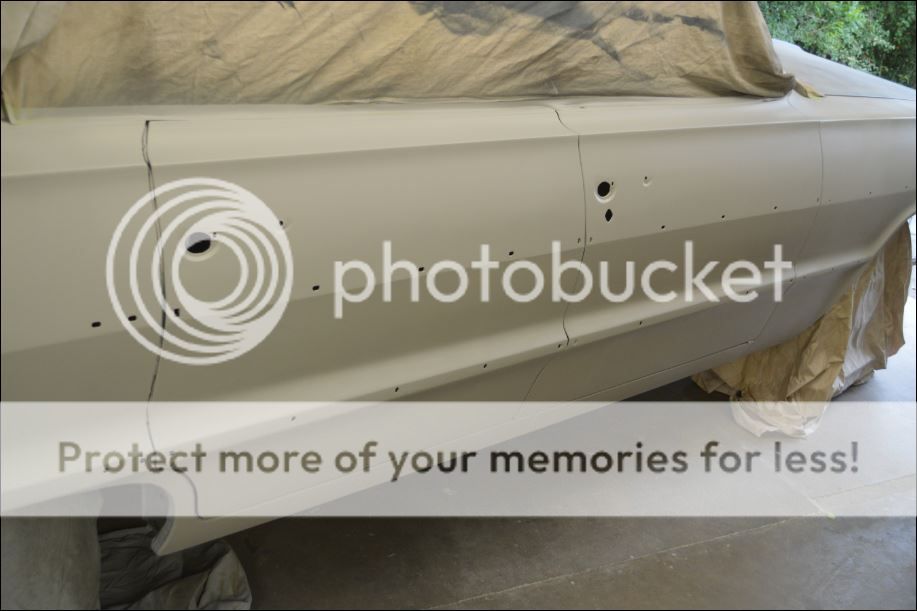
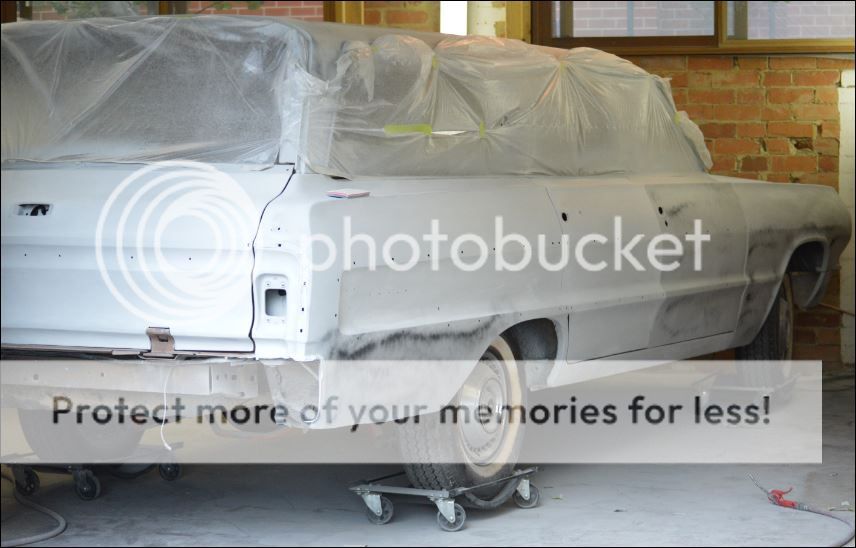
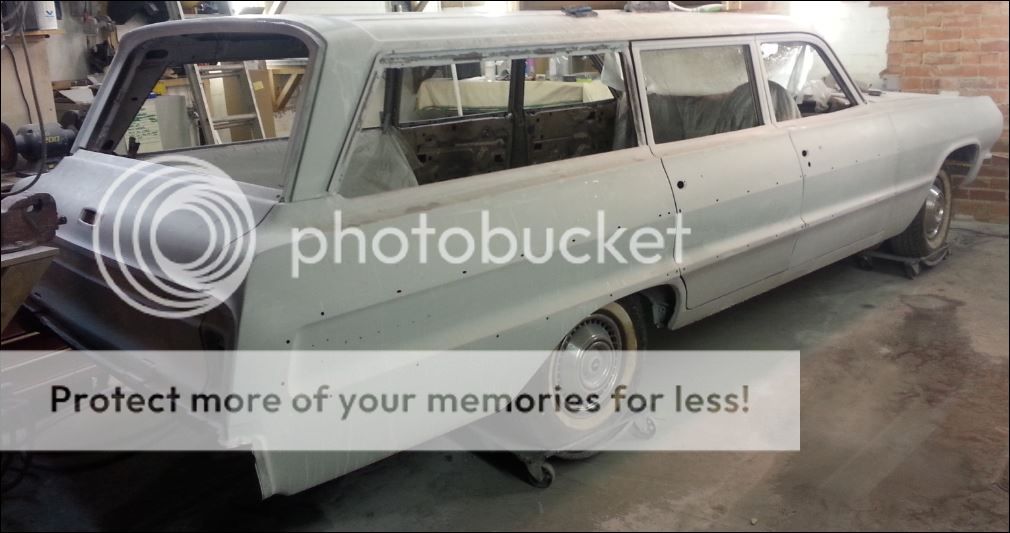
From there it was a quick re-etch with the Epotec 408...
And then its first coat of High Build Primer.
And so that brings an end to the daily posts - the primer went on 2 weeks ago and I've been working on the dash and the steering wheel over the past fortnight while I let the primer cure.
Thank you for letting me hog this forum for a week or so. There will be plenty more to show you between now and Christmas so stay tuned!
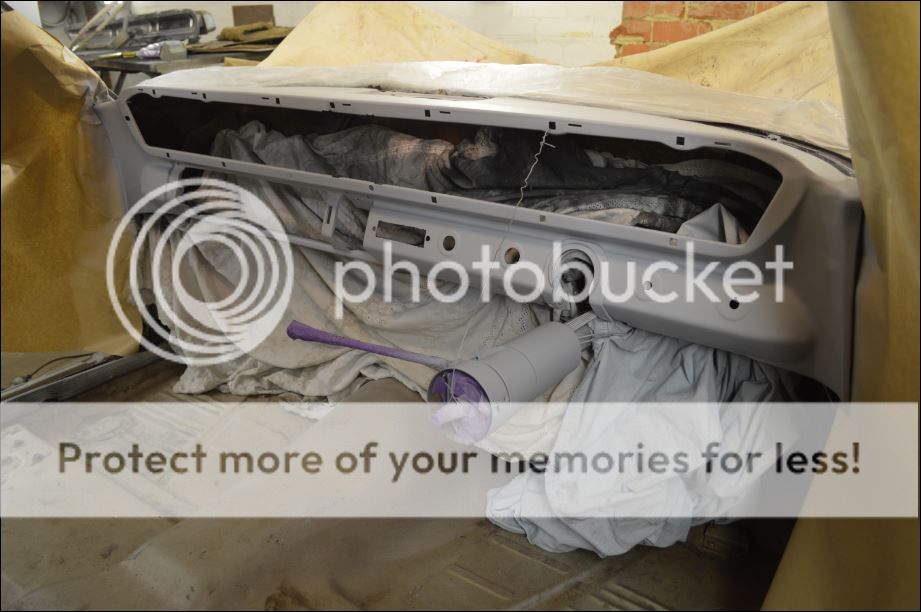
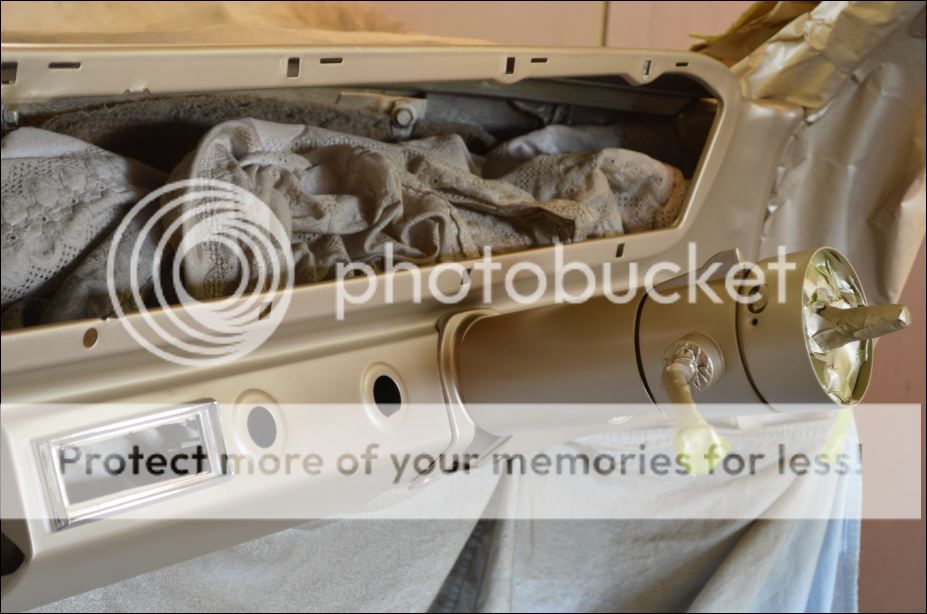
On to the dashboard - a very enjoyable month blowing some paint around and actually finishing a few things.
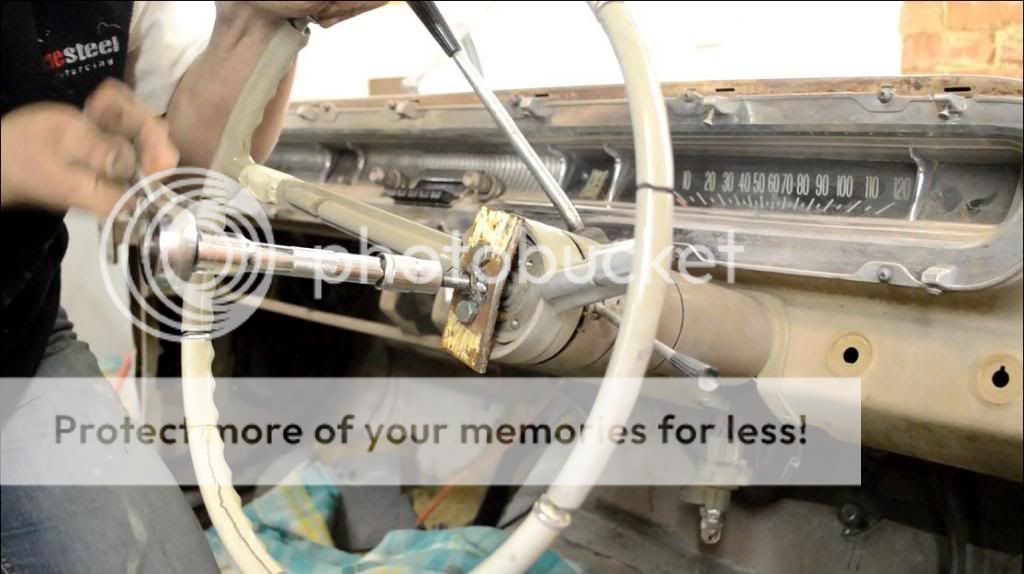
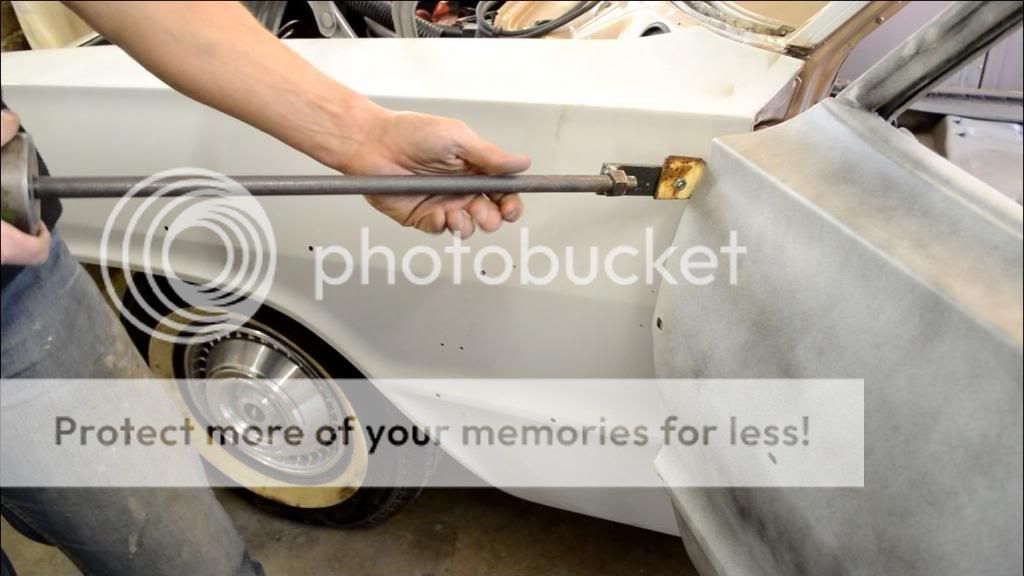
First up the wheel came off - I don't have a steering wheel puller so made one out of some old rusty flat bar.
Pulled the dash insert out
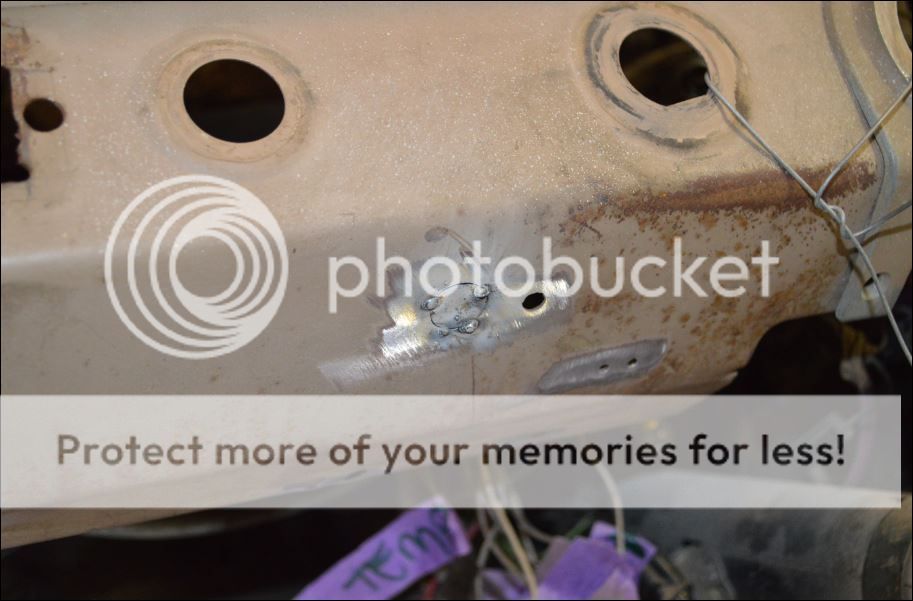
....and then set about filling all of the holes that shouldn't be there. I can only take responsibility for two of them from when I fitted a temp gauge many years ago. There were about 10 holes in all.
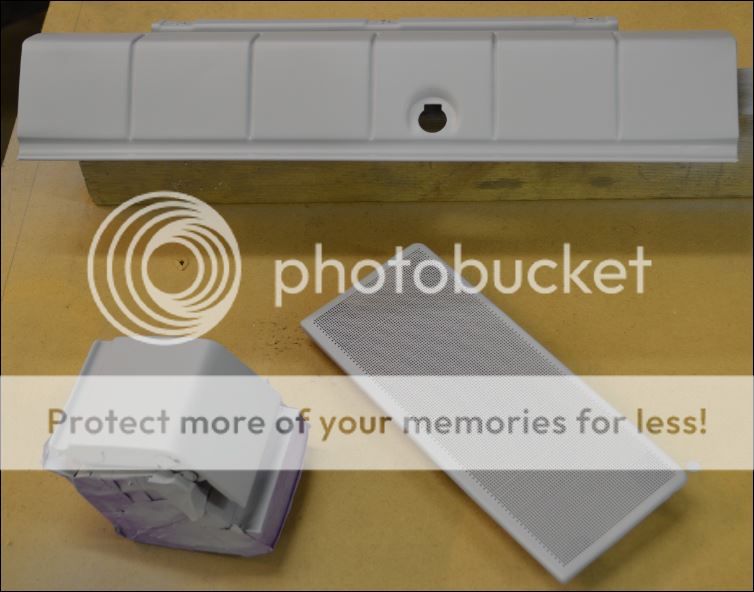
There was one biggie underneath the ignition switch that needed a round patch so migged one in and skimmed it with filler. Cleaned the rest of the dash with steel wool and thinners and primed it, along with the speaker vent, the glovebox lid and the ashtray.
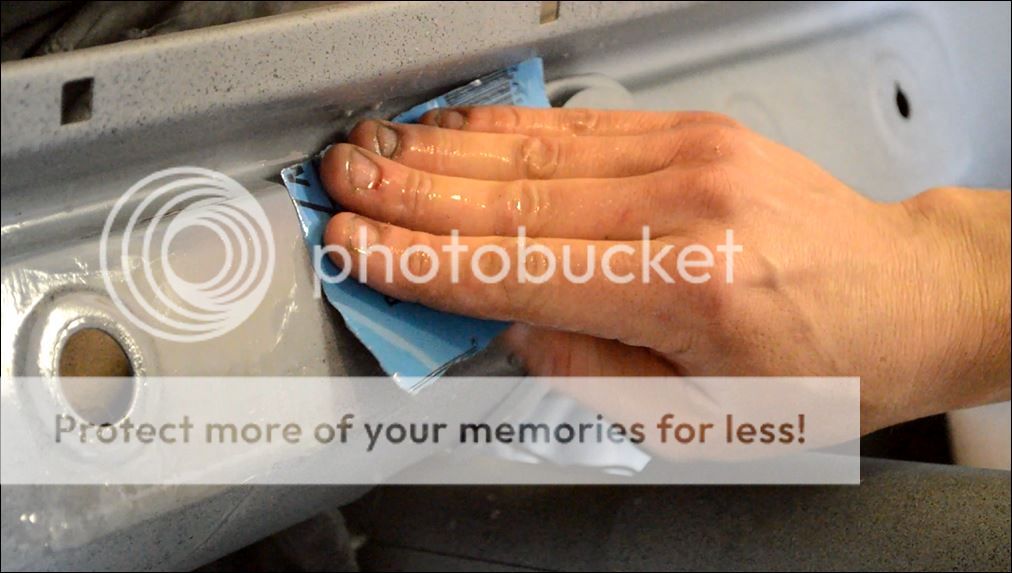
Guide coat, and a wet sand with 600...
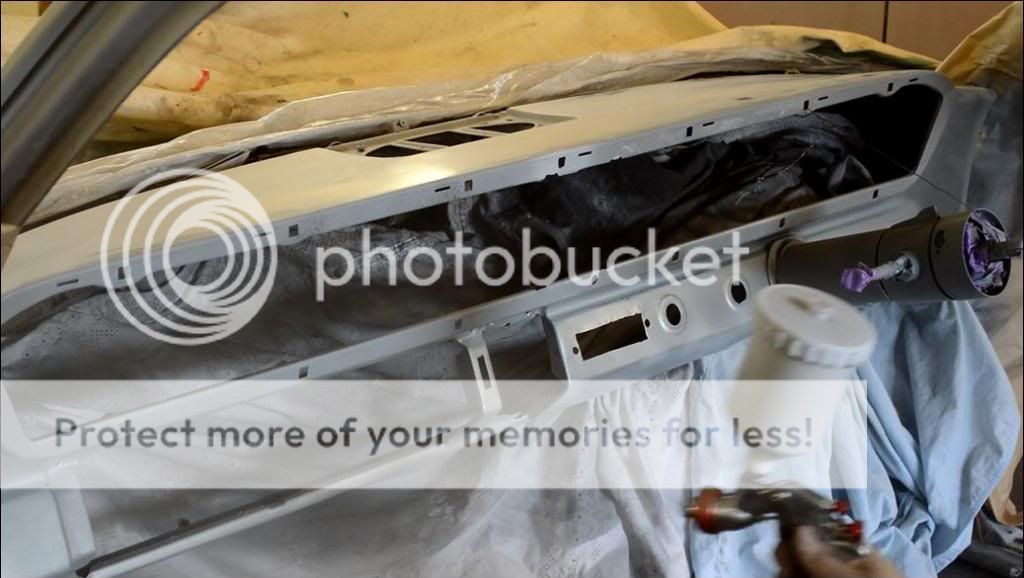
And then painted it with the correct factory fawn finish in satin metallic. I used PPG cobra base coat and "kicked it" with 10 per cent hardener for extra durability.
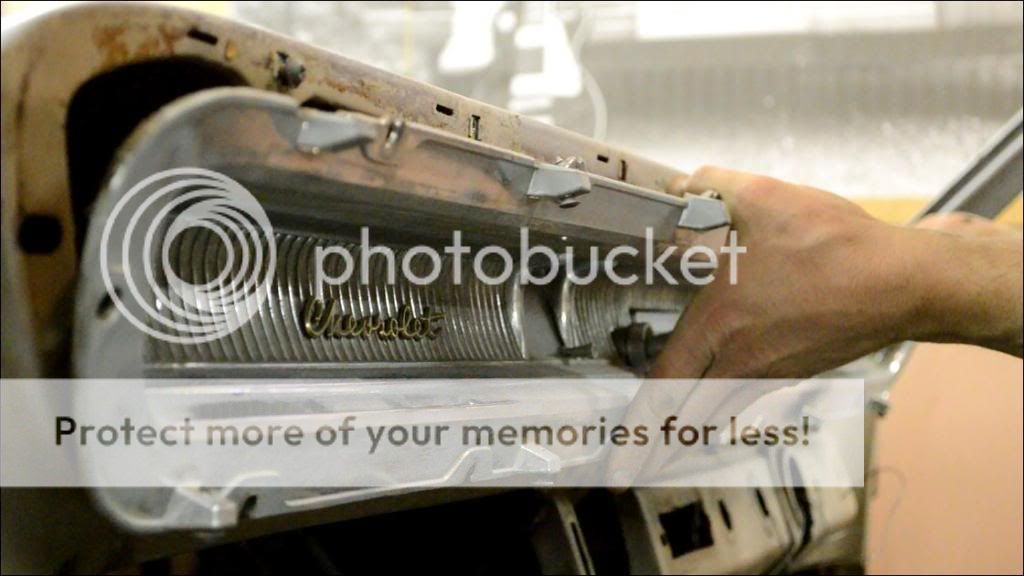
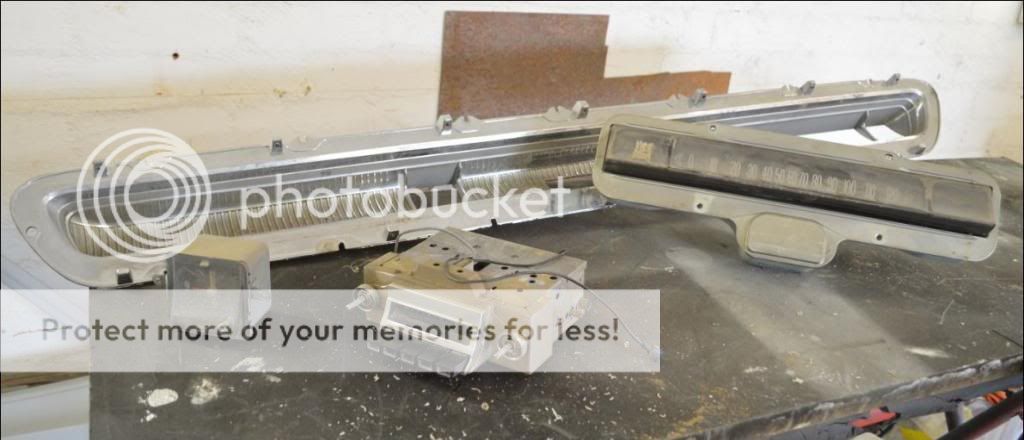
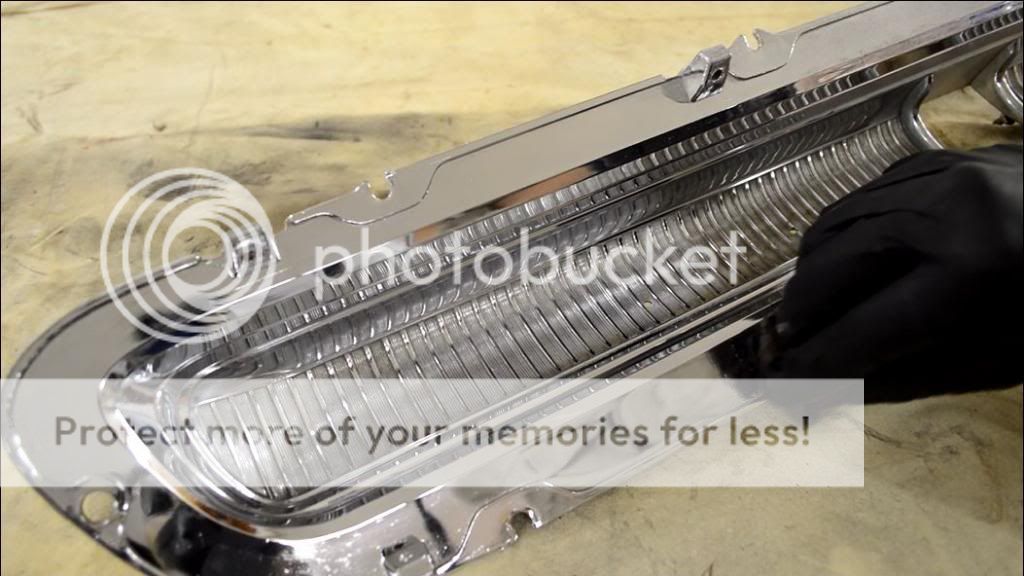
Then it was onto the chrome dash insert and gauges. Some thinners and steel wool on the chrome and it shined up like a new one
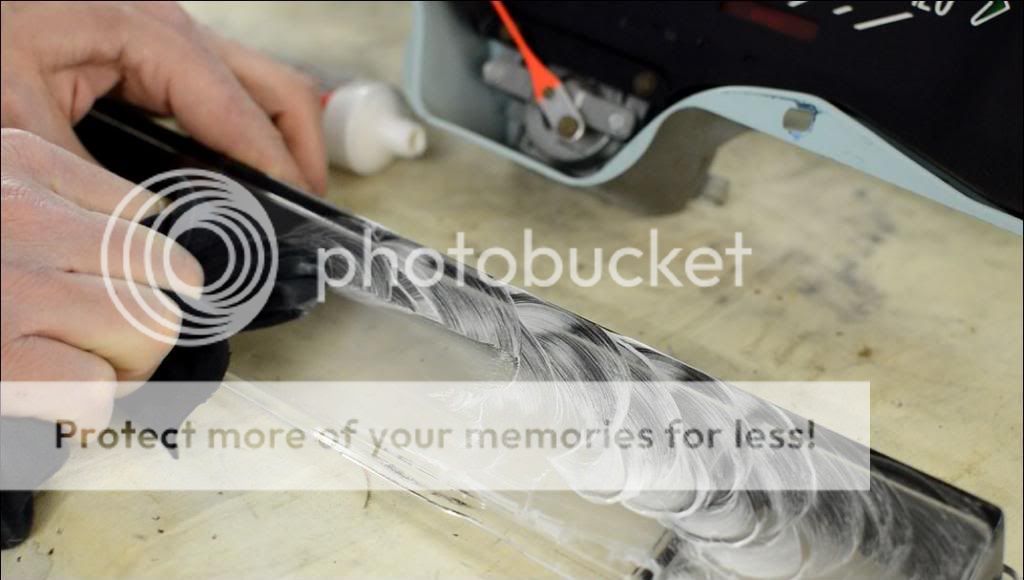
I blew the dust out of the gauges and polished up the lenses with some toothpaste until crystal clear (and minty fresh!)
...and the numbers on the odometer were crooked.....so I straightened them up..!
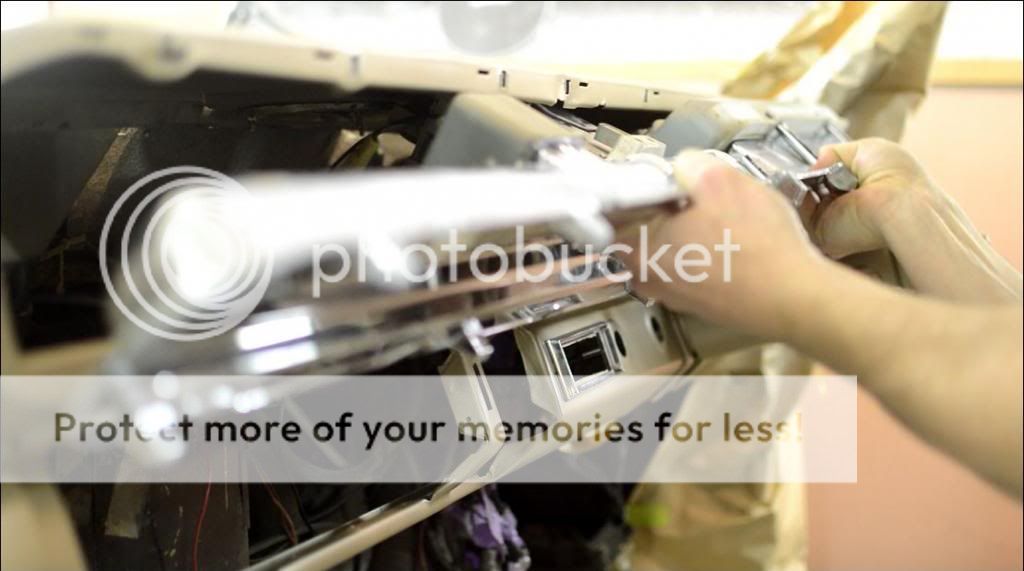
Put the dash insert back in...
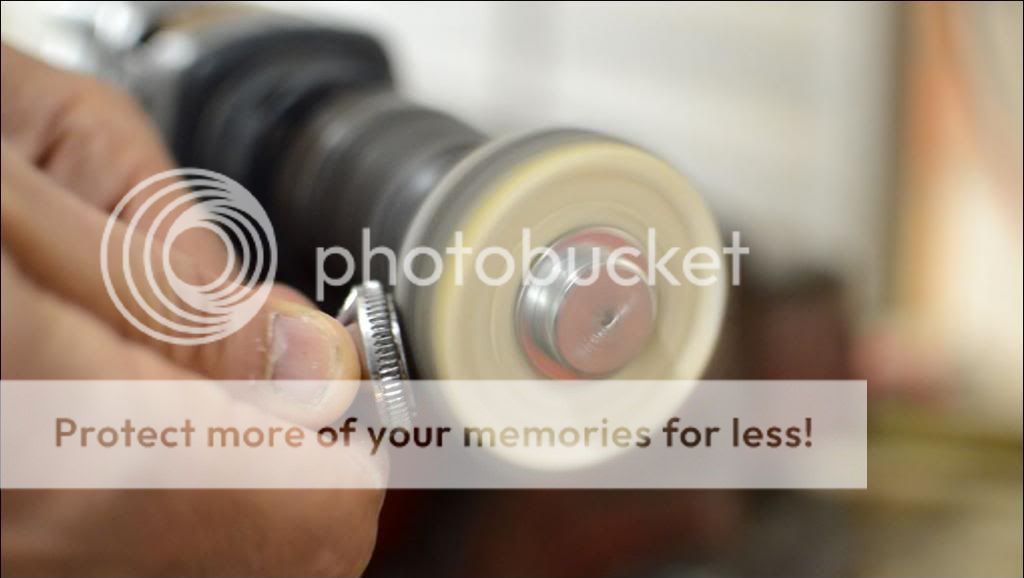
...and polished up the knobs and bezels back to new with a drill mounted buffing wheel
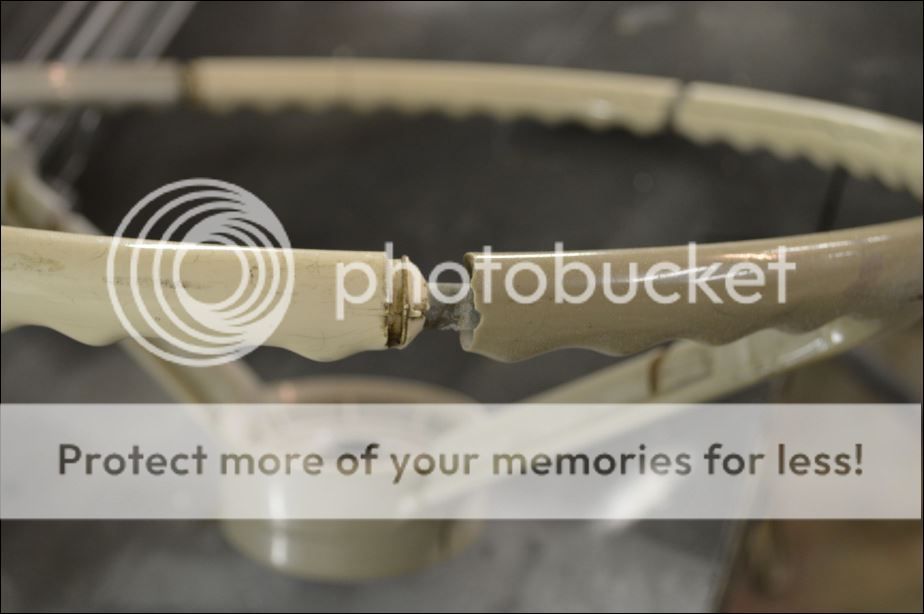
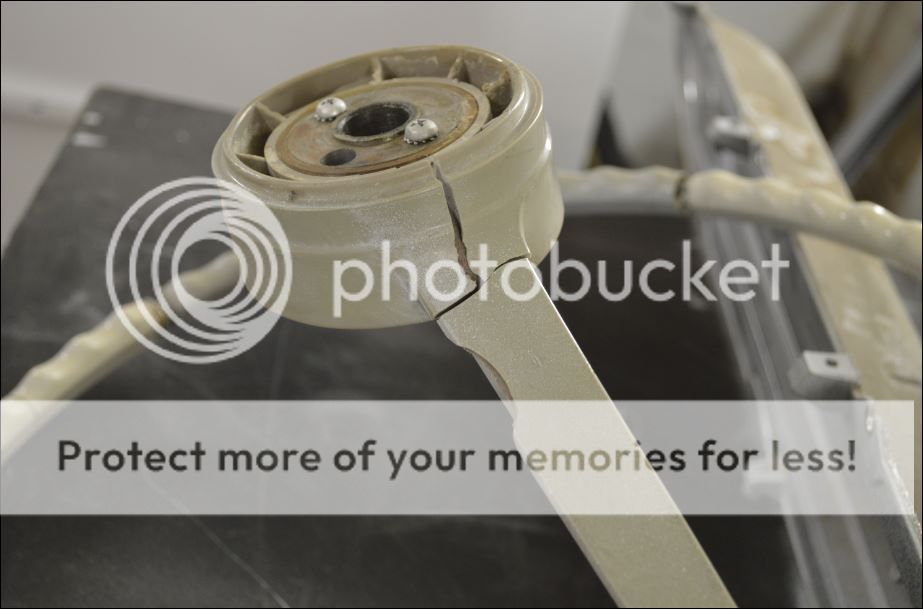
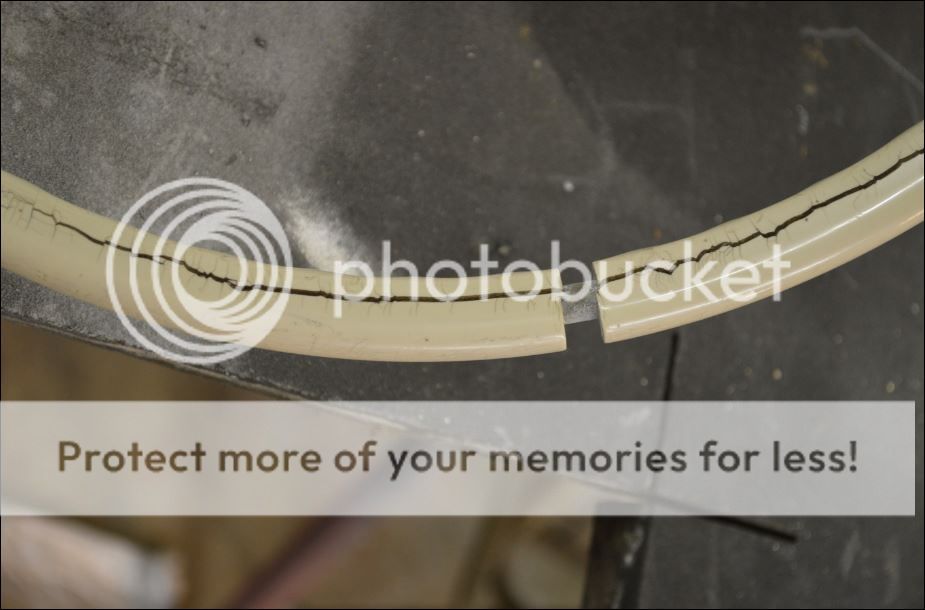
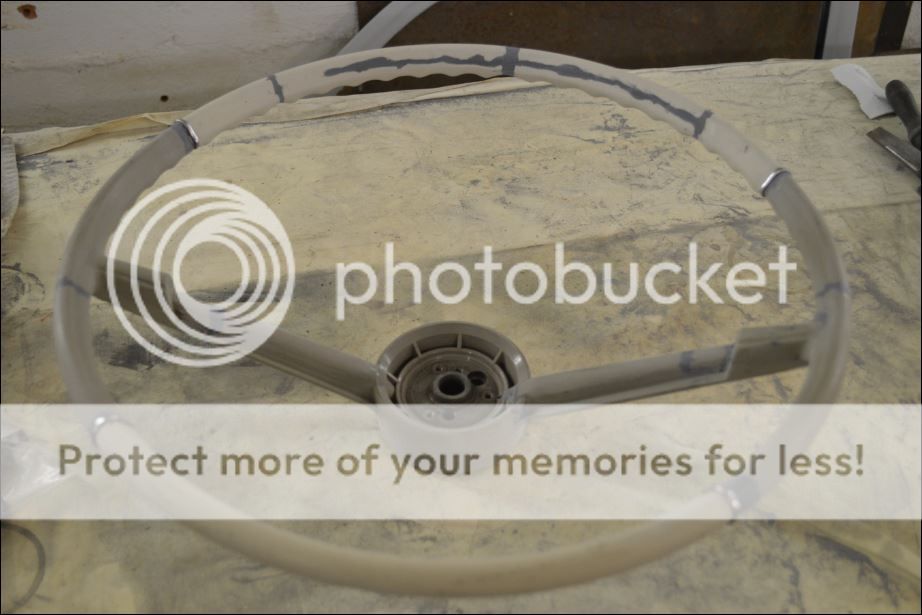
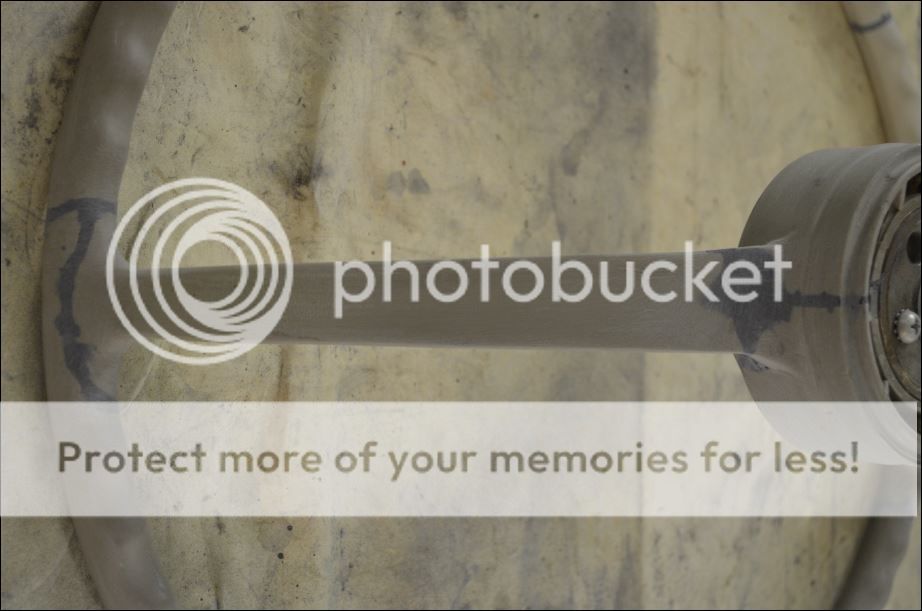
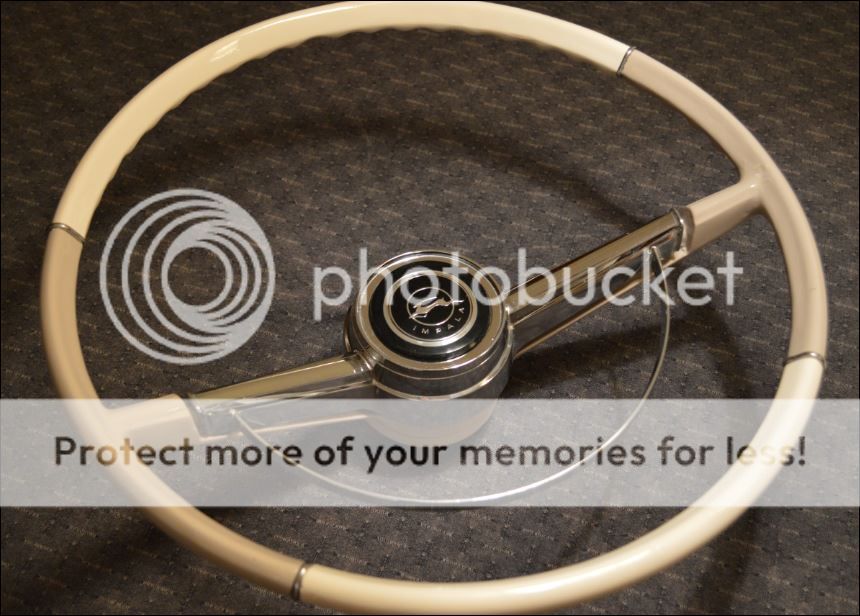
Then it was onto the steering wheel. As you can see it has the common "old-car problem" of cracks and gaps as a result of the plastic shrinking on the frame
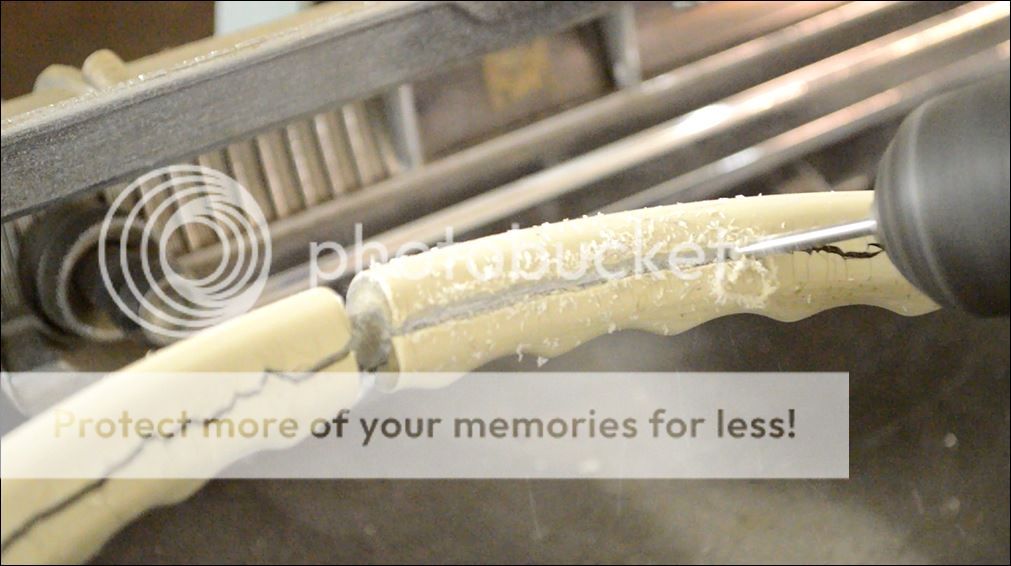
So I channelled out the cracks with a dremel engraving bit and drilled some holes to allow the epoxy putty to key into it.
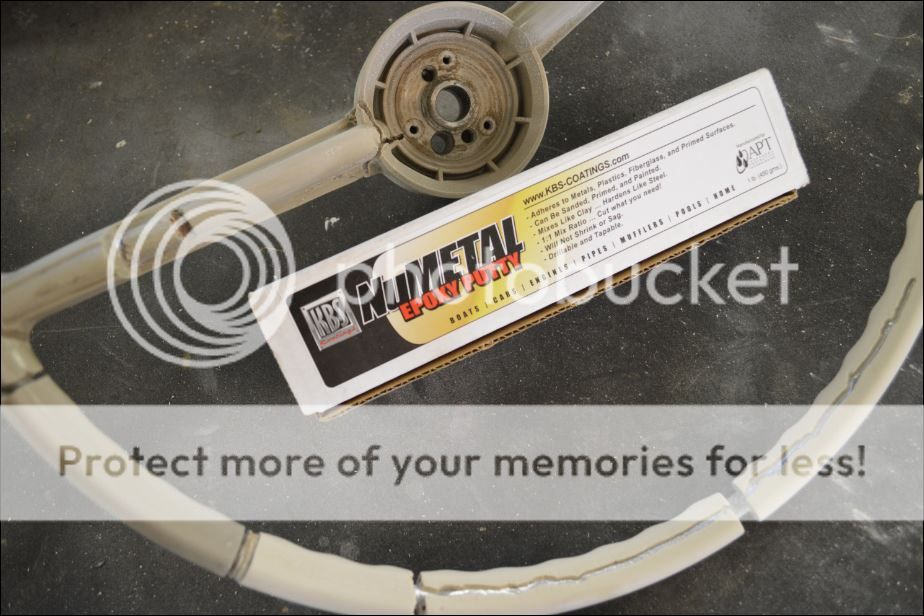
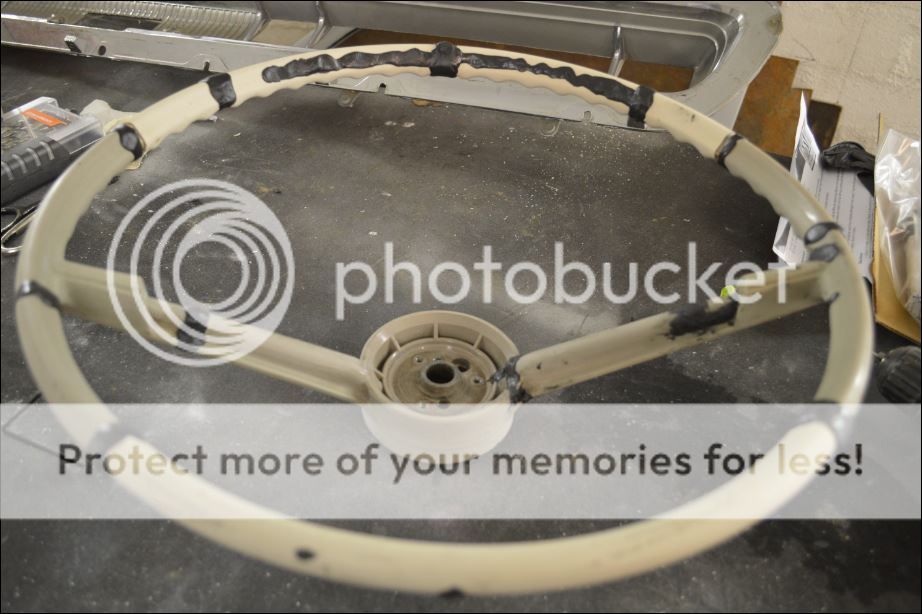
The epoxy putty is from KBS - mix part A and B together in equal amounts and press hard into the gaps. Sets like a rock overnight.
From there, I used a round and a flat file and some 80 grit to smooth it out...
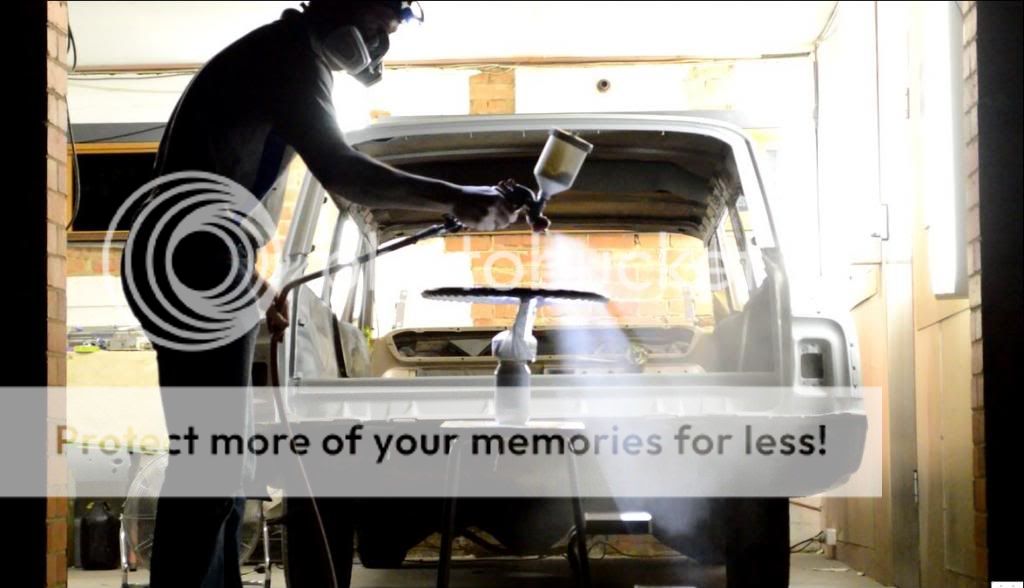
...then some 320 grit, some plastic adhesion promoter, some 2k primer and then repainted it in 2k in the factory 2-tone colours. (Ivory and Fawn).
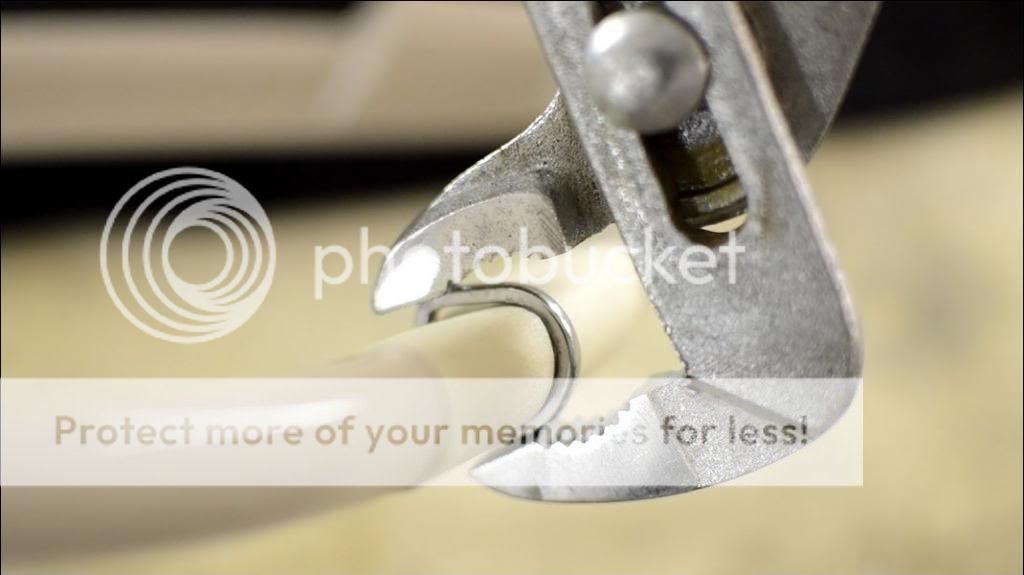
Squeezed the chrome rings back onto it and polished up the horn ring
...aaand it's finished.
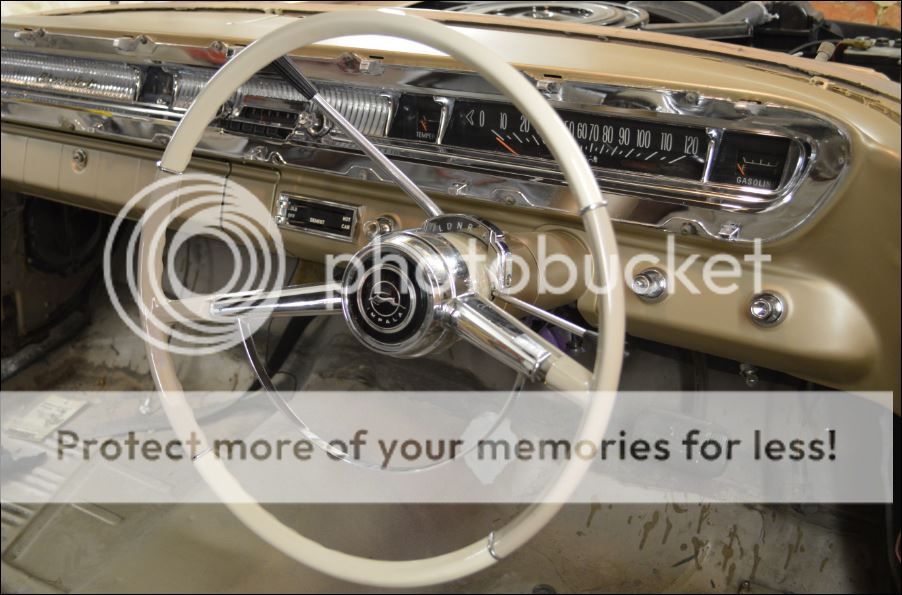
Wheel back on and dash finished.
Next up is some colour on the rear floorpan and some base and clear on the insides of the doors, the tailgate and all the jambs.
The result on the steering wheel is amazing ... you sure didn't take the easy way out!
What year (Yank equivalent) dash would be in your RHD '64?
__________________
Prince Edward Island
'64 Parisienne CS "barn find" - last on the road in '86 ... Owner Protection Plan booklet, original paint, original near-mint aqua interior, original aqua GM floor mats, original 283, factory posi, and original rust.
Yes, it's a 1961 Pontiac dash so clock, radio and speedo spares are poncho....however, here's a mystery:
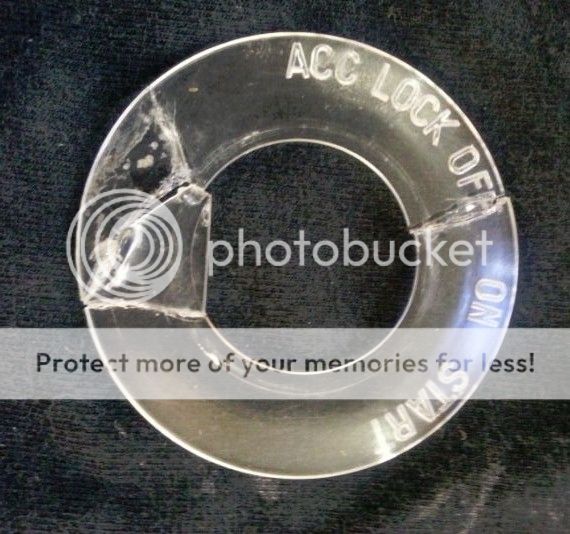
While cleaning everything, I attempted to restore the ignition indicator bezel but sadly it just fell apart in my hands. I was hoping that it's a standard 1961 ponti part but I'm not so sure - all photos I have seen of 61 pontiacs have no bezel and there is nothing in the Chevrolet catalogues.
Can anyone help or is this one of those super rare, Australian only, RHD parts...? (note that the circle in the middle has a flat profile at the bottom, and it was originally black with white writing)
Lots of painting before the car gets.....umm....painted (!)
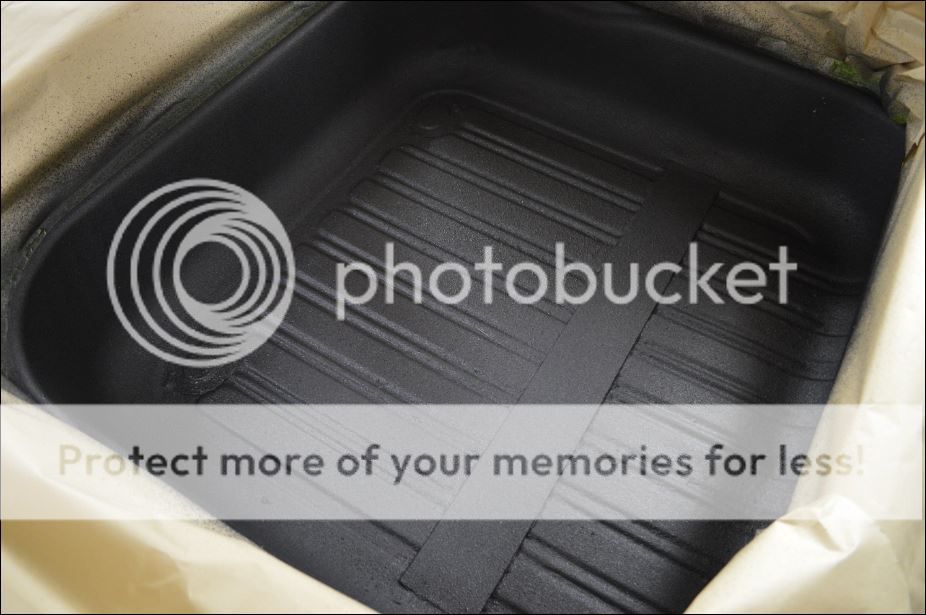
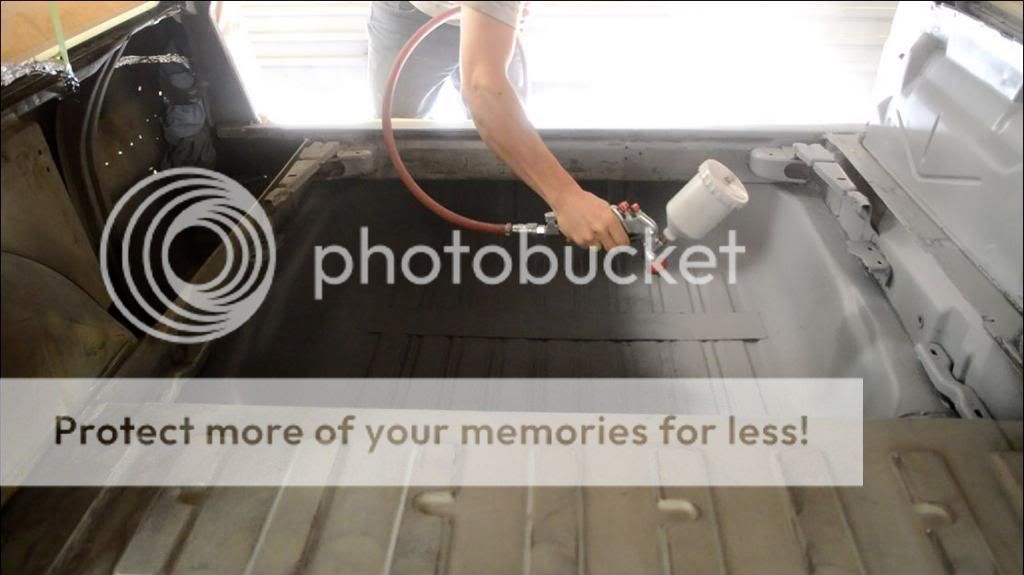
First up was the rear floor pan which houses the luggage compartment and the spare wheel well (in behind the right quarter panel). They were both in reasonable shape but there was some rust pitting in the floor. I had painted it with POR15 back in 2007.... only to have it flake off where it wasn't rusty. I decided to take it all back to bare metal but after 20 minutes with the rapid strip disk, it was actually holding on extremely well in most spots. I cut my losses, re-etched the bare metal sections and hit it with some texture coat.
Gave it a quick 2k prime...
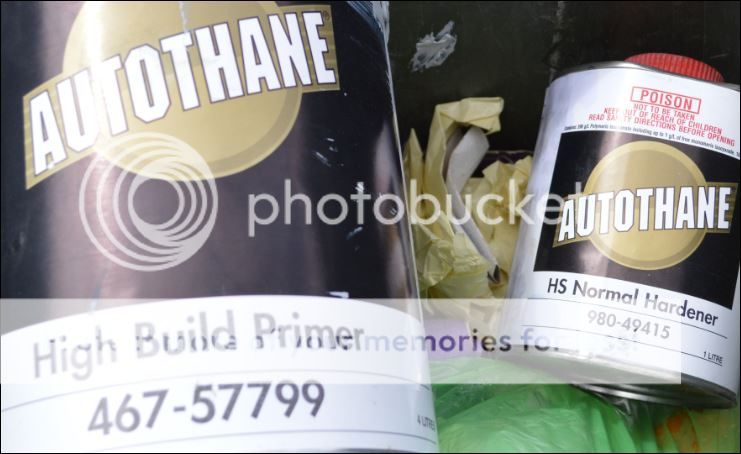
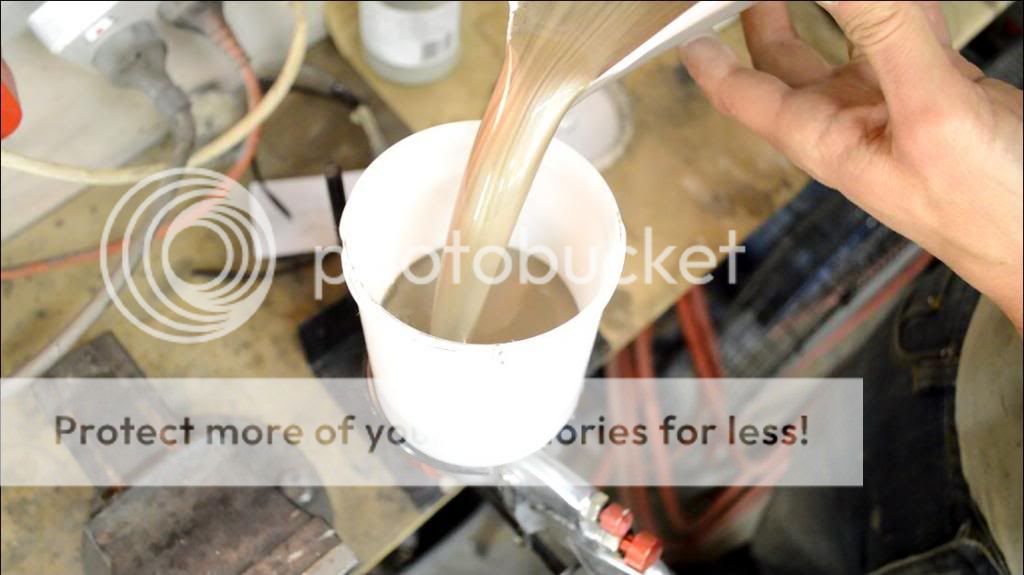
As per factory, interior colour is fawn metallic. In this instance I wanted a bit more paint durability than what I did on the dash as luggage and spare wheels would be tossed around on them. Therefore I mixed 50 per cent base coat (Cobra) and 50 per cent clear (Autothane) before adding hardener and reducer (4:1:1) to create a basic single stage paint. Not as shiny as separate base/clear which is ideal and it's plenty durable.
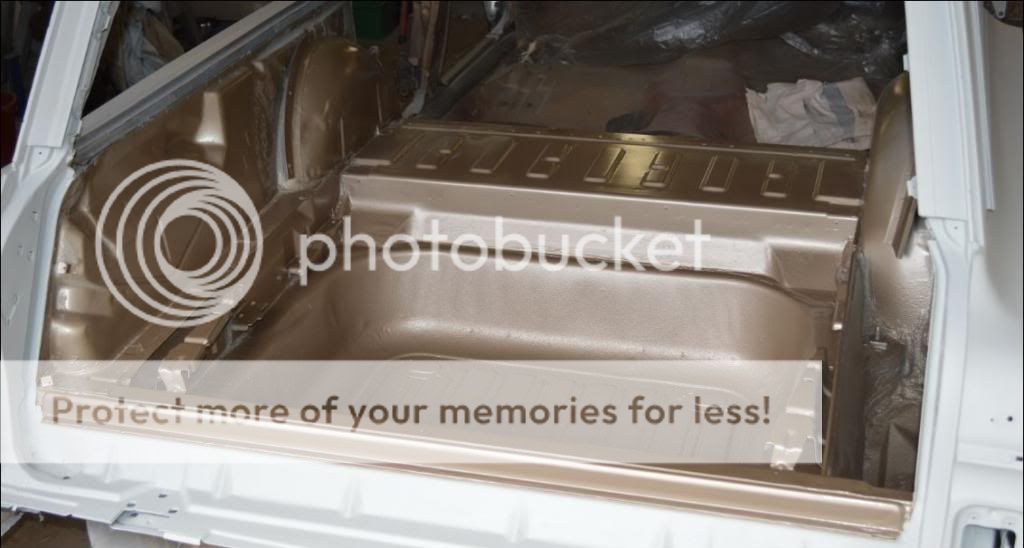
Floor Finished
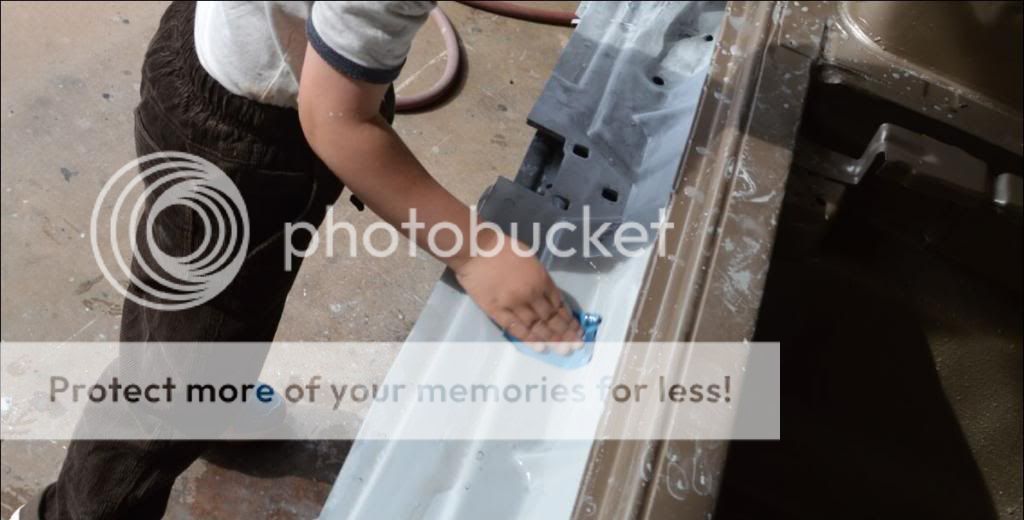
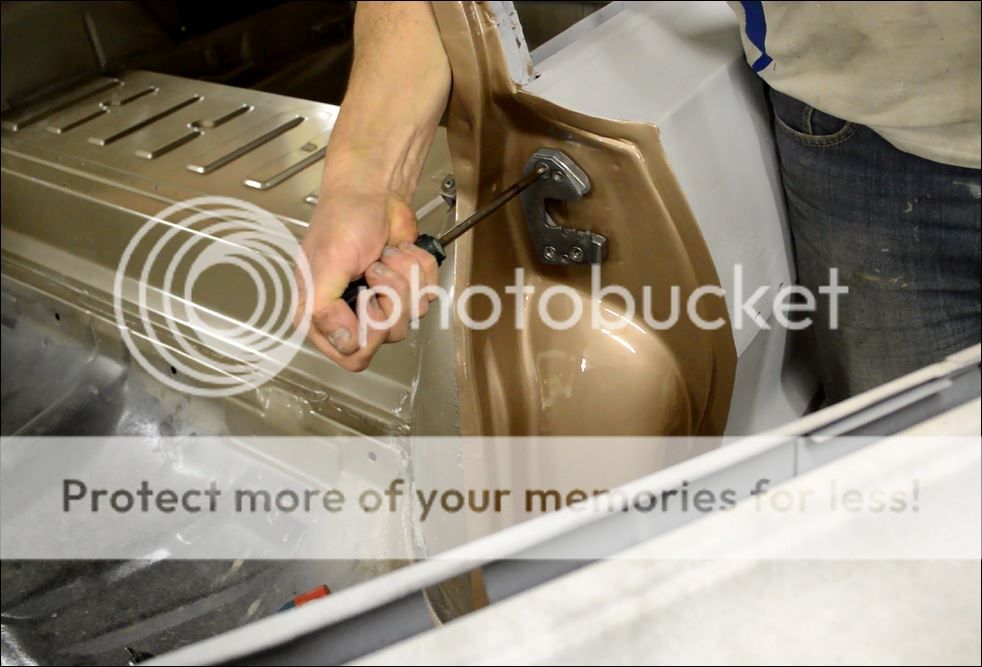
Then it was on to the jambs. A wet sand with some help from some little hands.
And some extra attention on the door jambs. As much as the factory paint runs in the jambs are authentic, if I painted over them it would look like I did them.....so off they came!
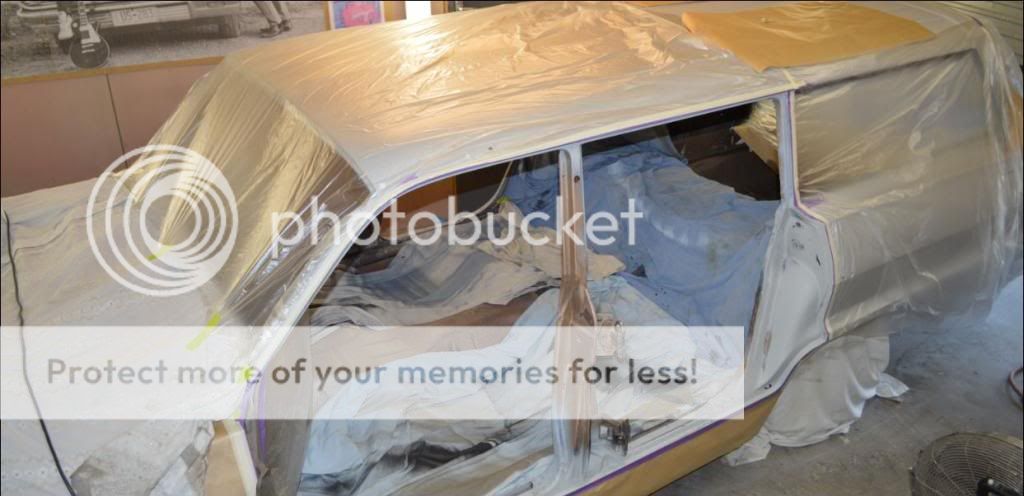
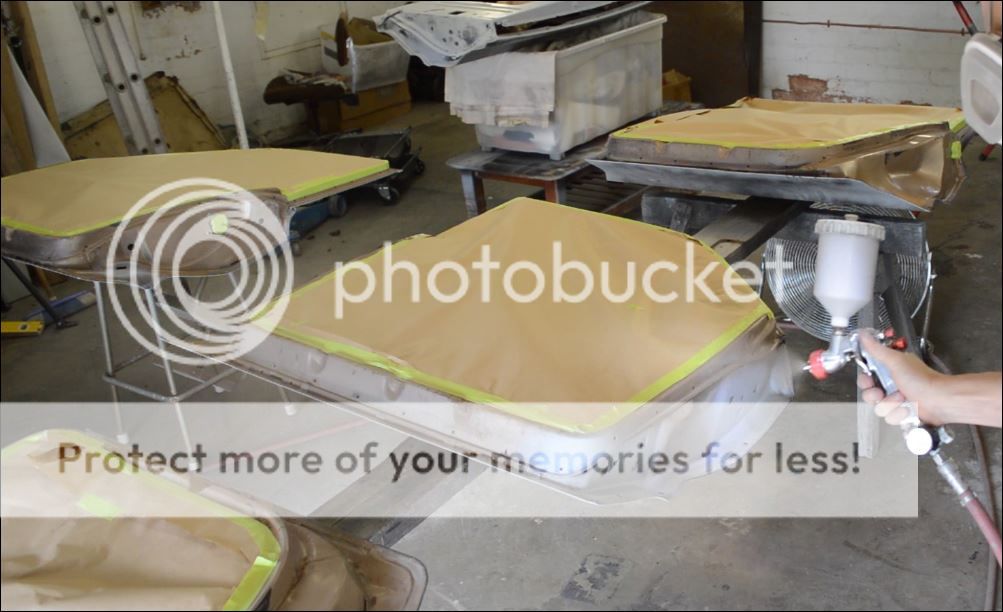
Then it was a sea of plastic, sheets, paper and masking tape...
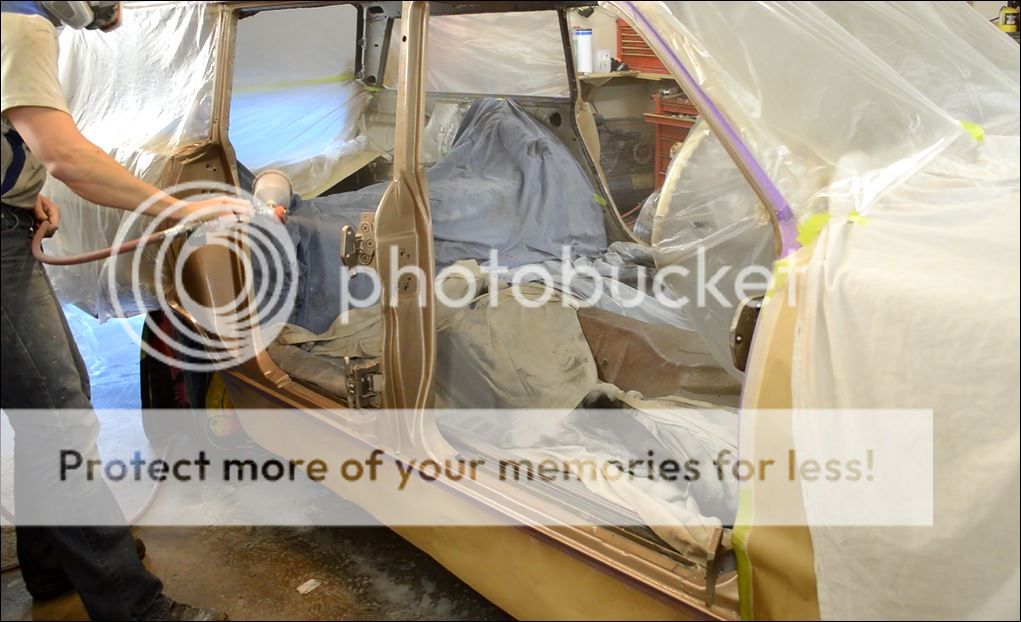
...Saddle Tan metallic base coat
.....and the Autothane Clear.
I decided to guide coat the panels off the car to save me a little bit of masking of the jambs
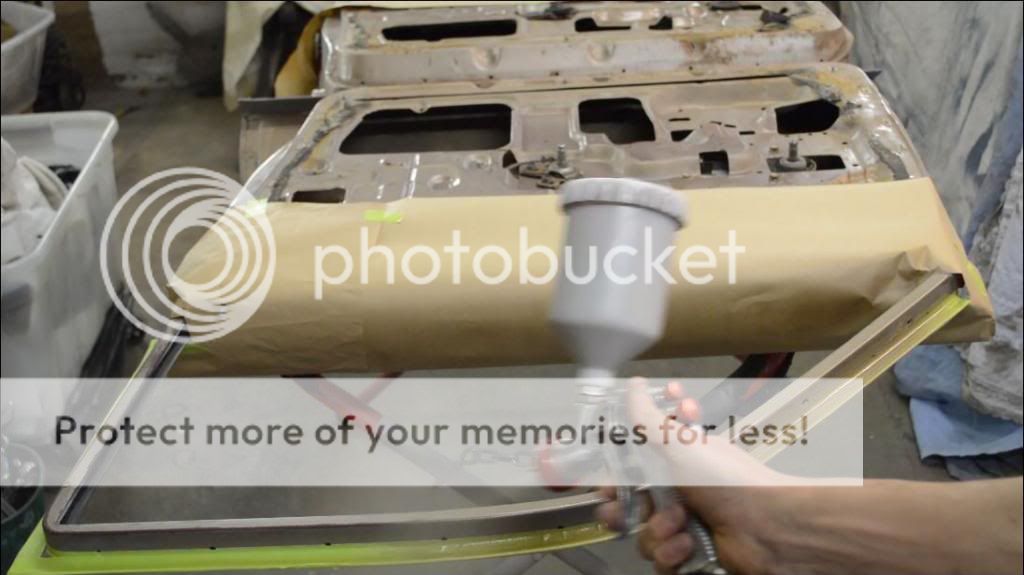
Flipped the doors over and then 2 lots of painting on the insides. First up was the satin fawn on the door tops...
..and then Saddle Tan base/clear on the rest, including the tailgate and bonnet edges.
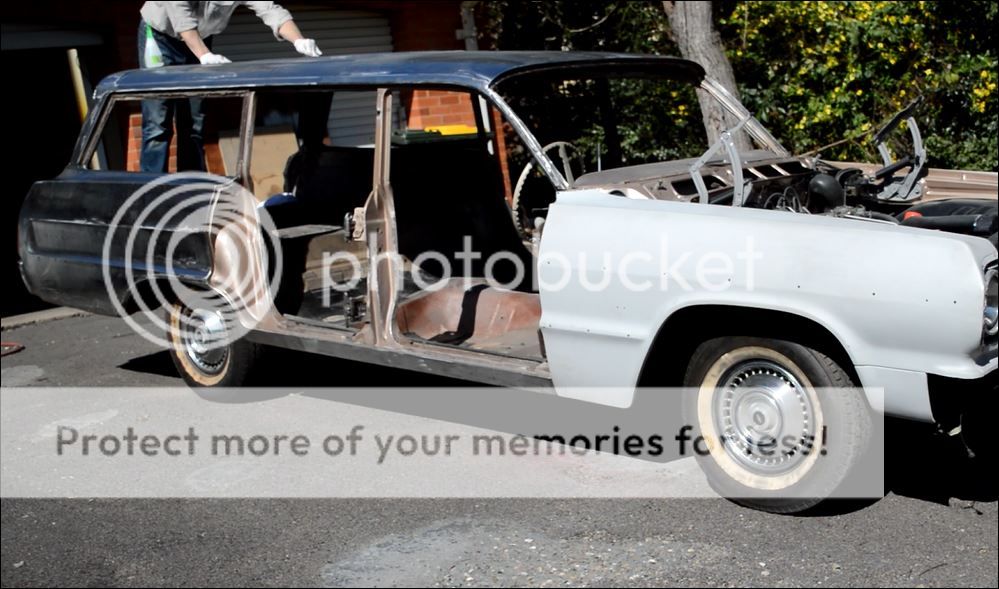
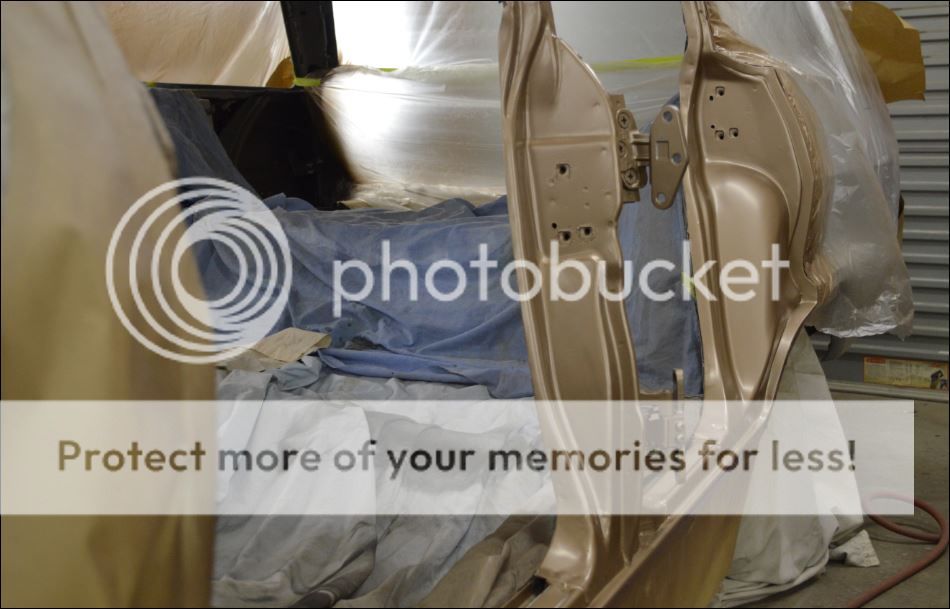
Doors, Tailgate and bonnet back on...
..and here's the subtle colour change from inside to outside. It was an extra day to get this right but another one of those small factory correct things.
From there it was 3 solid days of lining up panels and getting the gaps as even as possible....which once again highlighted the ballooning in the doors as they taper inwards at the edges.
Out with the slide hammer again to try and improve the fit. I wasn't able to completely get rid of it but it's better.
...and finally a quick celebratory drive before getting stuck into 2 solid weeks of blocking.
A well deserved drive! You are certainly giving 'er!
__________________
Prince Edward Island
'64 Parisienne CS "barn find" - last on the road in '86 ... Owner Protection Plan booklet, original paint, original near-mint aqua interior, original aqua GM floor mats, original 283, factory posi, and original rust.
What a fantastic post! Your are supremely talented in so many disciplines! Documenting and photography is certainly one of them.
With the detail you show, it's not hard for anyone understand the cost in having a car restored. It's all those special little details that take all the time...and have such a bearing on a successful result.
Cheers, Mark
__________________
65 Laurentian post, 67 Grande Parisienne 4 door HT.
After the excitement of getting the car back together and to the block sanding stage, I unfortunately took a few very big steps backwards which has cost me a month.
If I wasn't such a perfectionist, I would probably be showing you pics of it being wheeled into the paint booth....but unfortunately it's been another 100 hours of grinding, welding, filling, sanding and re-priming.
Essentially I wasn't happy with the doors. Despite staring at them for the whole year and fixing the ballooning at the bottom of each of them, I just plain forgot to run a straight edge over the top trim line. It became very obvious when I started blocking the guide coat that all was not well as you can see below:
A quick check with the straight edge and the centre of the door swelled outwards by 3/4 of an inch. My heart sank as I realised how much work was still in front of me. As a last ditch effort I taped the upper mouldings on to see if this would somehow be a miracle cure but alas no - it made it worse.
I posted on the Chevytalk forum in the US to see if anyone else had the same issue with their doors and most reported that they did. One suggested that there wasn't alot of precision back in the day with the die stamping and pressing the door skins onto the frames and that they were most likely too big for the frames. The consensus was to just leave them as no-one would really notice it.
Well I noticed it and just couldn't live with it.... so I rolled up the sleeves.
The bulge was too big to shrink using the shrinking disk and not big enough to cut - so I decided to shrink them with the mig. I removed the paint along the trim line and another strip a few inches higher. I then put the mig on the lowest setting with lots of wire speed and laid a line of weld, quenching every 3 inches and using the hammer and dolly to control the waves. I left it slightly high and then ground off the weld, quenching again with a wet rag which pulled it in flush.
From there it was a case of re-etching, laying down some tape lines and skimming it with filler.
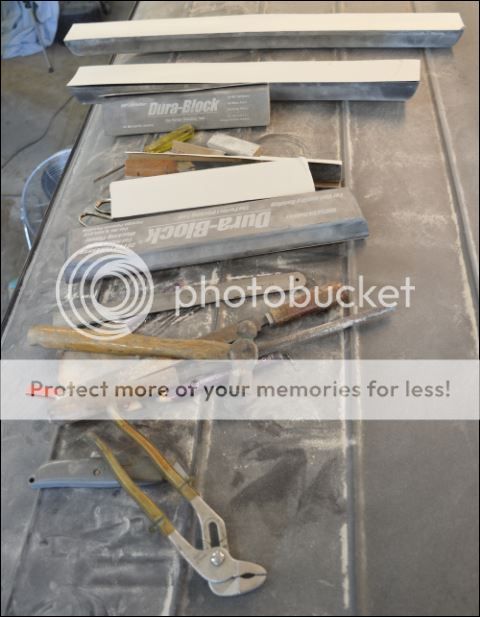
After about 60 hours I was well and truly over it...
But the trusty Dura blocks are fool proof when it comes to long straight panels:
Another re-etch...
...and a reprime with the Hi Build Primer:
...and back to where I was a month ago (but straighter!)
I spoke with the painter 2 days ago and we are good to go in about 2-3 weeks so on track for a Xmas completion.
I was wondering where you got to Simon! Great work! Now go get 'er painted!
__________________
Prince Edward Island
'64 Parisienne CS "barn find" - last on the road in '86 ... Owner Protection Plan booklet, original paint, original near-mint aqua interior, original aqua GM floor mats, original 283, factory posi, and original rust.
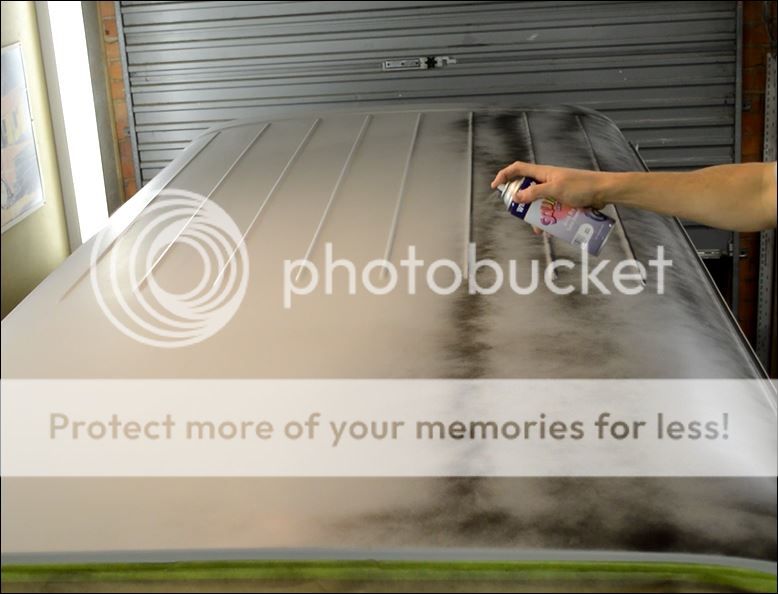
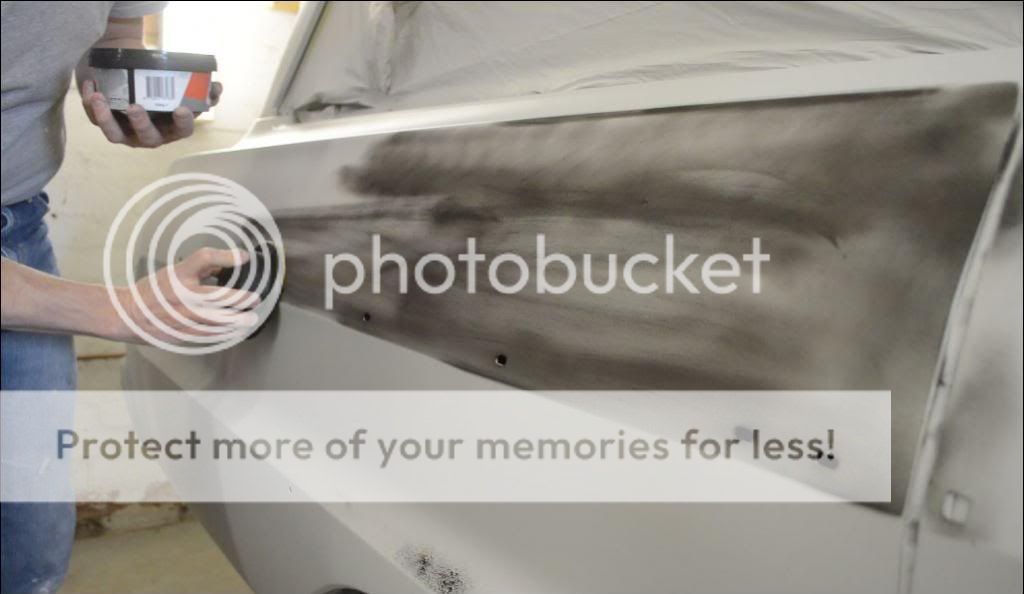
I guide coated the remaining panels first of all with $2 matt black spray cans - yes, they work but for dry sanding it does tend to gum up the paper. I switched to dry powder and then spray on powder for later passes.
Out with 180 on the long blocks which quickly found all the highs and lows.
For the first pass with 180, I worked to tape lines to get the body lines nice and crisp
Little flexible pad on the wheel arches and tight curves
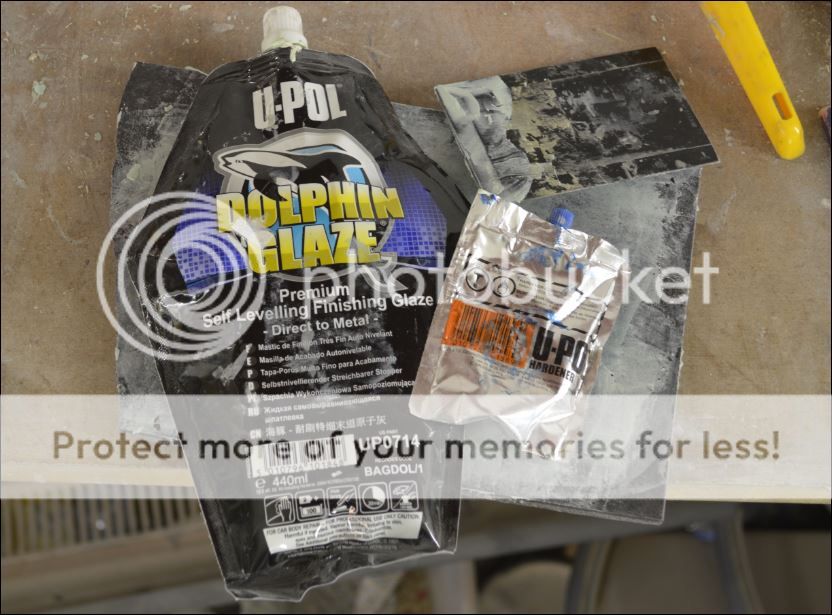
I was pretty happy after the first pass - this is where the black etch primer comes into it's own, screaming at you when you are getting close to metal. I had to tap down a few highs while the majority of lows looked like they would come out with next coat of hi-build primer. For the deeper lows I used Dolphin Glaze - 2 part and nice and easy to sand.
2nd run with the primer - under-reduced it slightly to get it to lay on nice and thick.
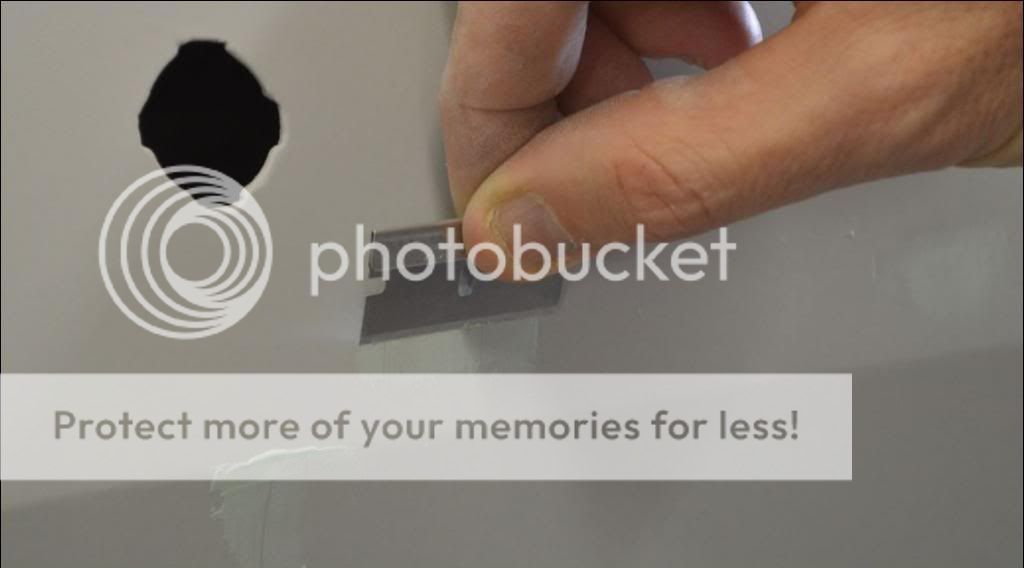
Still had a few pinholes here and there so dolphin glaze with a razor blade so that there's not too much to sand.
For the next pass with 320 I switched to control powder rather the $2 spray cans - on the upside it doesn't clog the paper and you don't have to mask the door gaps but on the downside it's just super messy.
It blocked out pretty nice with the 320 but it was pretty thin in many spots.....so round 3 with the primer.
Then more blocking with 320. I completely underestimated the concentration and finesse needed to properly block a car.
The difference between it blocking out nicely and blowing through to the etch primer was not much ...so when I was all done with the dry blocking I had primed it 7 times - admittedly each pass was less and less with the last pass being half a door.
Here was the 5th pass (lower rear quarter, driver door, front guard):
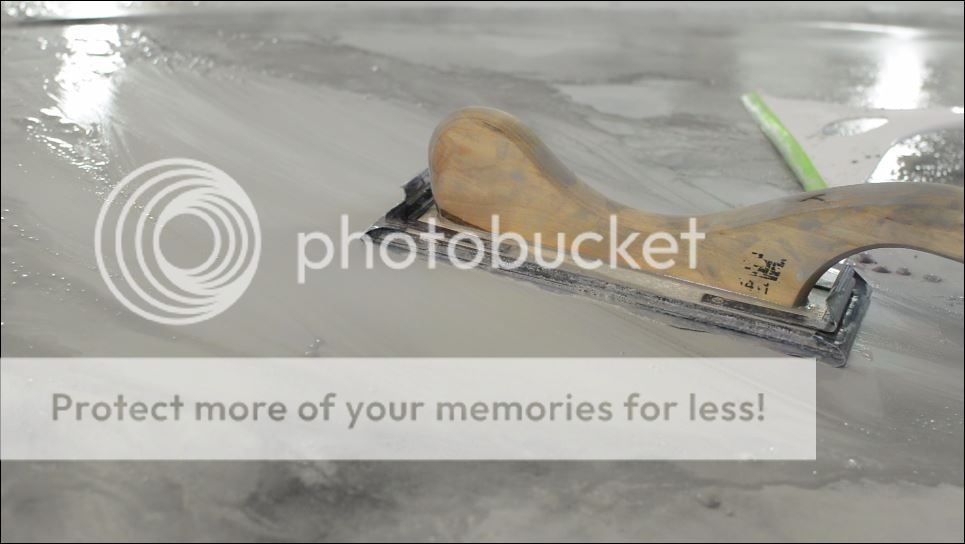
The dry sanding was done....so out with the 800 grit and the water and squeegee.
...and here was the moment when I realised that I was rubbing an 18 foot long car with a 2cm piece of sandpaper!
Again I underestimated the finesse and technique required - squeegee bottle, light touch, let the paper do the work, don't keep rubbing when the guide coat is gone!
..and at 11:45 pm one cold Wednesday night, 3 weeks of sanding came to an end.
Then it was out with the jet washer to get rid of the dust and primer slop.
All clean and ready. My painter has a dealer plate so I put the seat in, taillights on and it was off on it's first big drive since 1999.
"....Yes Officer......this particular model didn't come with glass, seatbelts or bumpers..."
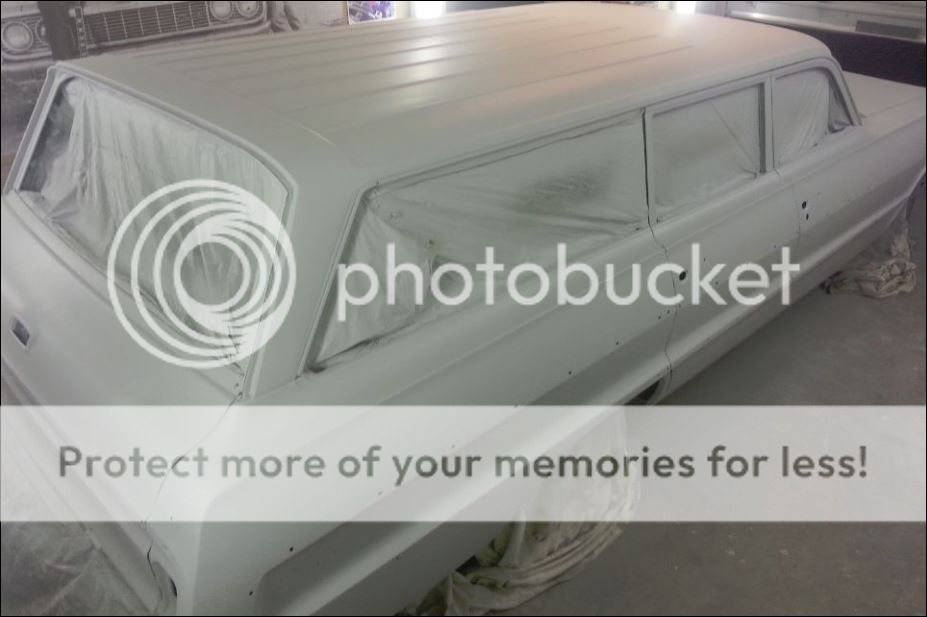
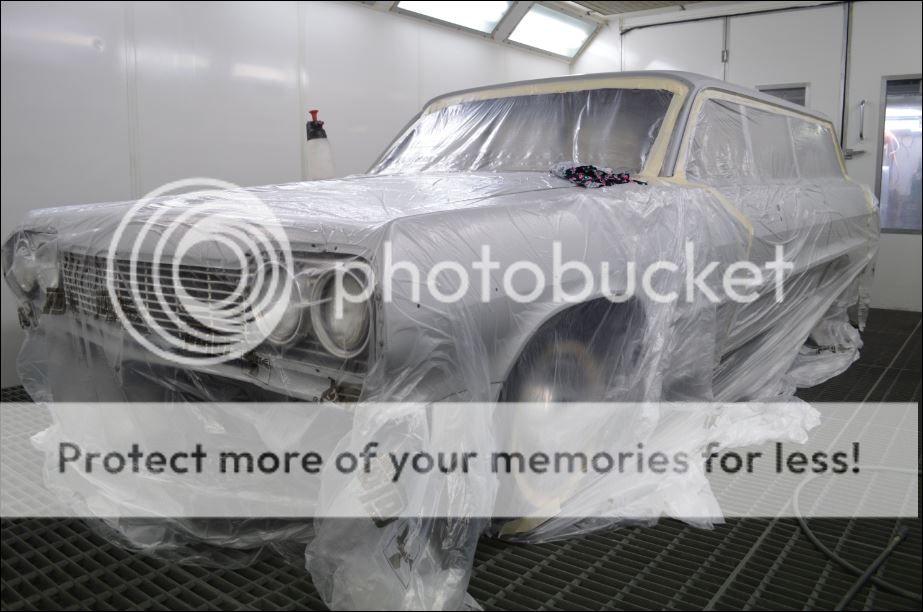
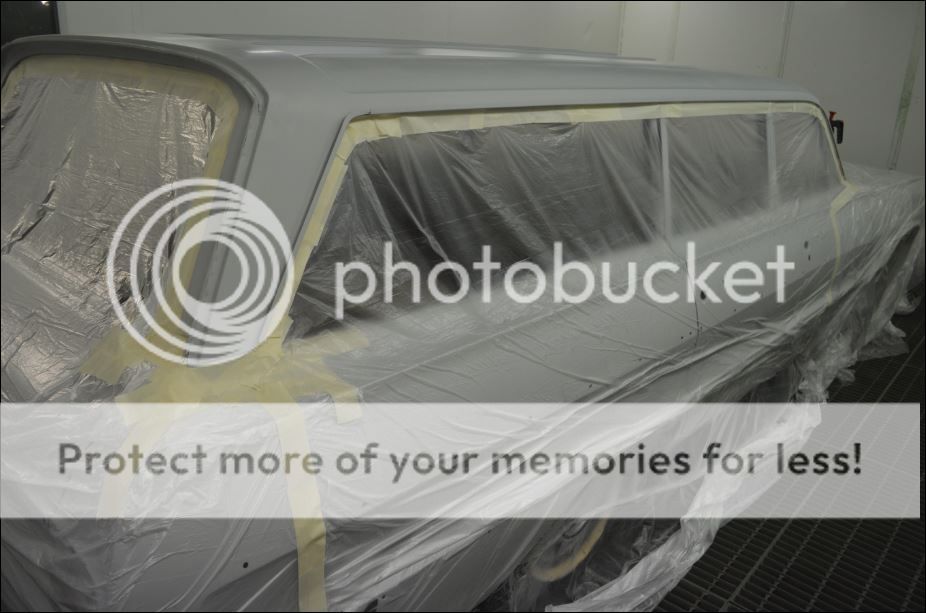
Into the booth for 2 sessions of paint - masked up for some Ermine White direct gloss on the roof on the first day...
Big roof = 2 guys painting (Scotty and Dan)
Out of the booth after being baked at 60 degrees for 1 hour.
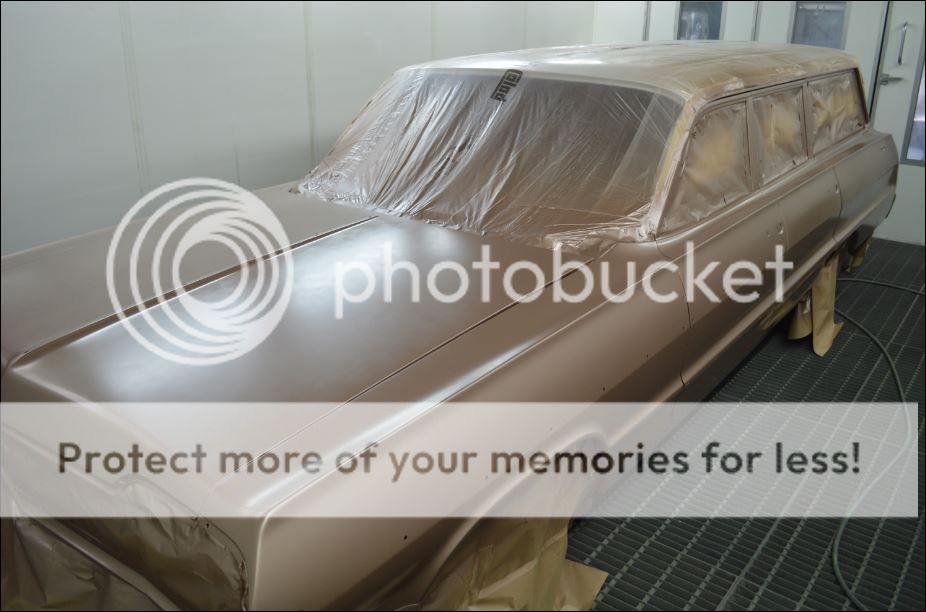
Back in the next day for the Saddle Tan Base and PPG 2k Clear. Base first:
Then 3 coats of clear:
Finished! There were a few scratches that I missed, a very small ding in one of the doors and a block mark on the tailgate - otherwise very, very pleased.
Time to put it all back together - hopefully full rego before Santa gets here.
'64 Parisienne CS "barn find" - last on the road in '86 ... Owner Protection Plan booklet, original paint, original near-mint aqua interior, original aqua GM floor mats, original 283, factory posi, and original rust.


 I'll do some digging and let you know ... they are hard to find. I reused my old choke cover.