Thanks! Have any more pics of your car? I love that black!
Got the Poncho in the barn today and the wood stove. Need to hook up some new pipes for it though. Hopefully jack the body off the frame tomorrow. It needs to thaw out.
So what do you guys think for rims? Baby moons, cragars, centerlines???hmm?
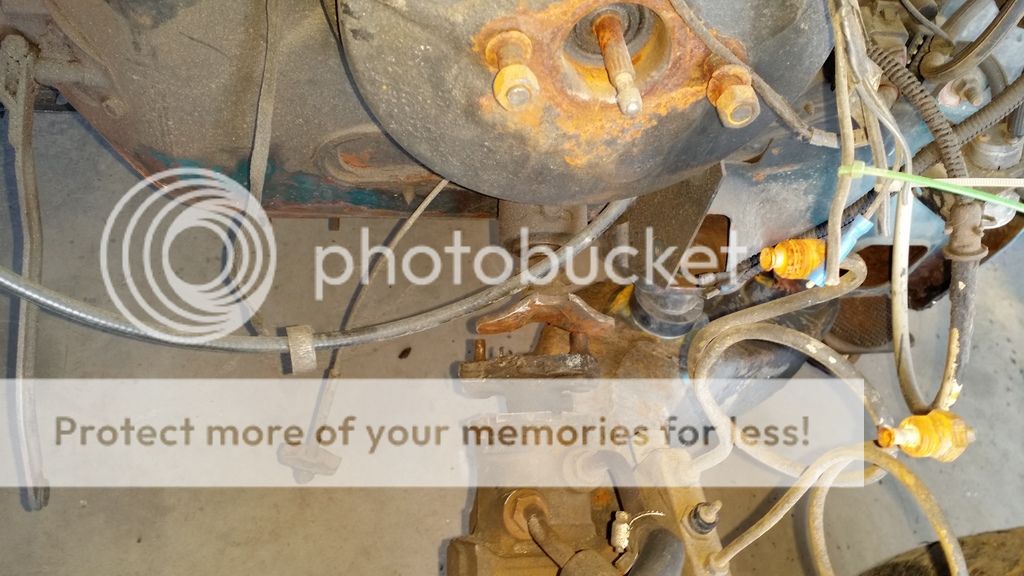
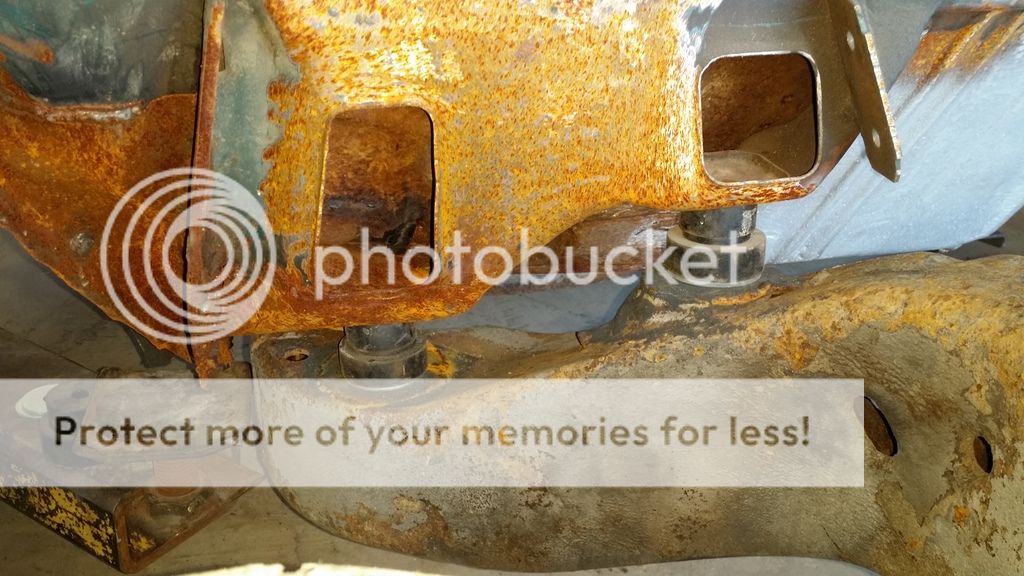
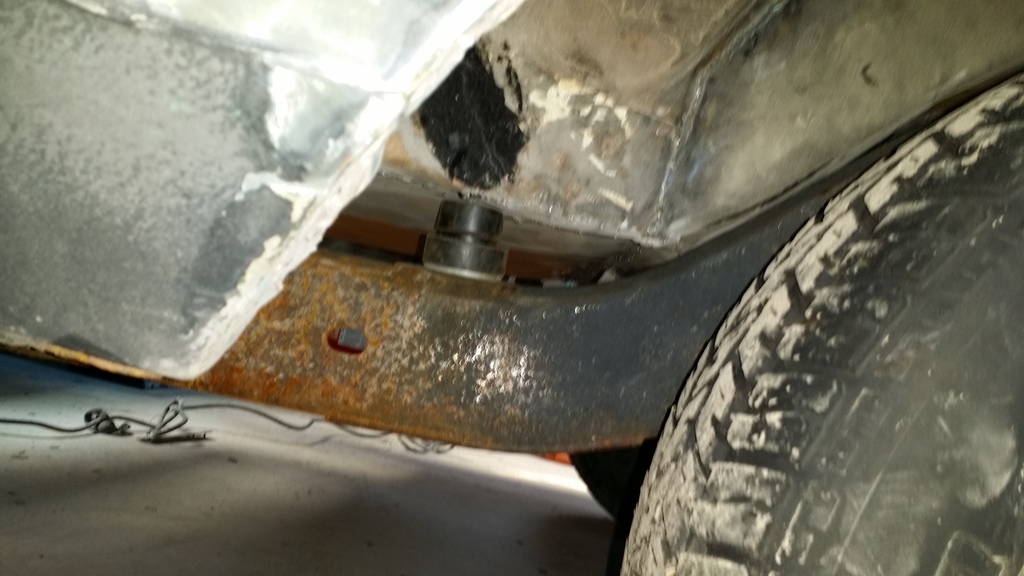
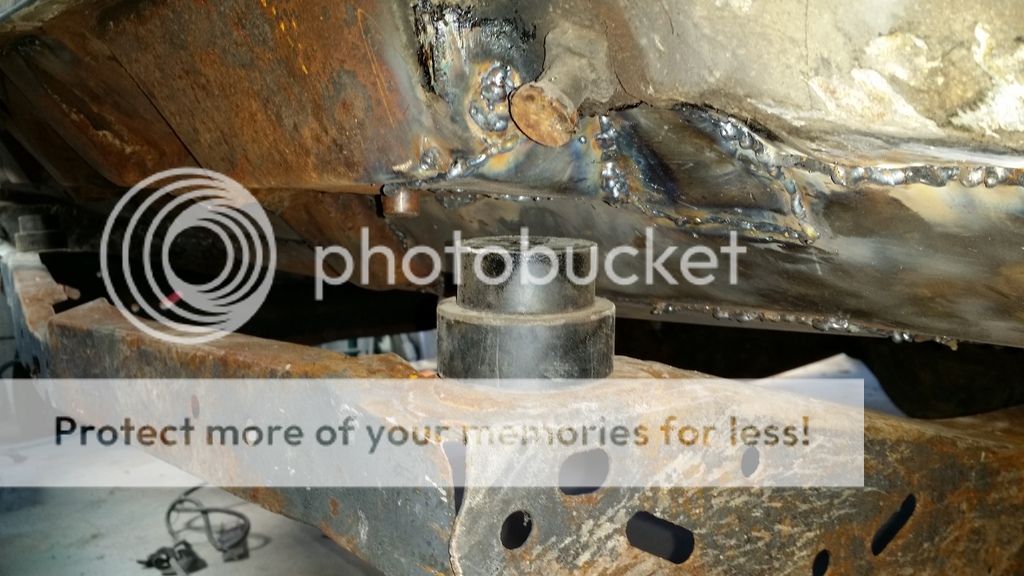
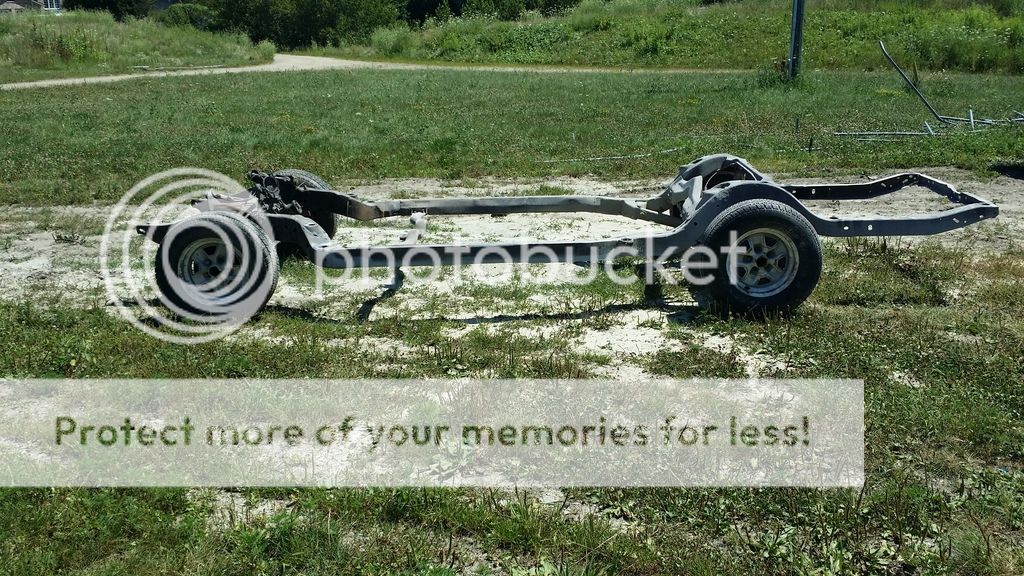
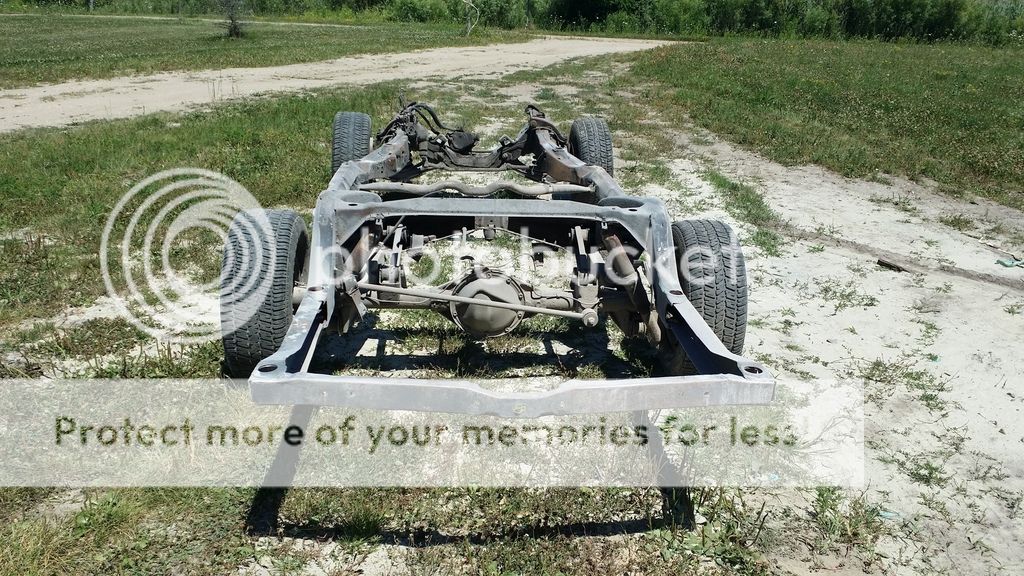
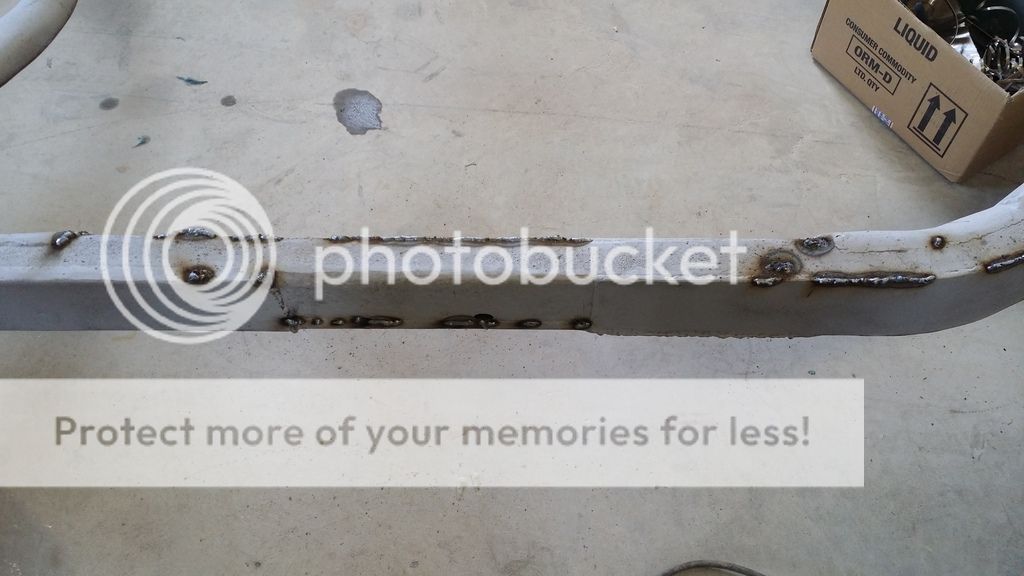
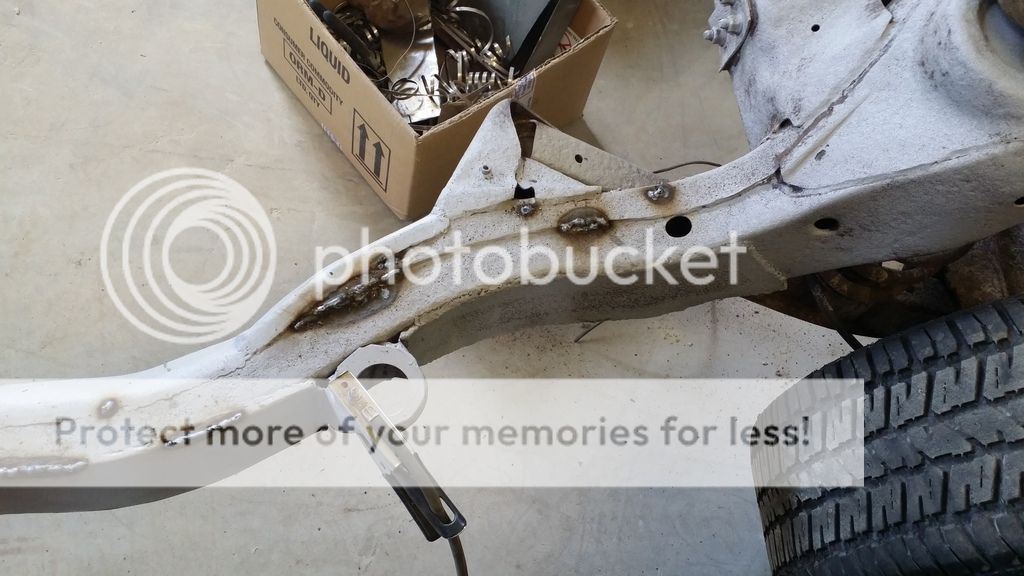
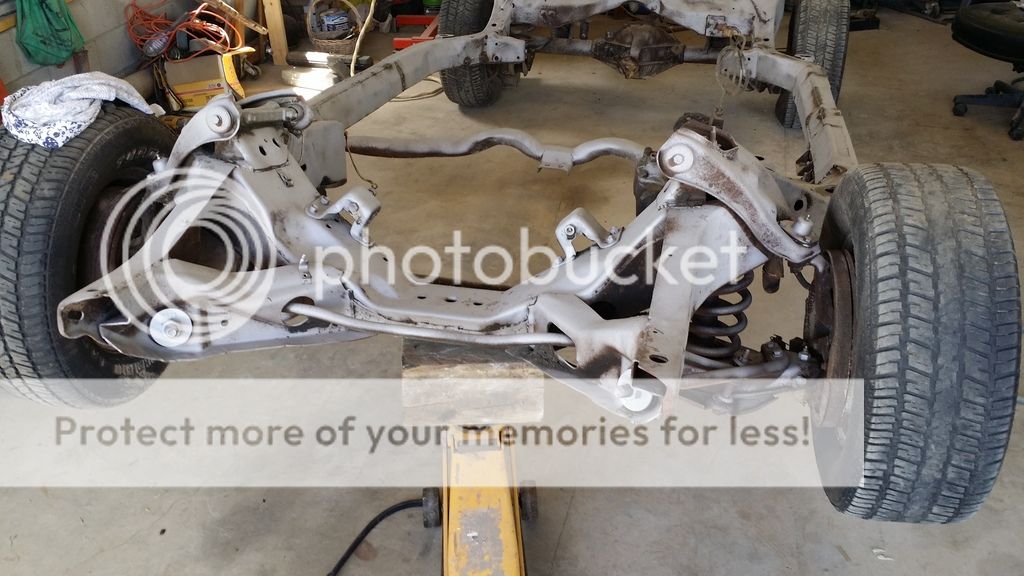
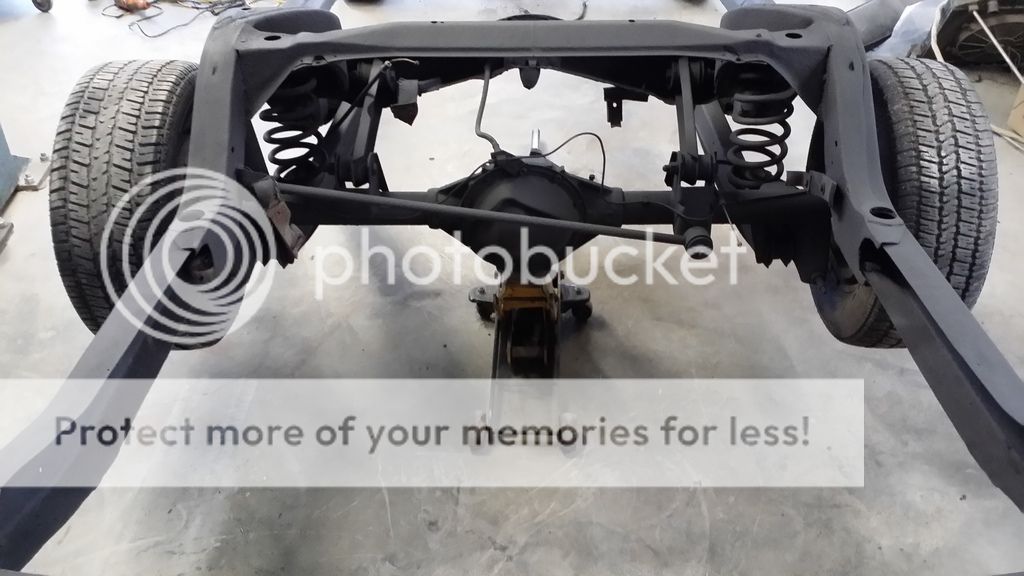
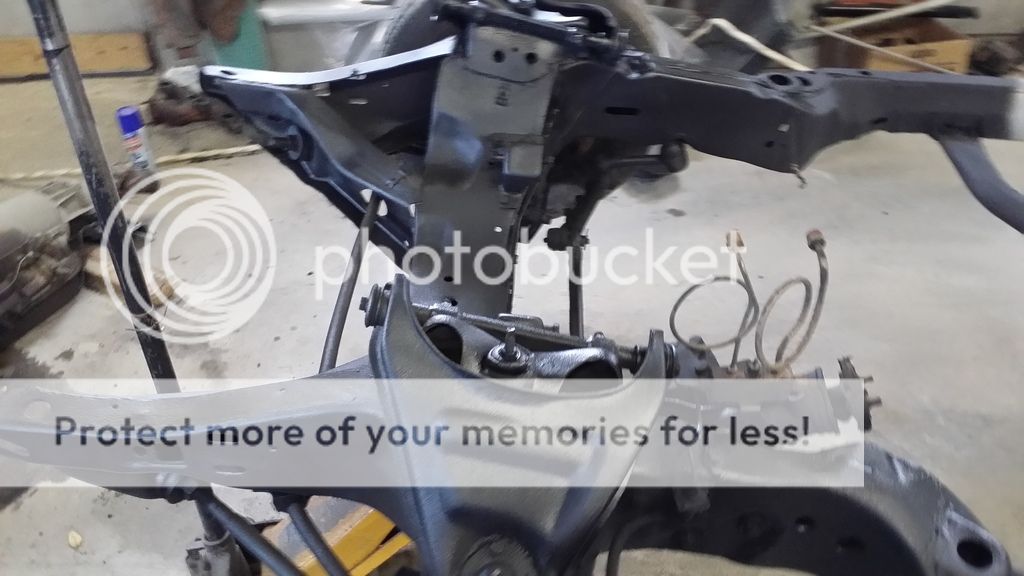
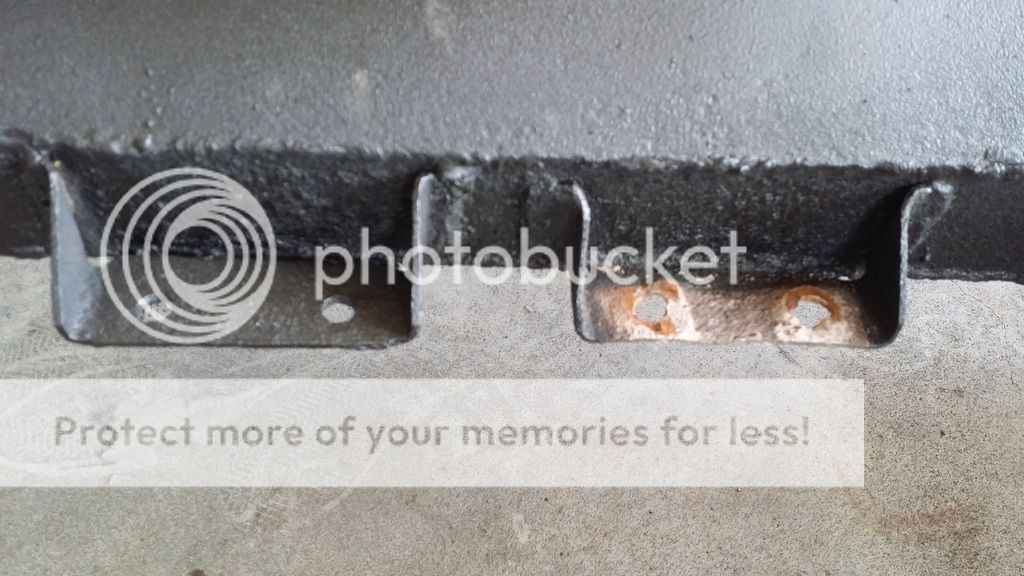
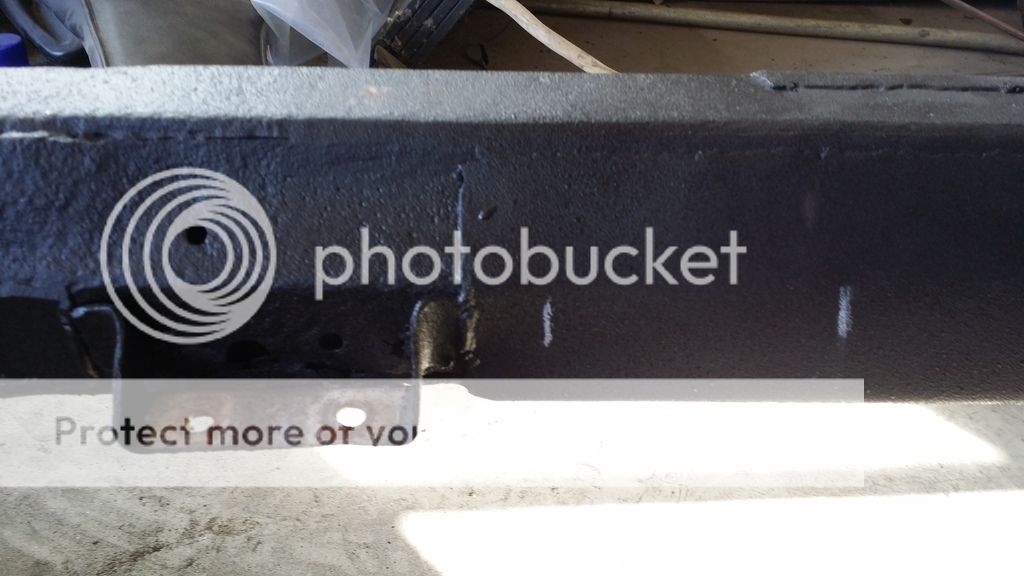
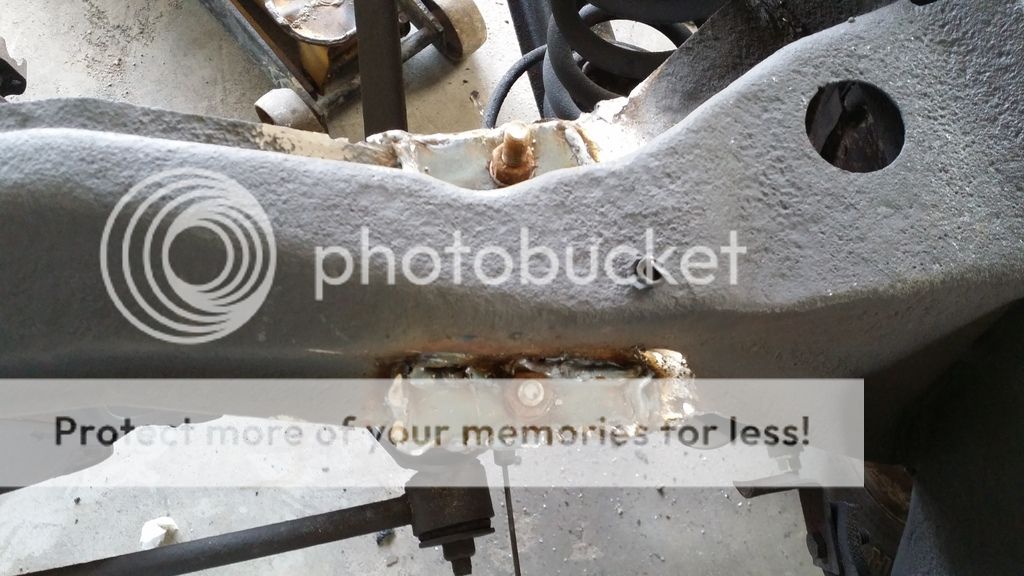
Let's start with the body mounts first. Any tips for lining this thing up properly? All of the plates on the frame were gone so I welded new ones and need to drill the holes still, same goes for some of the sections of the body.
Do the small mounts go on the front?
Large at the back?
Is this space going to sort itself out after things line up properly or will I have to shim it most likely?
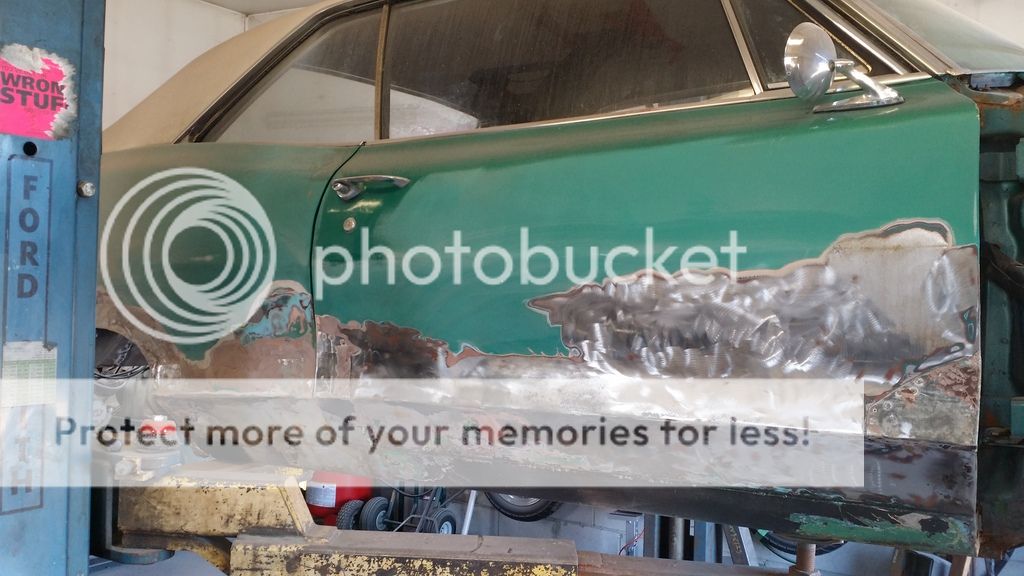
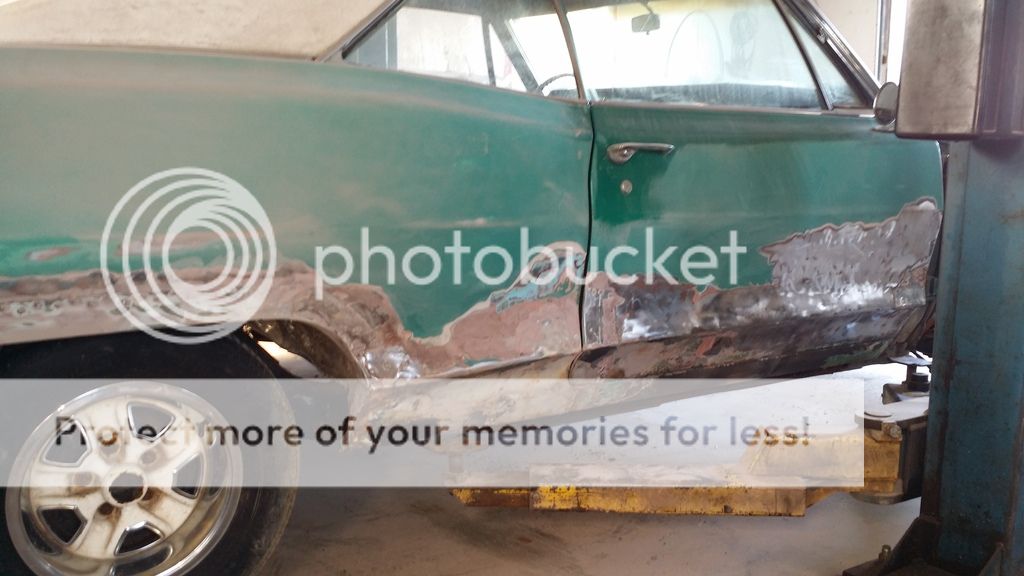
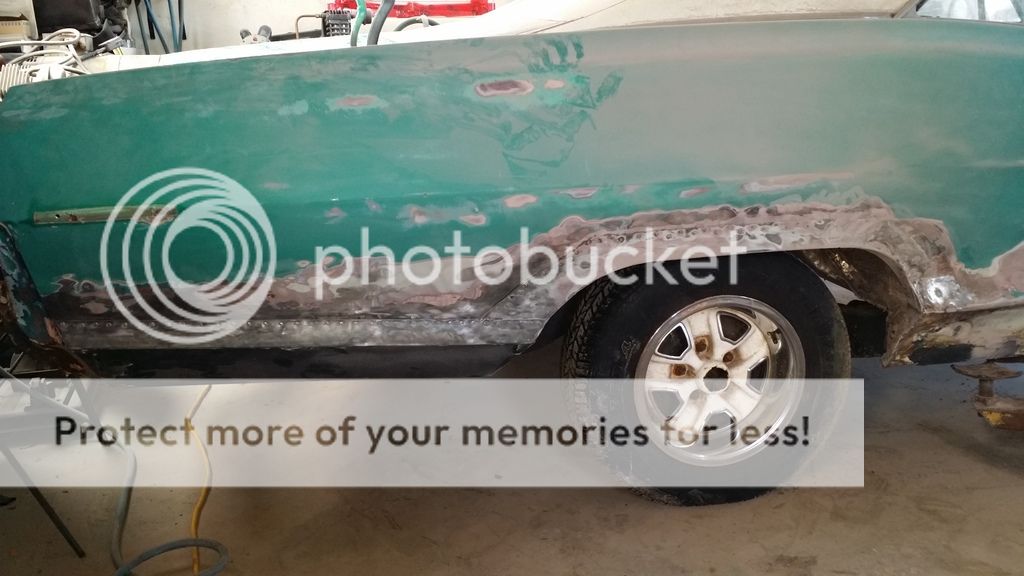
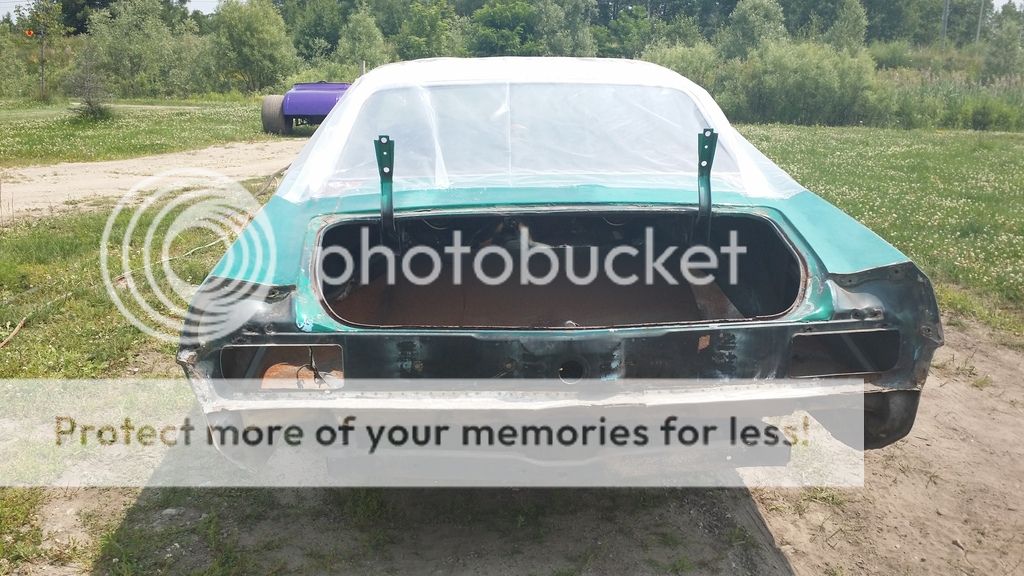
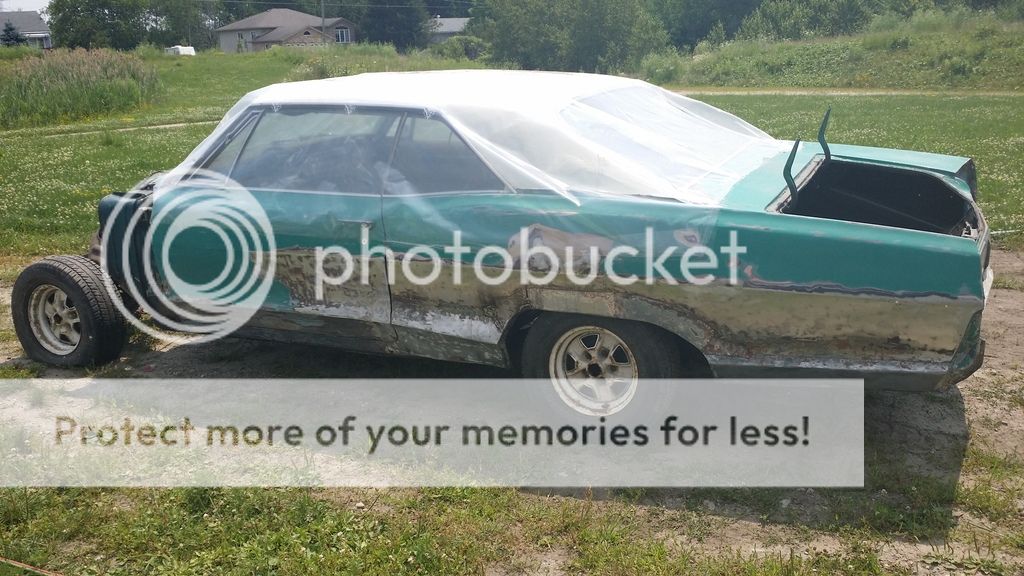
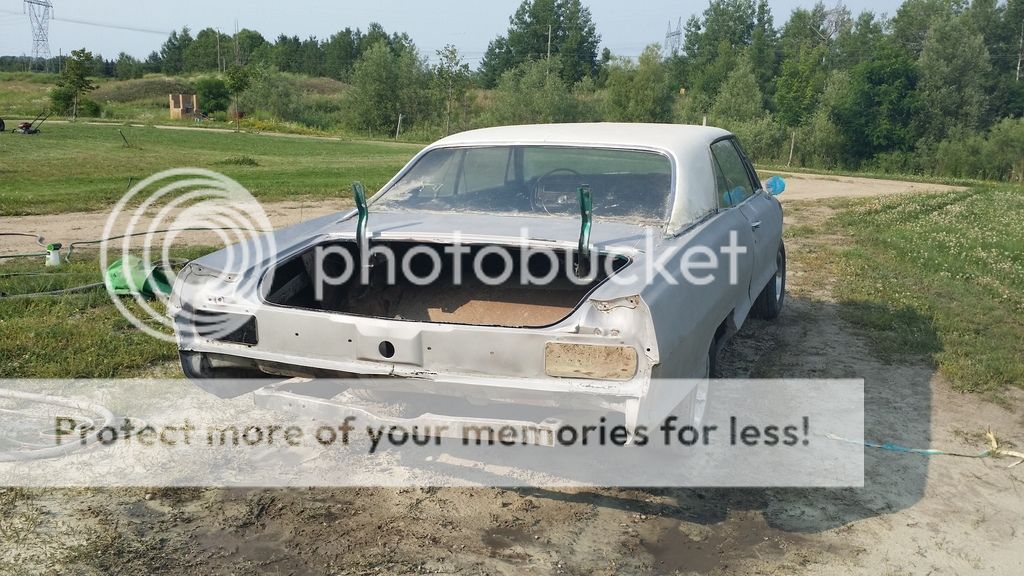
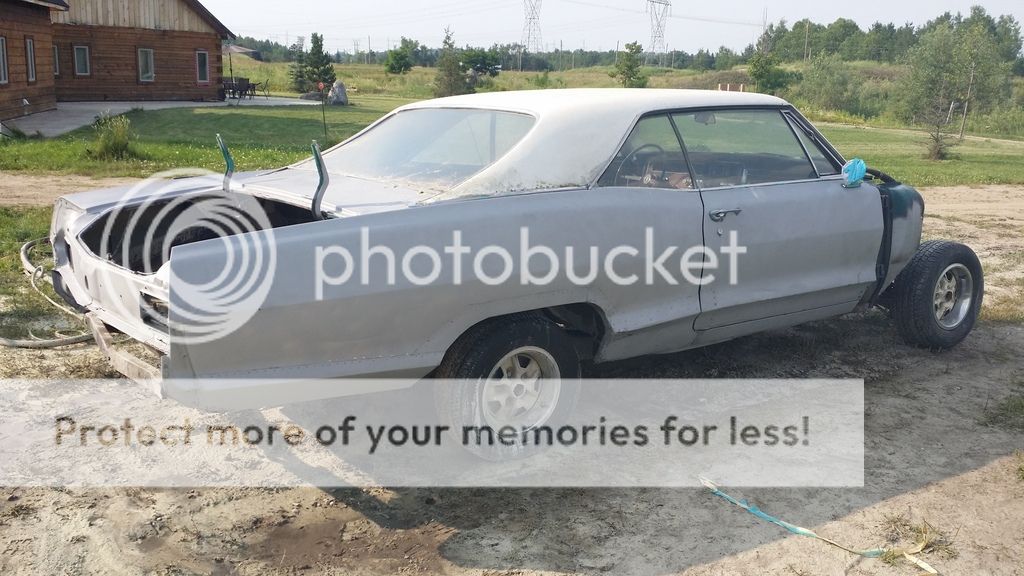
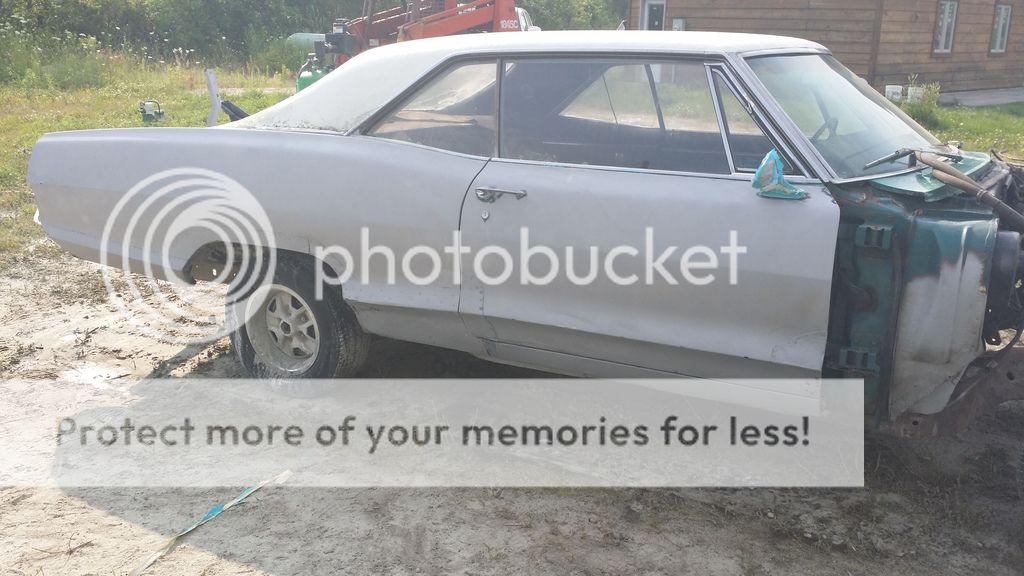
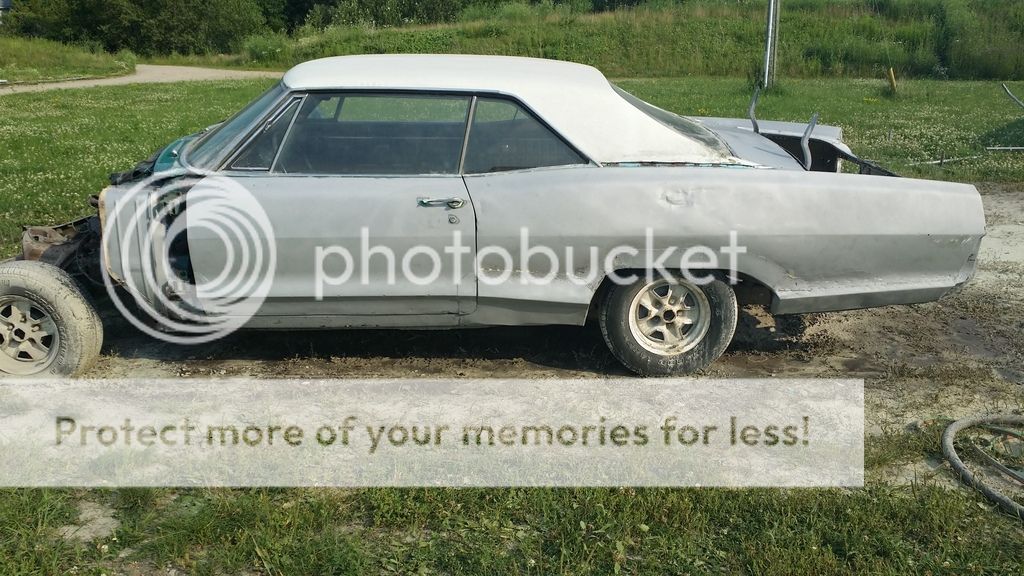
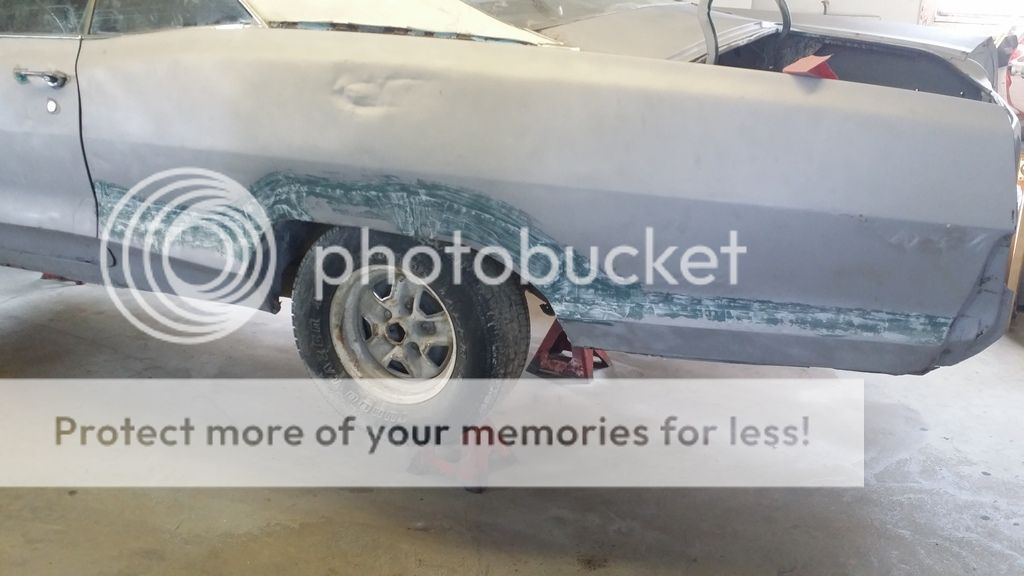
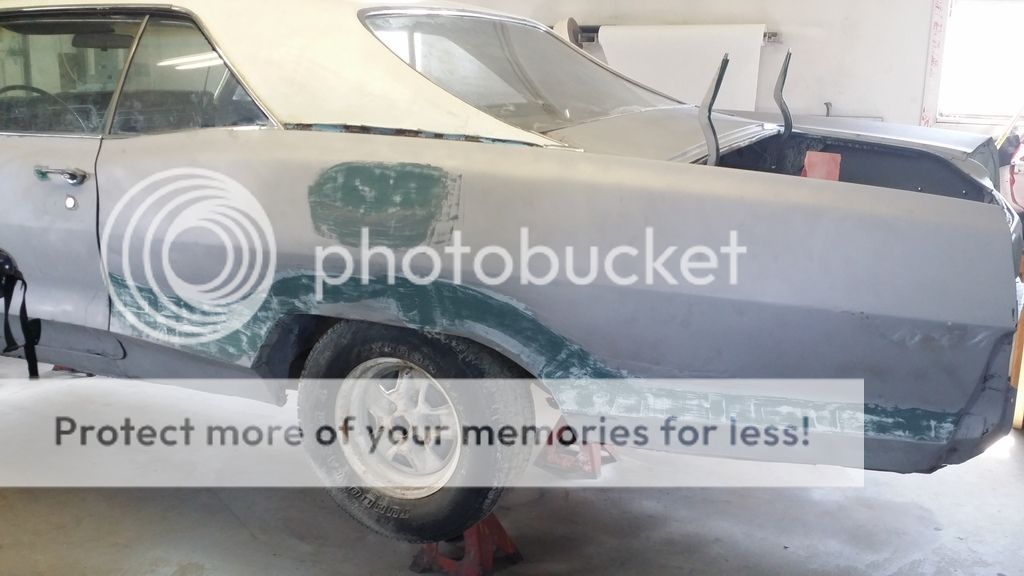
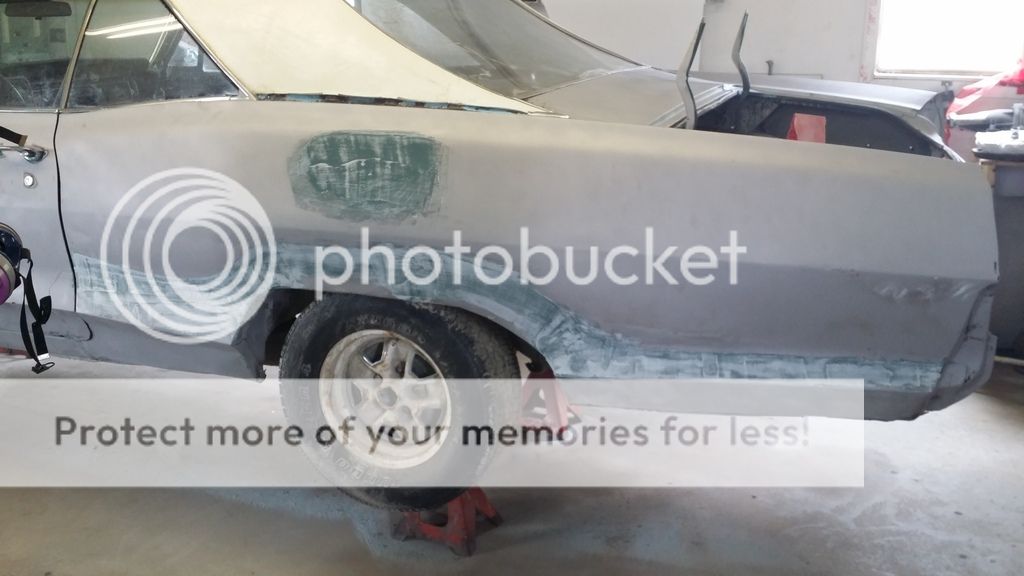
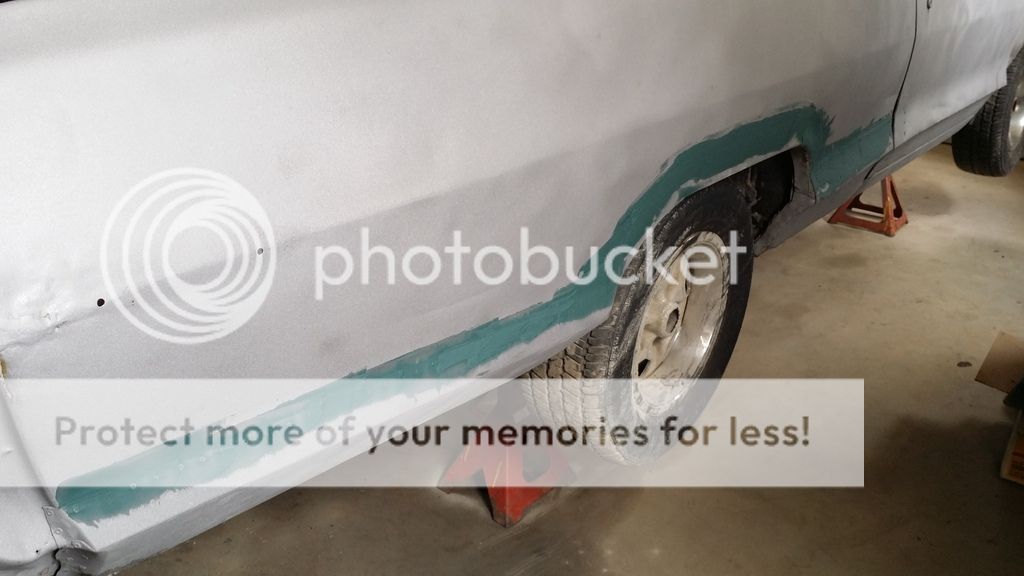
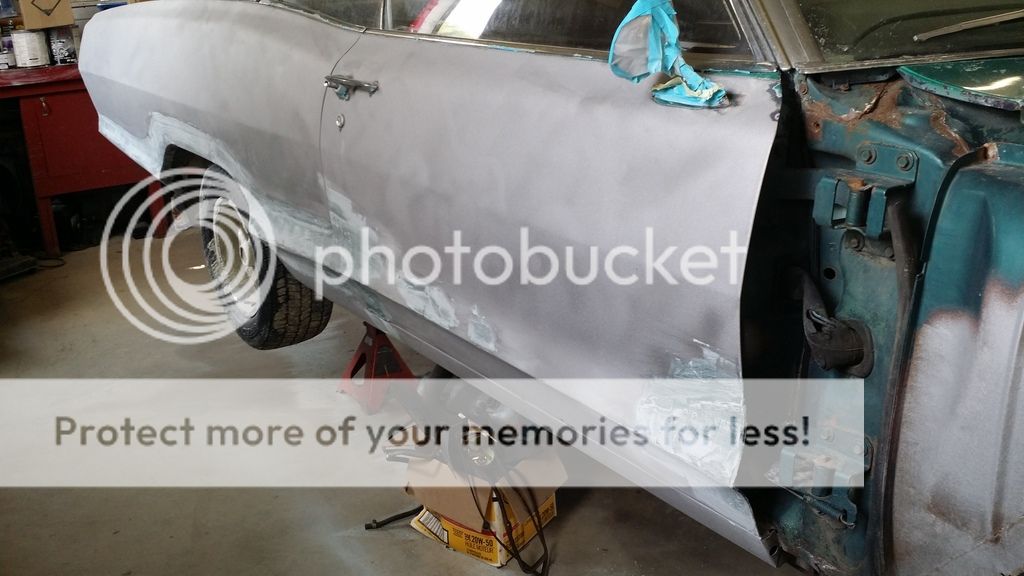
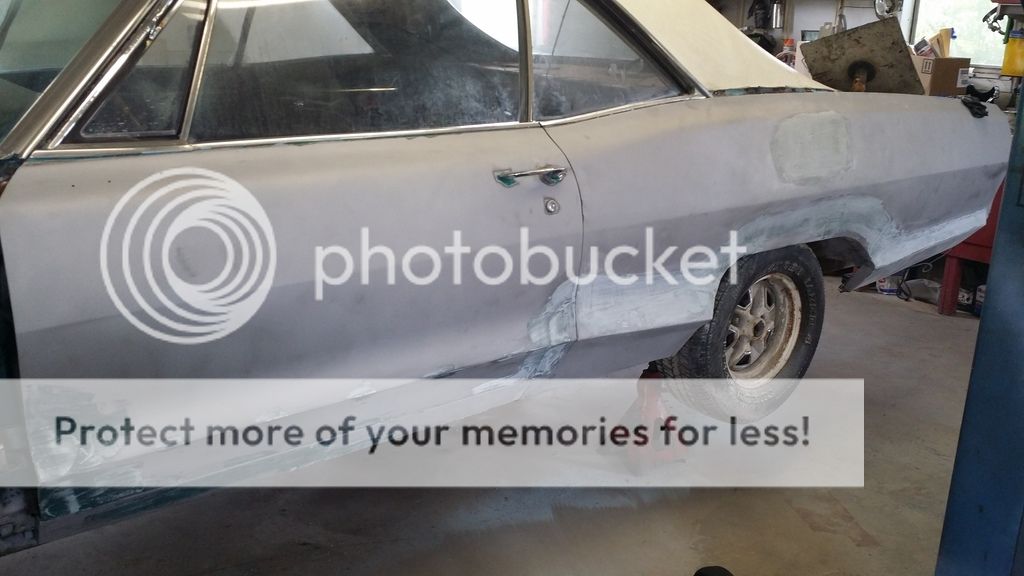
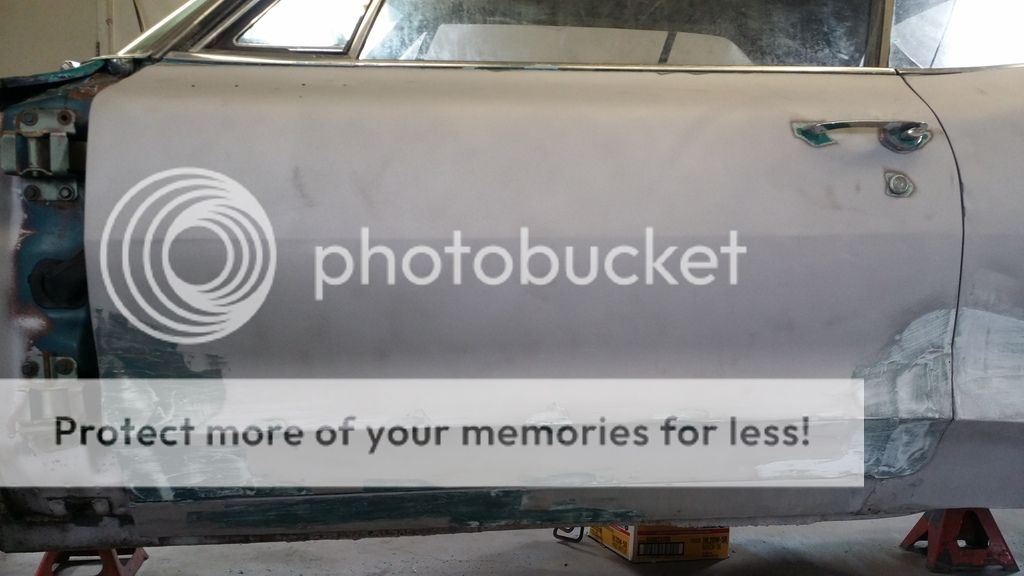
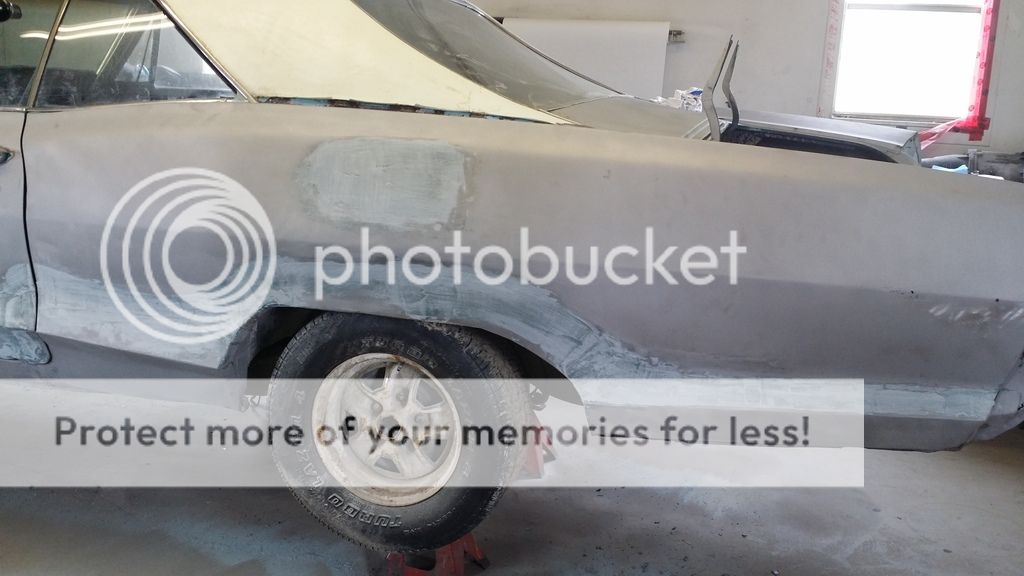
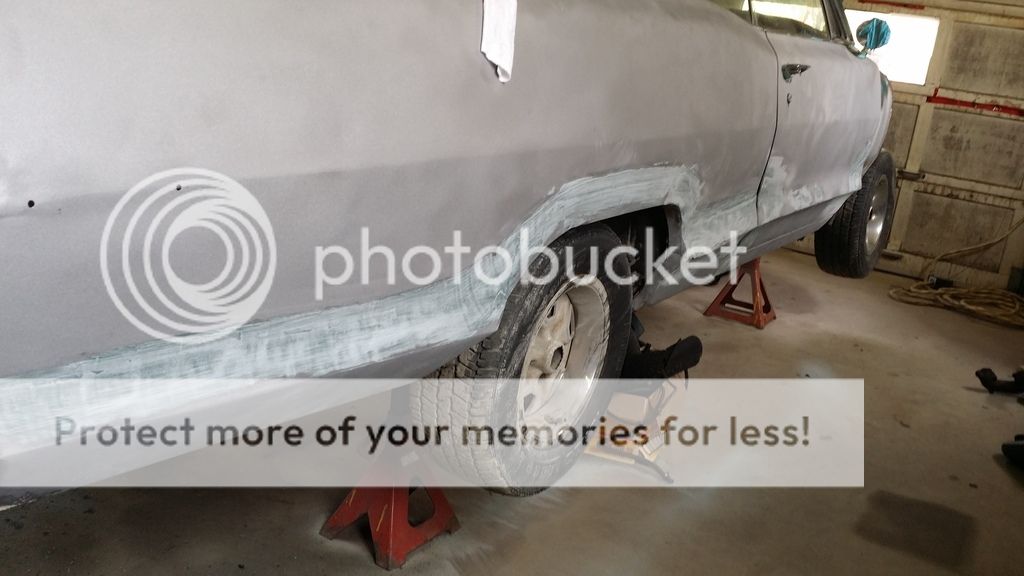
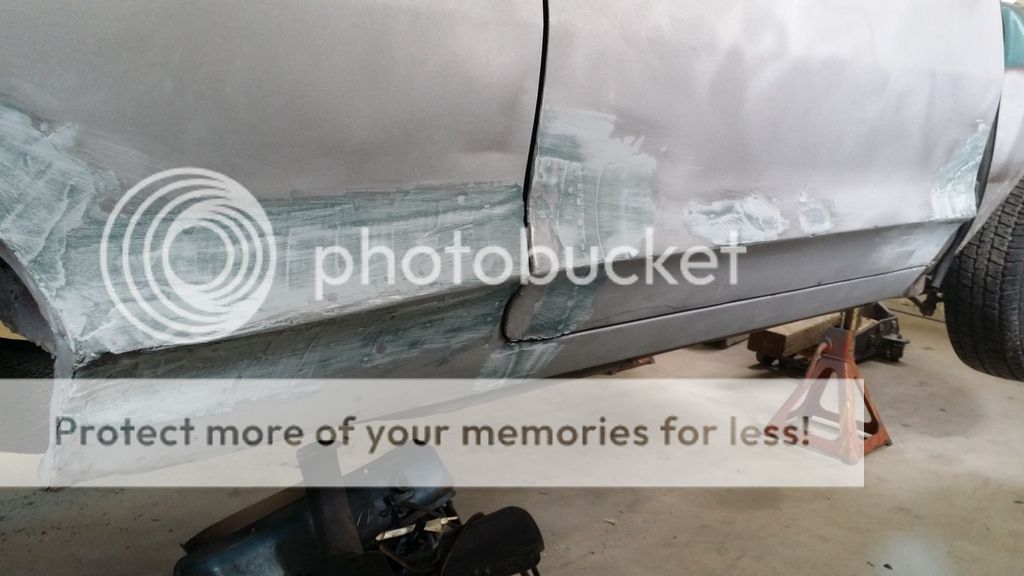
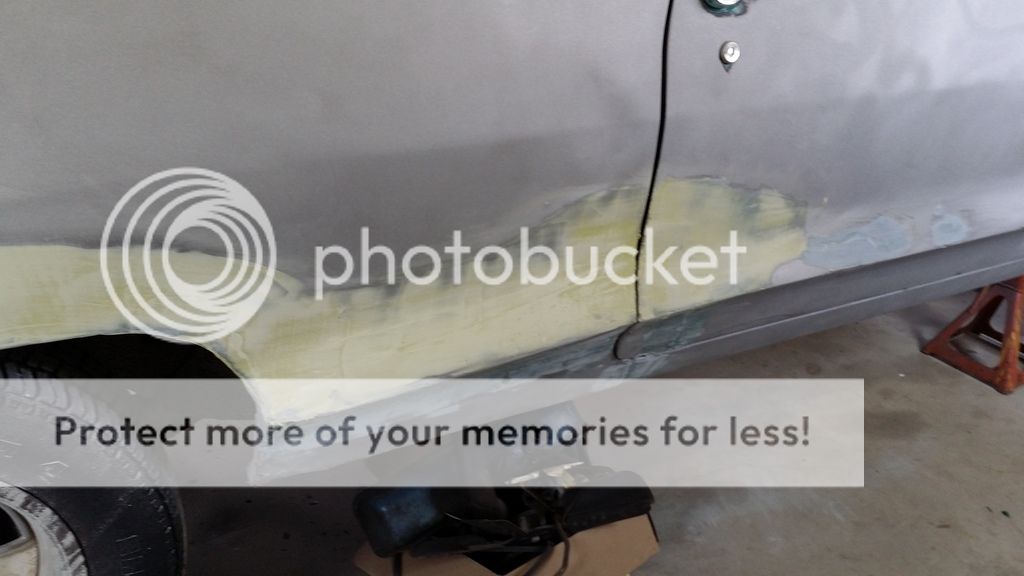
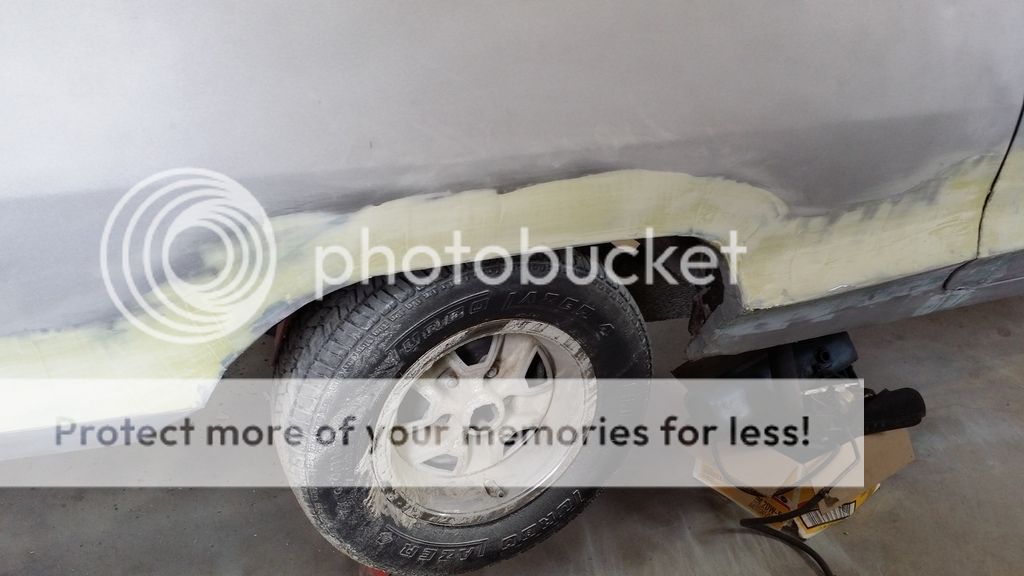
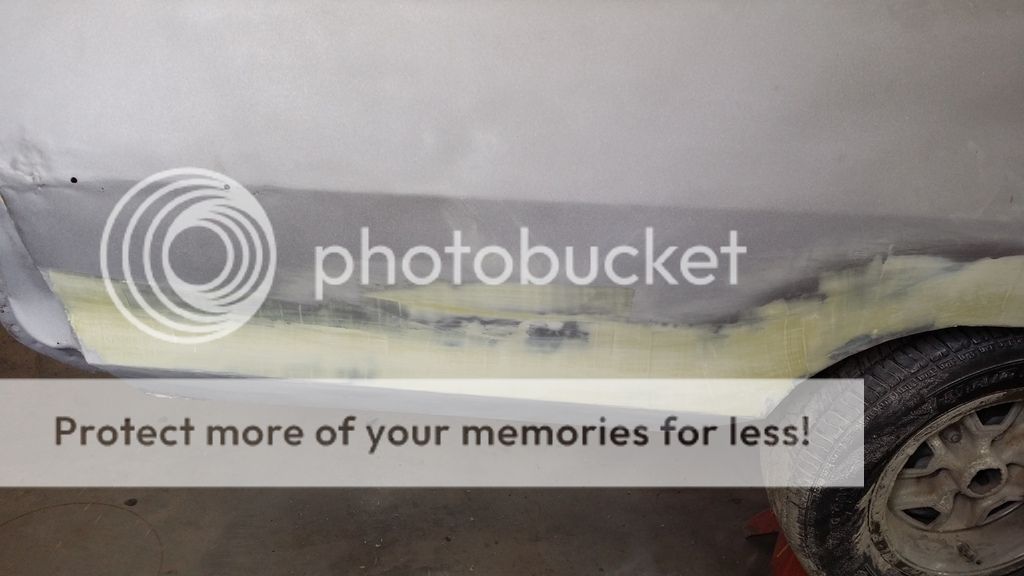
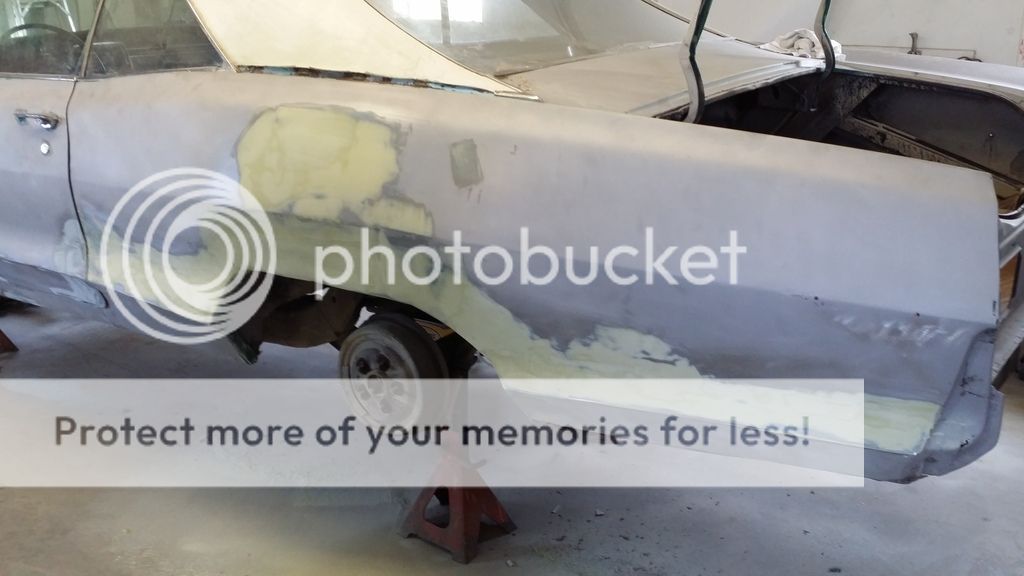
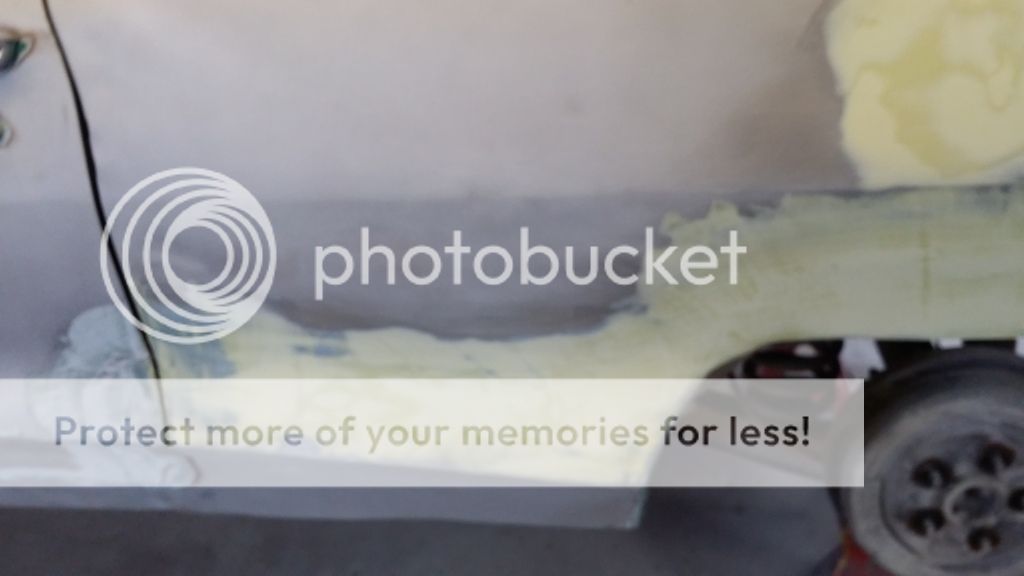
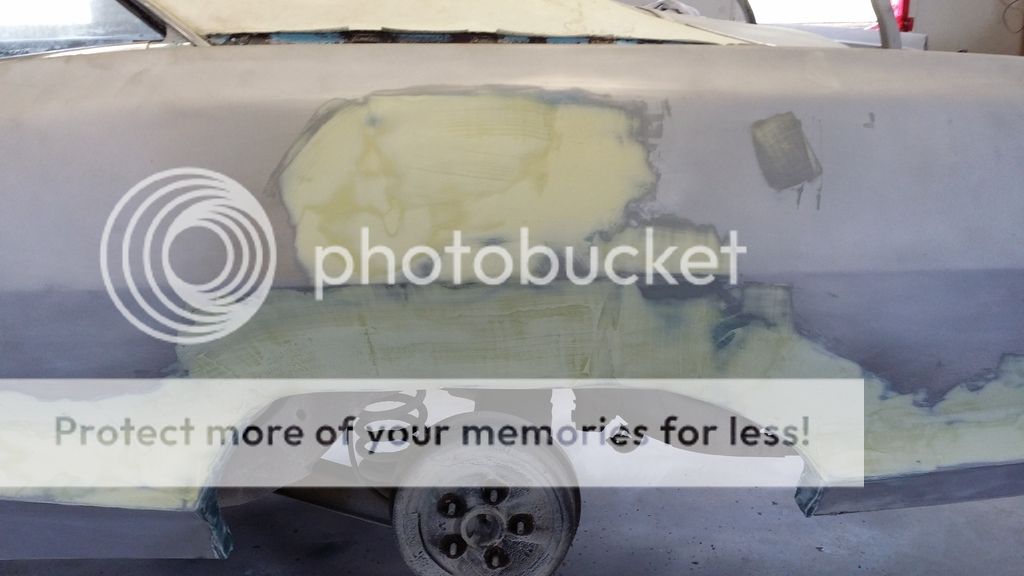
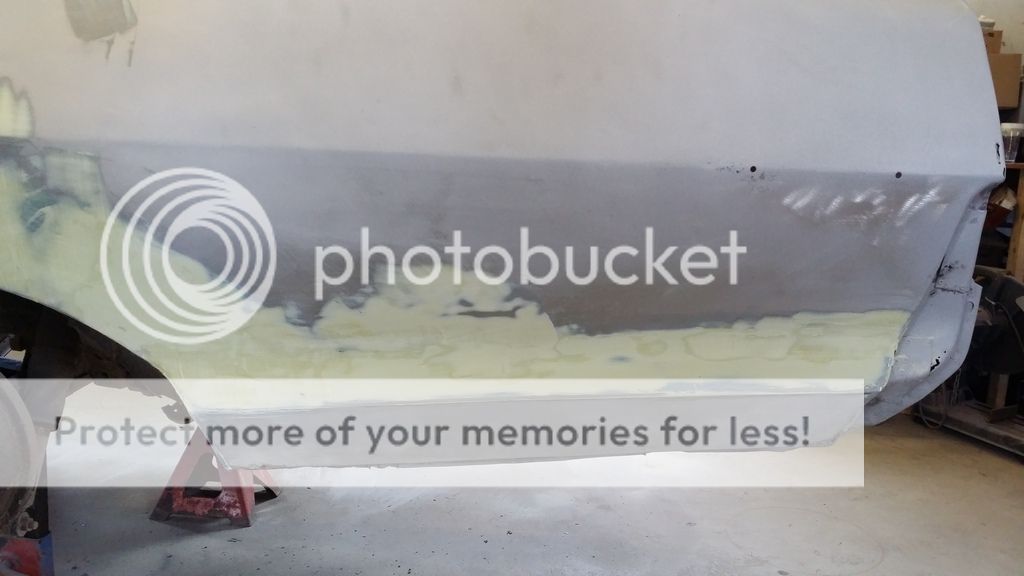
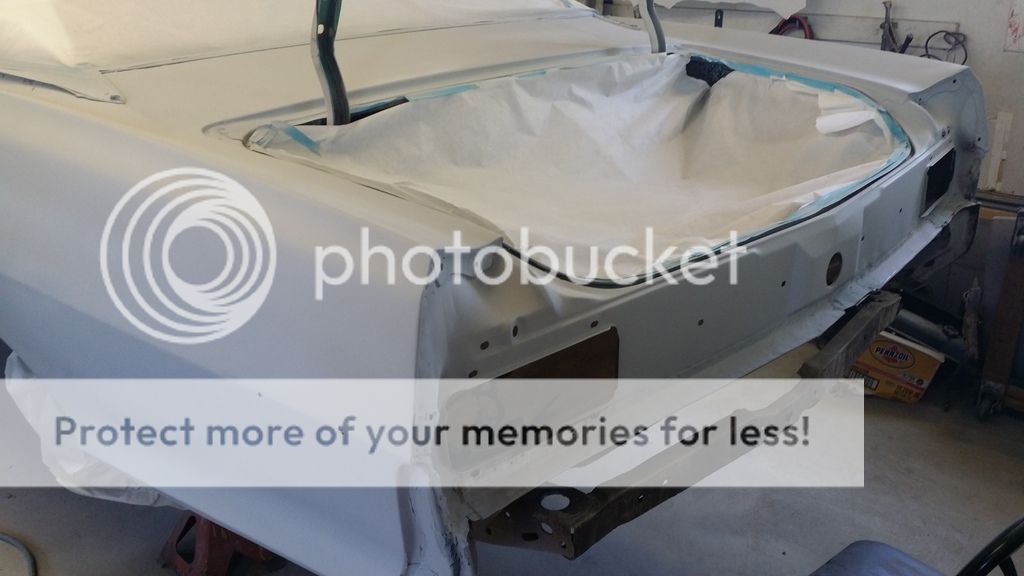
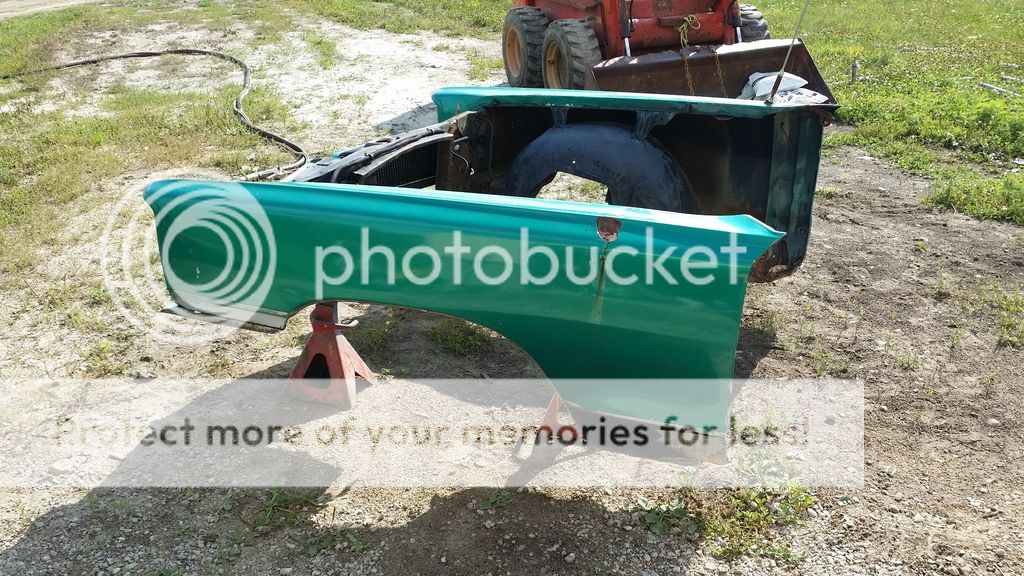
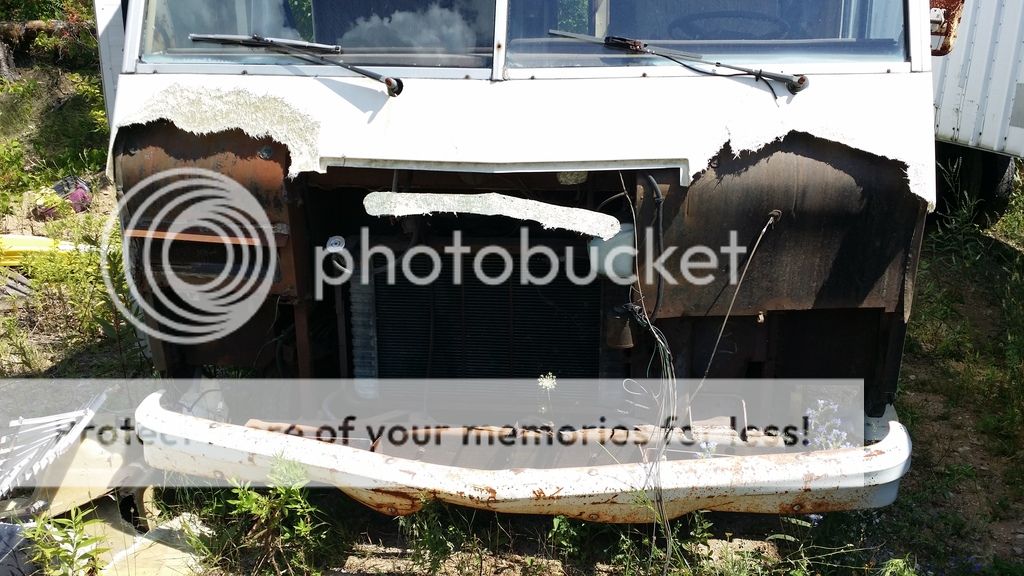
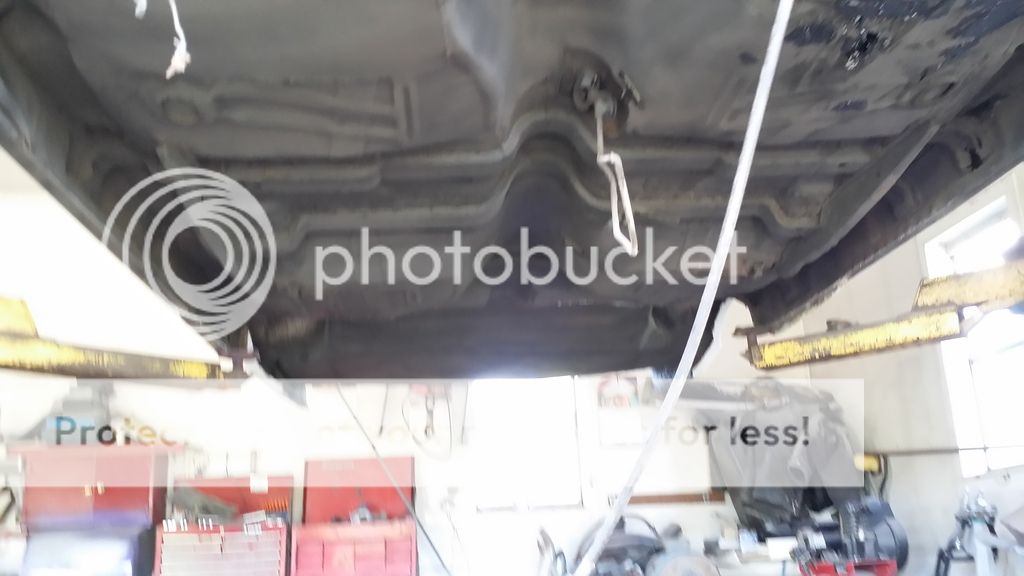
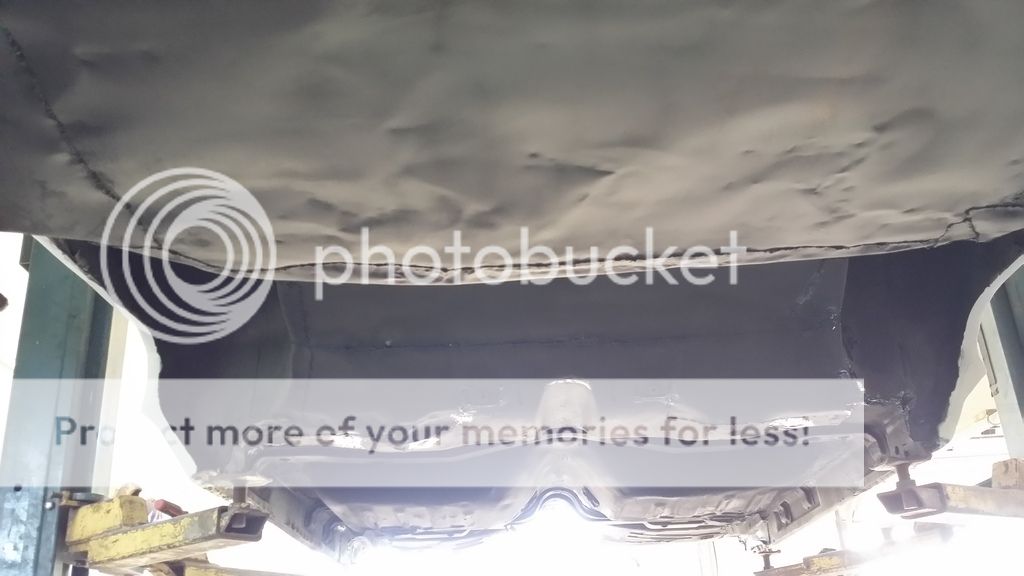
This car is a mess but .... They didn't do a bad job on the tin.
So lastly, the passenger side of the car isn't bad as far as rot goes on the tin job they did. Can I put fiberglass ontop of this and call it a day? The driver side there was some rot so I will definitely repair this. Or do I need to weld all of the patch work in? Biggest worry is lining up the body. Never done this before. Getting quite comfortable welding and fabricating from working on the other cars.
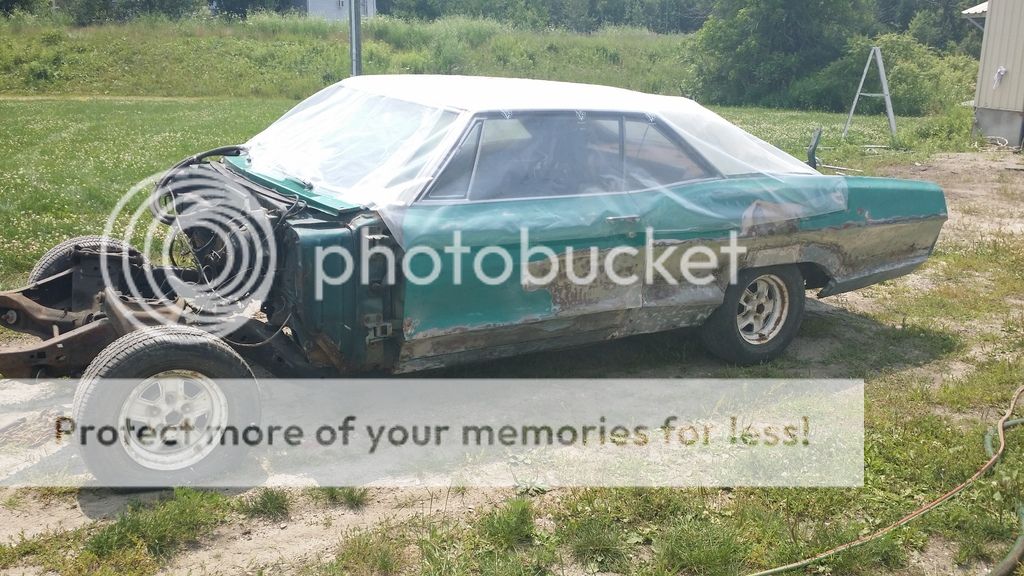
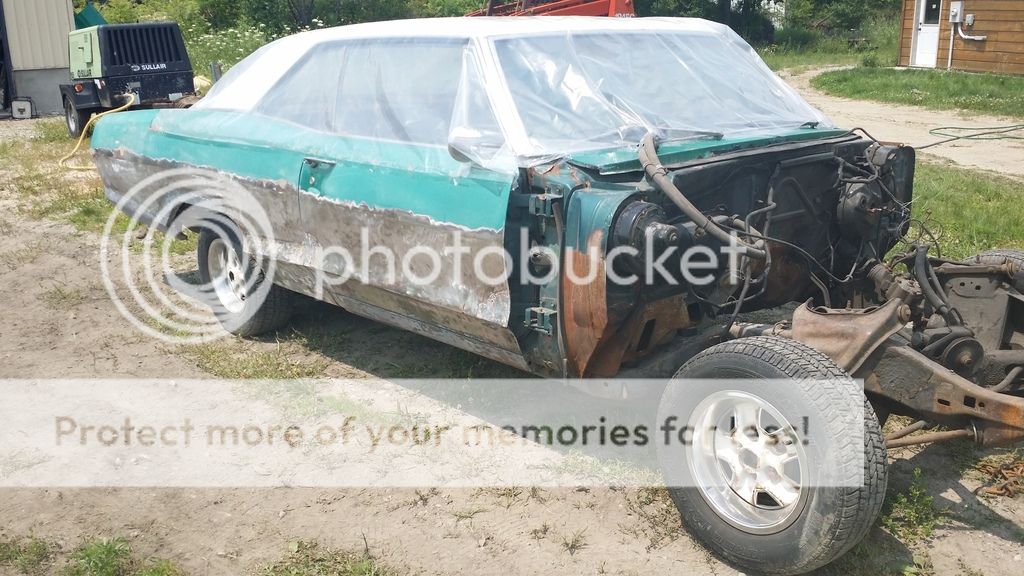
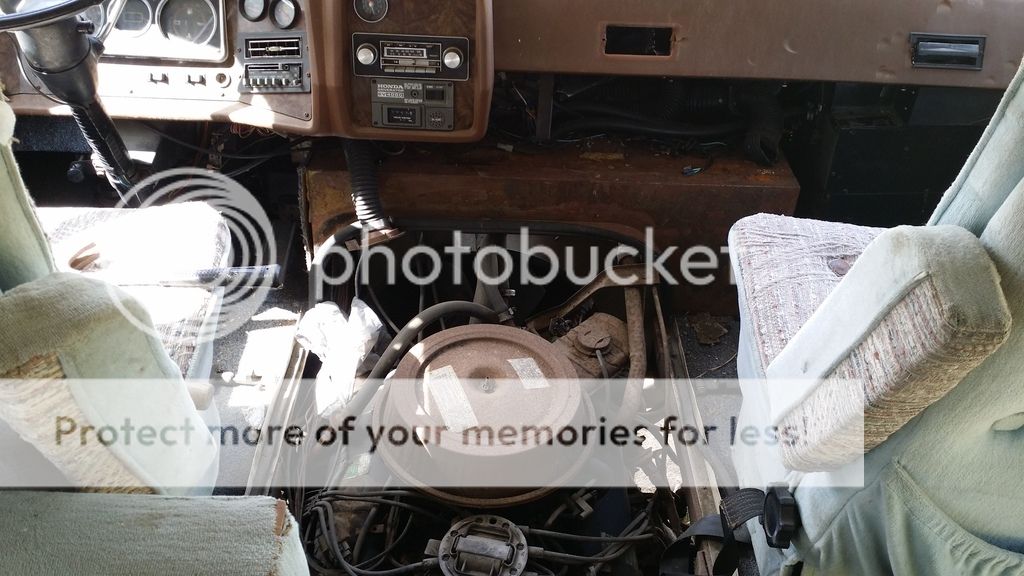
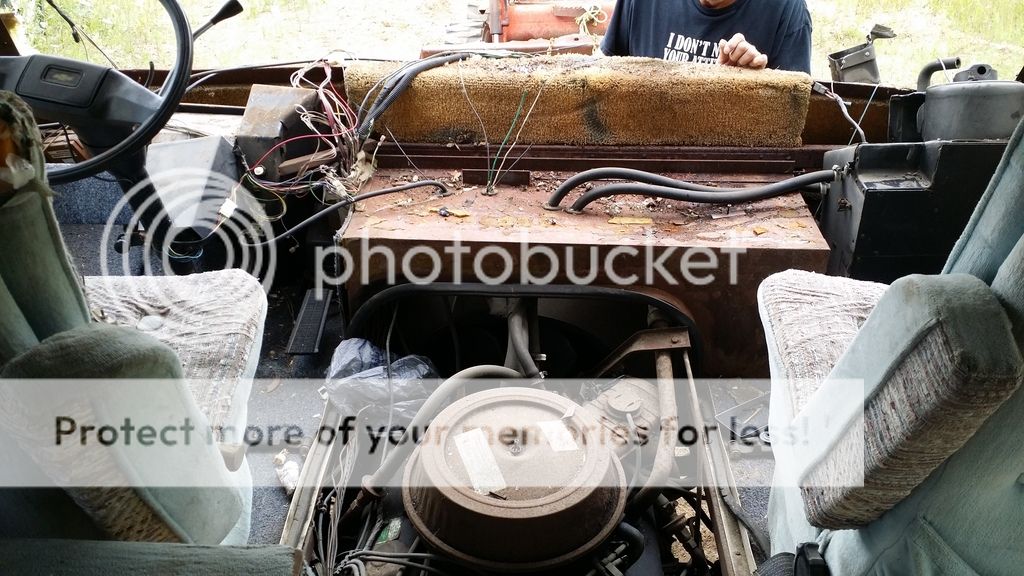
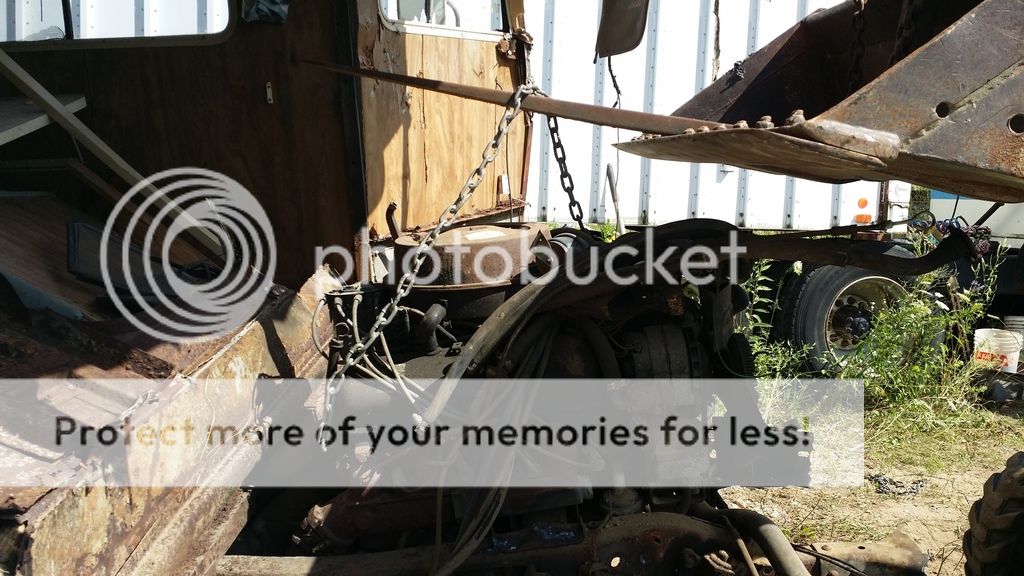
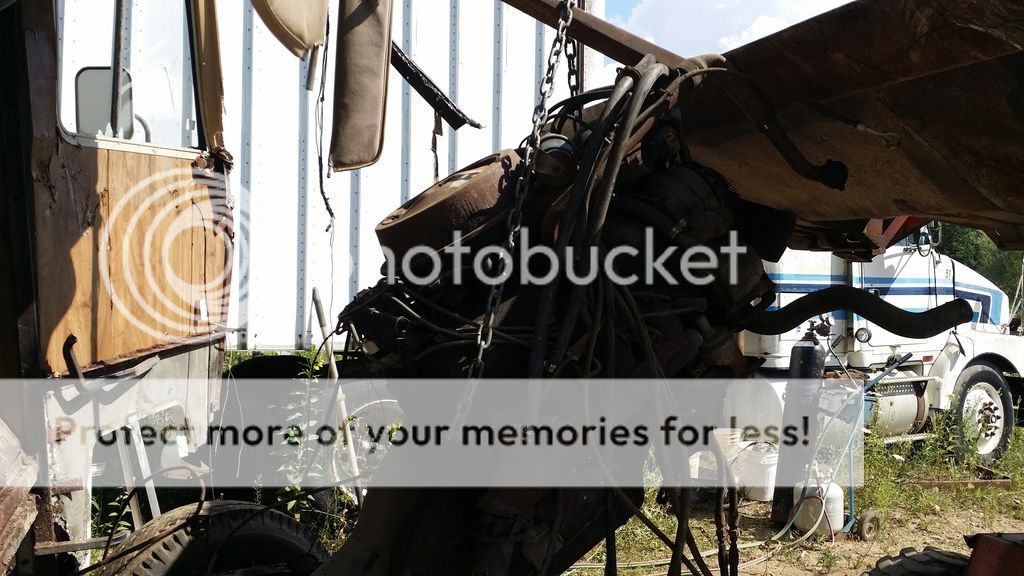
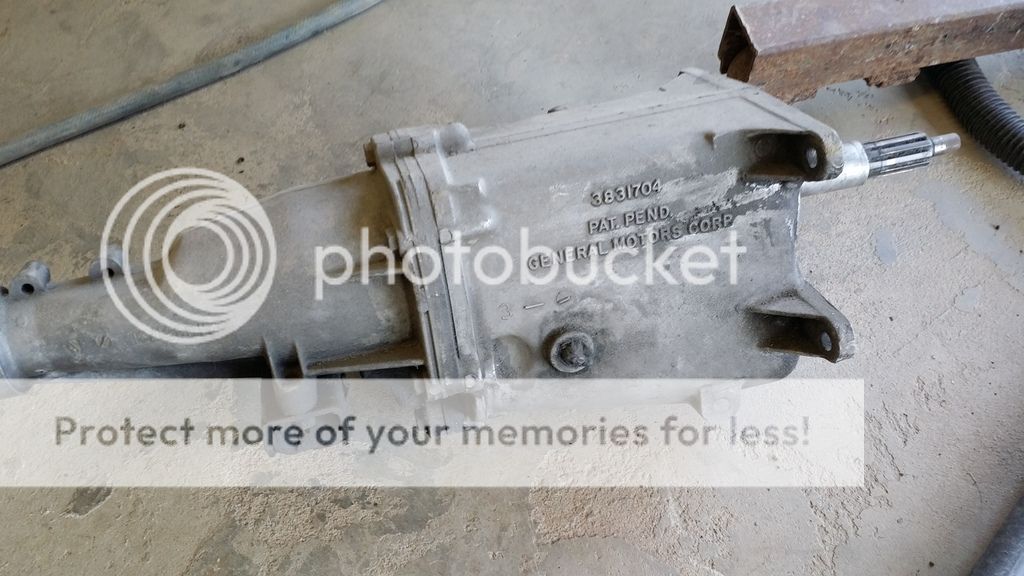
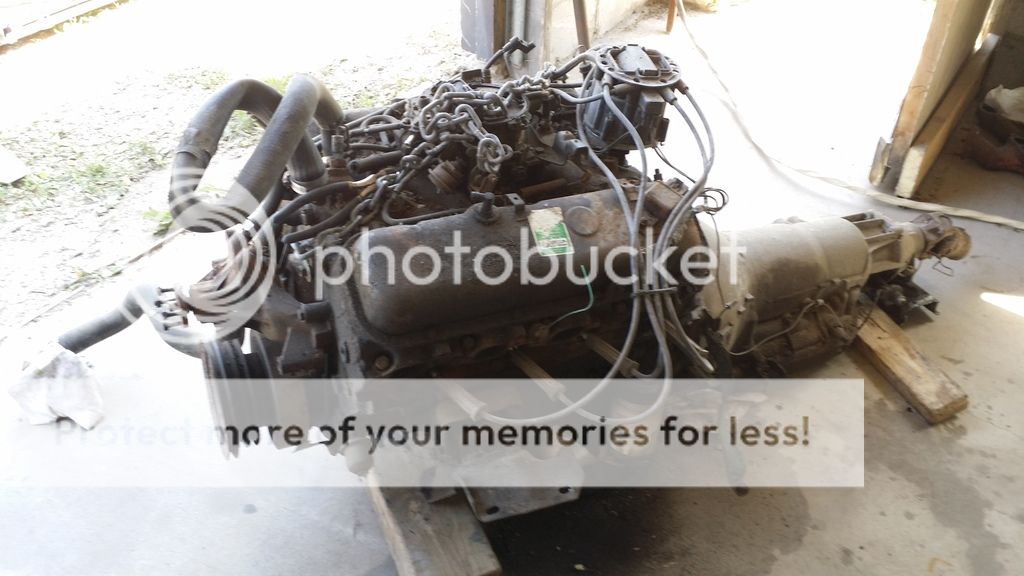
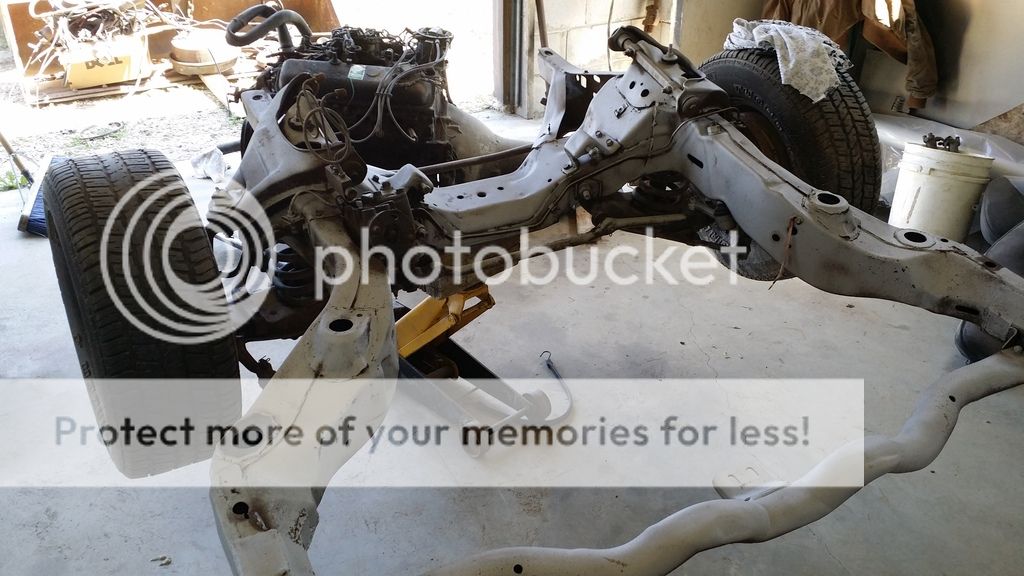
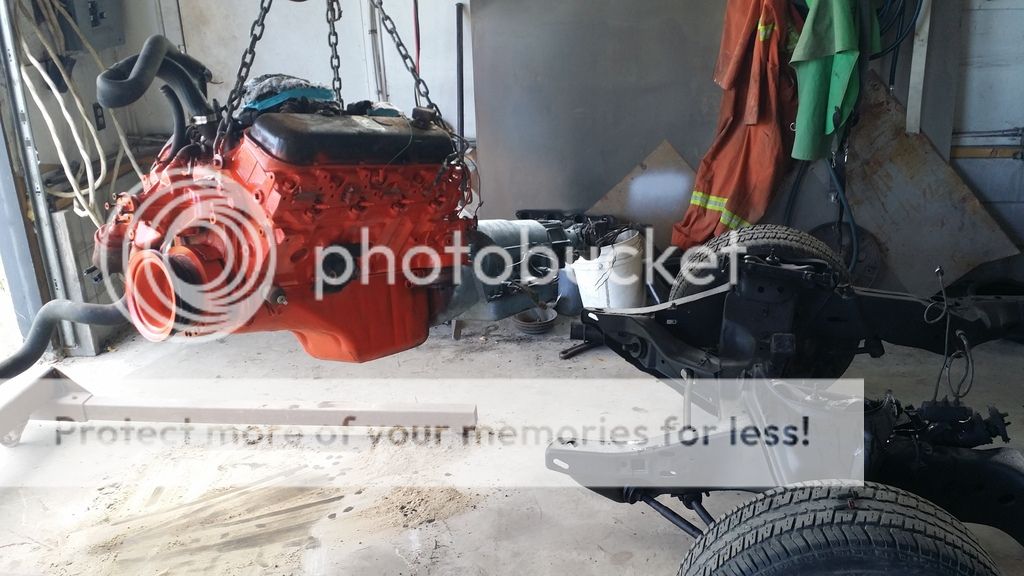
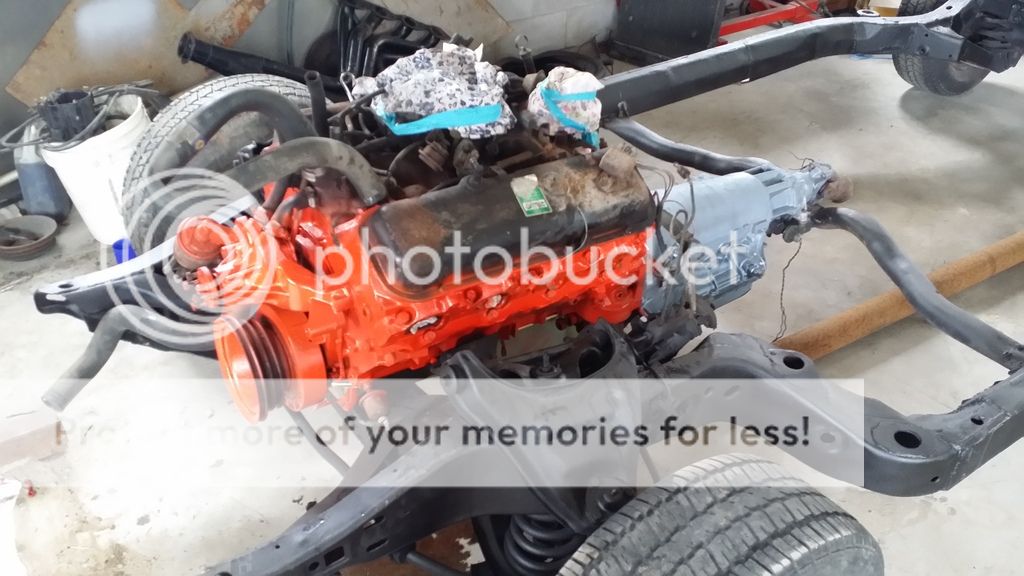
Ahh I forgot. Since I bought a 454 and 400 turbo for this car, can the motor and transmission be put in the car with the front clip on? Or should I leave it off? I'm gonna try mounting it for fab purposes but can leave it off for when I drop the motor in.
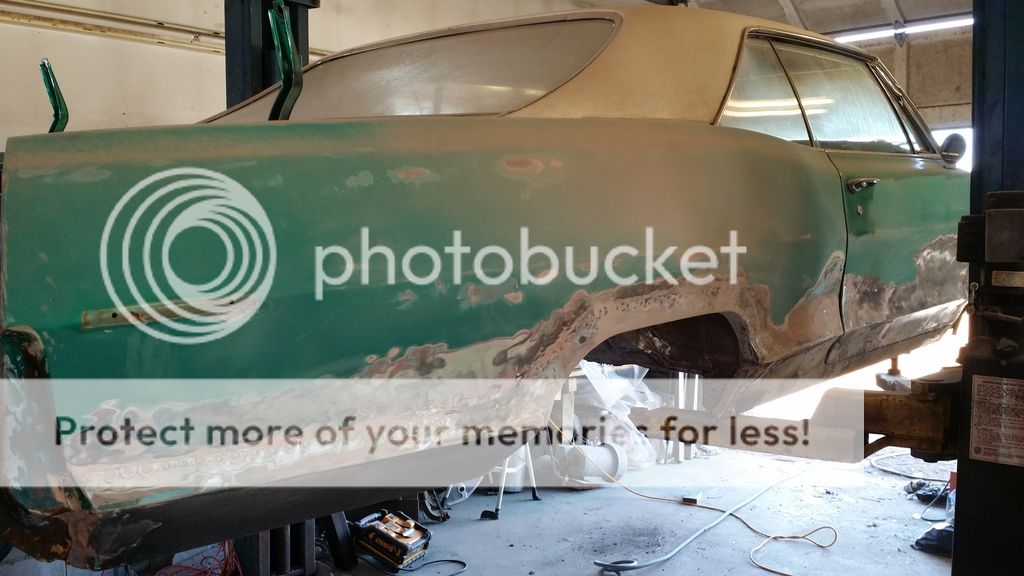
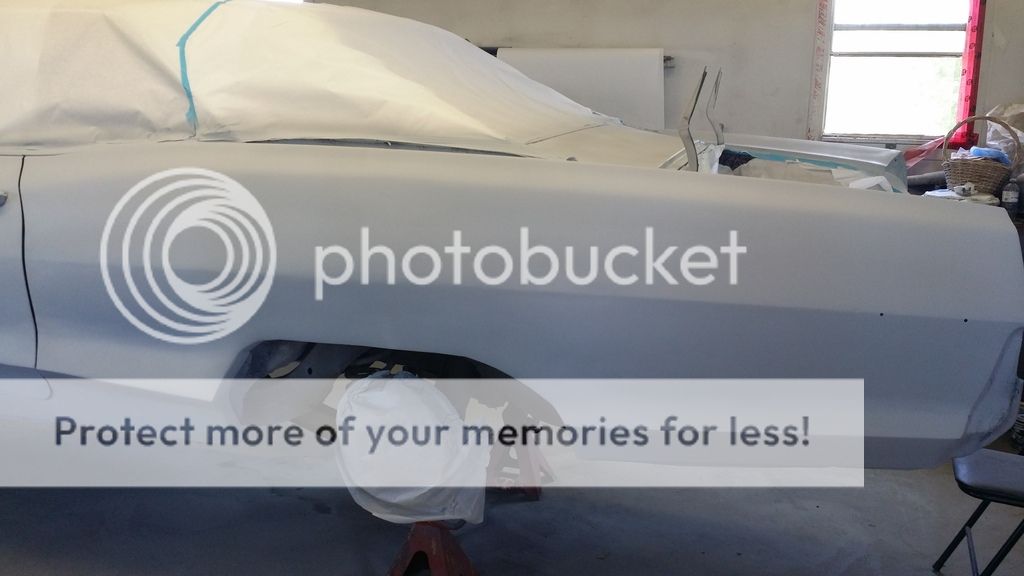
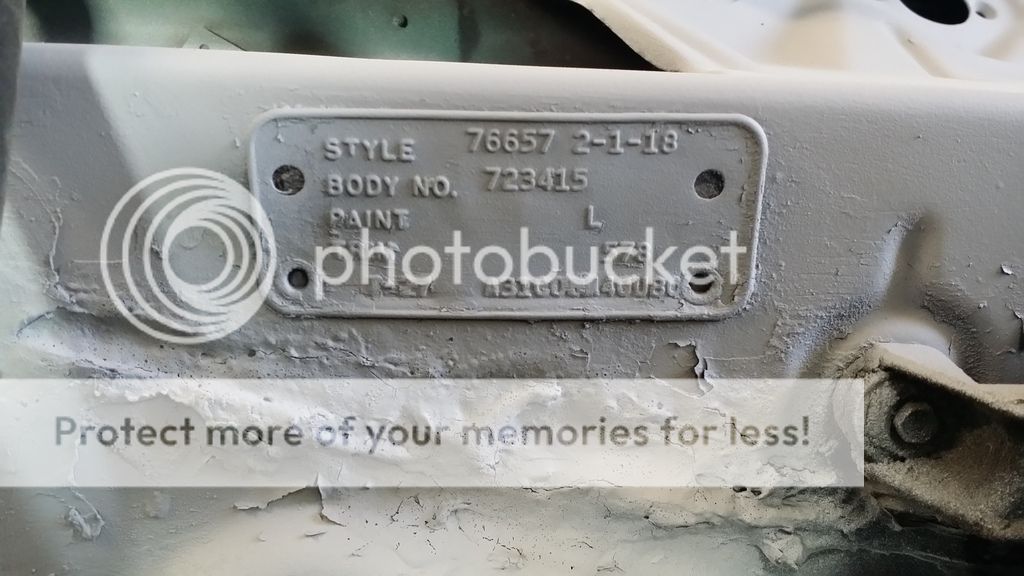
So I decided it would be for the best to blast it. it's a good thing I did. When I was taking the masking off, the original paint was flaking off, so if I never did this, who knows,just sanding it in the shop it may have stayed on and been painted over. It's amazing to see that a lot of the body lines are there.
lots of work ahead but this will make things easier
getting a bit further along day by day. glassed some more spots and underneath the driver door. will get pics later today. can't wait to see this baby primed!!!!
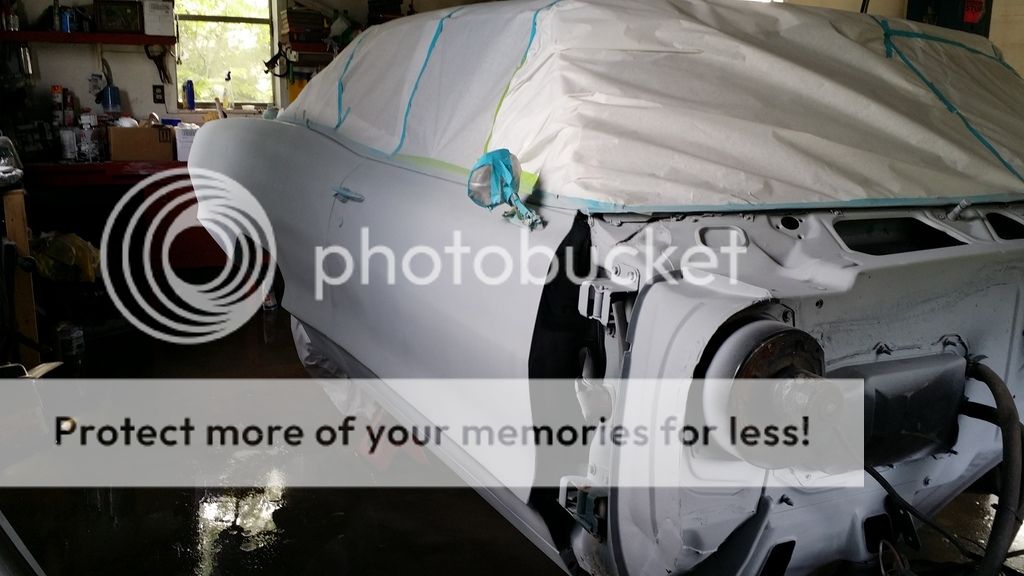
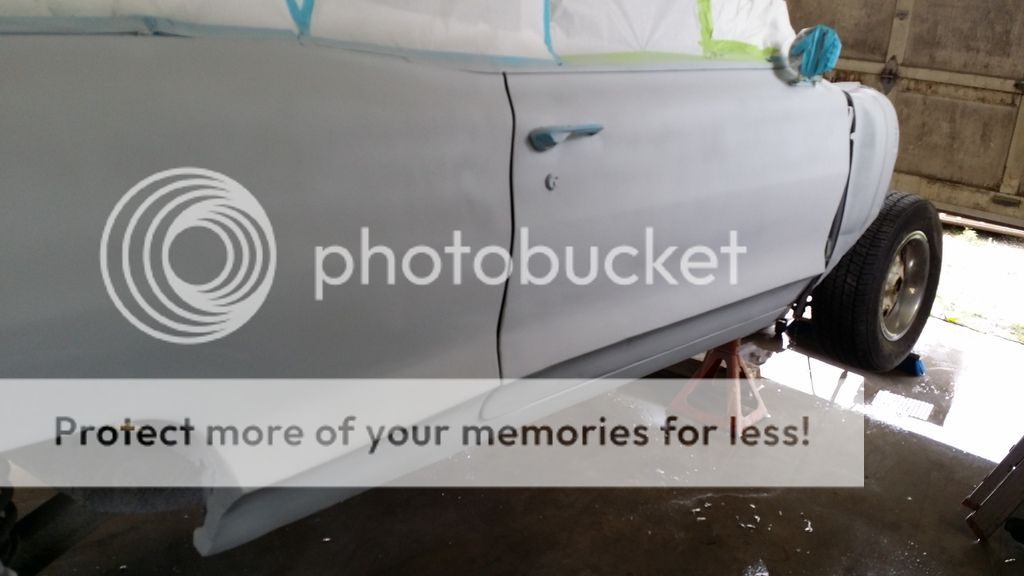
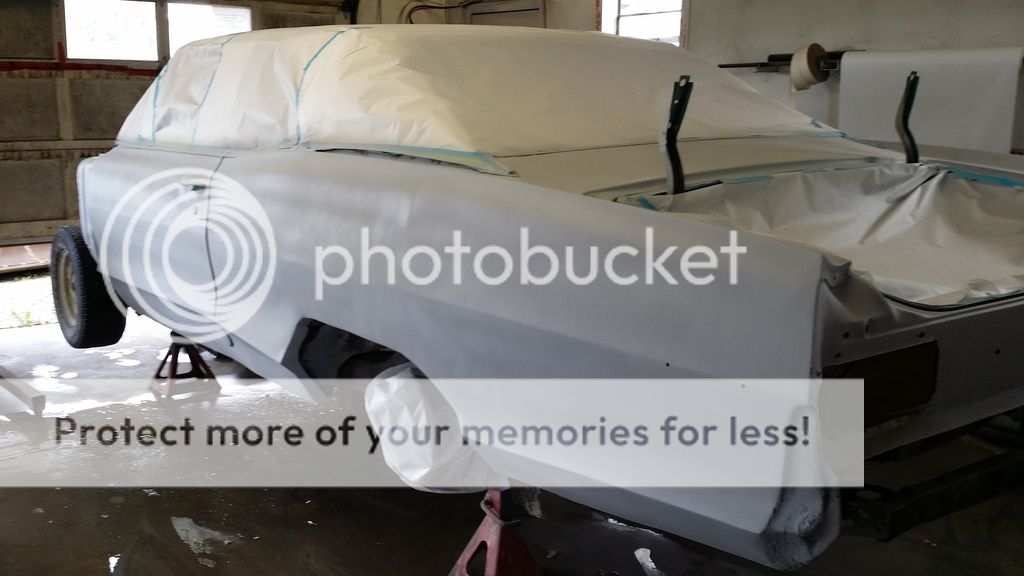
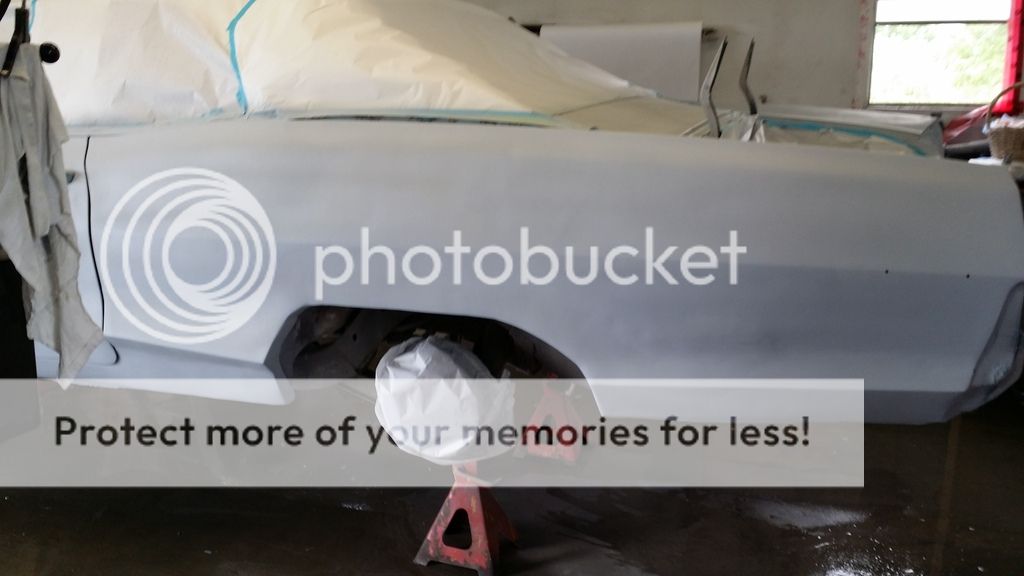
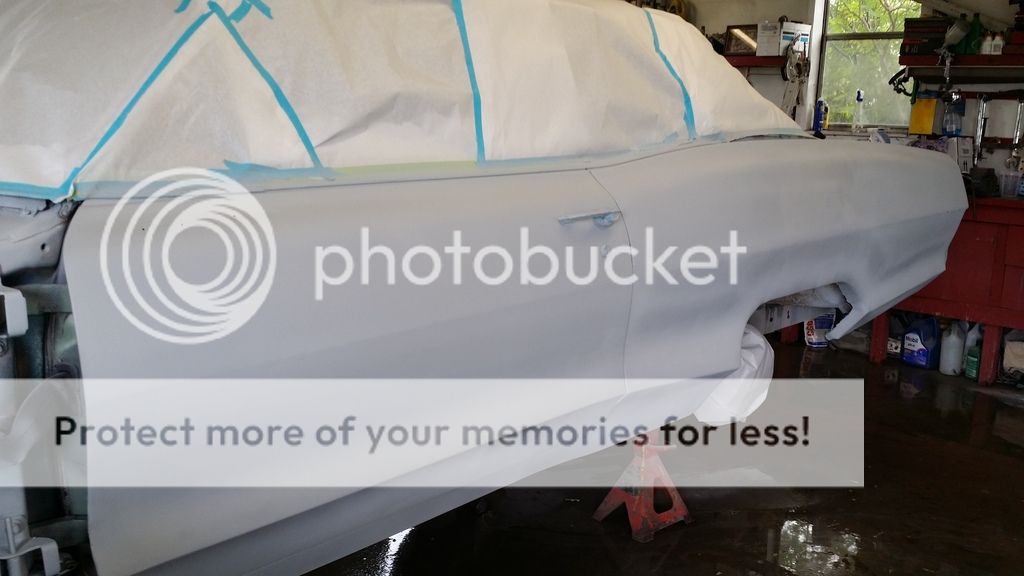
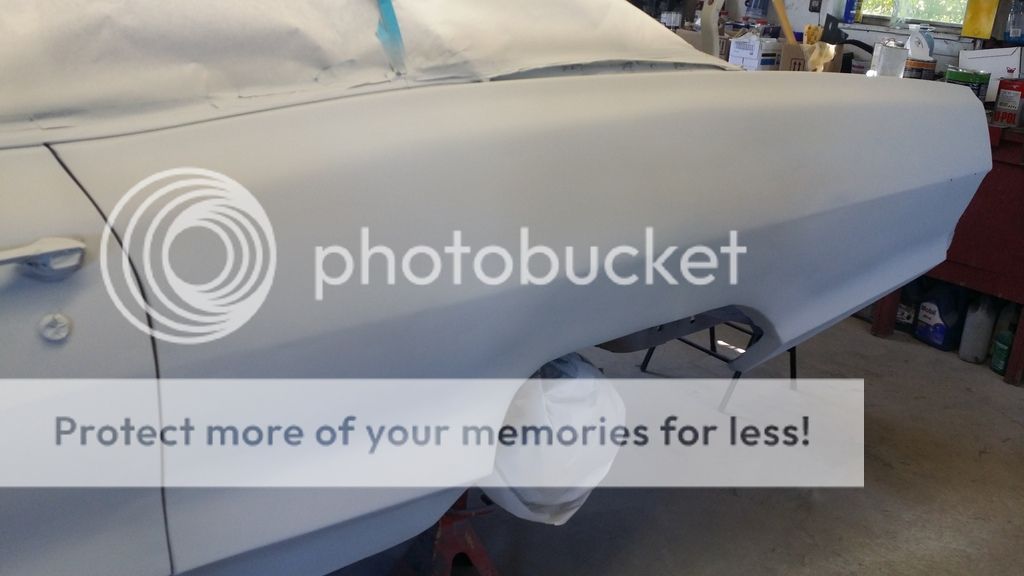
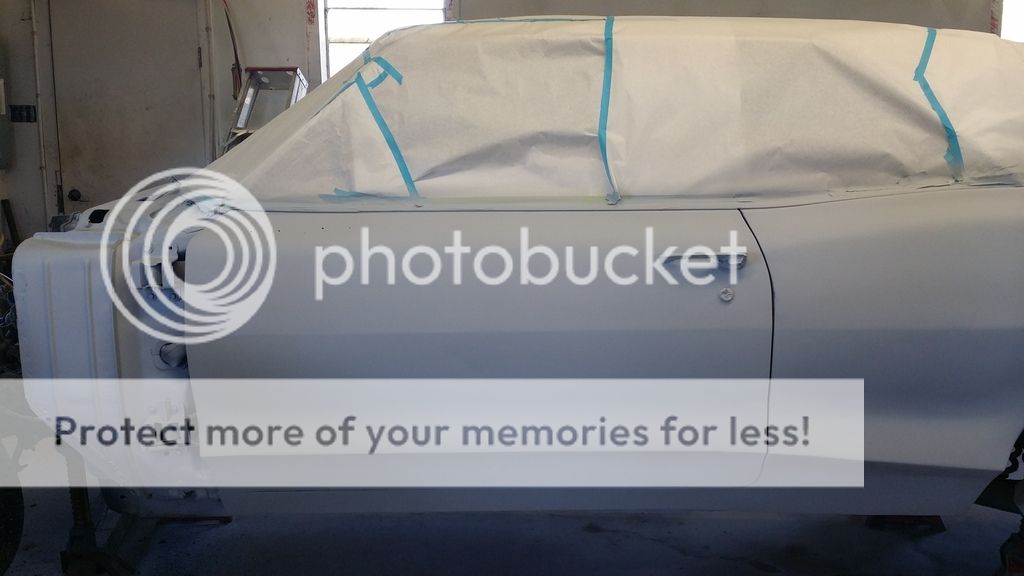
It has been a long time coming and I never thought I would see the day that this f'n ride has some primer on it ;) weather was brutal but I managed to get the first coat on. It's weak,had a lot of issues with this new style primer with my gun. Gonna sand and shoot the next coat tomorrow.
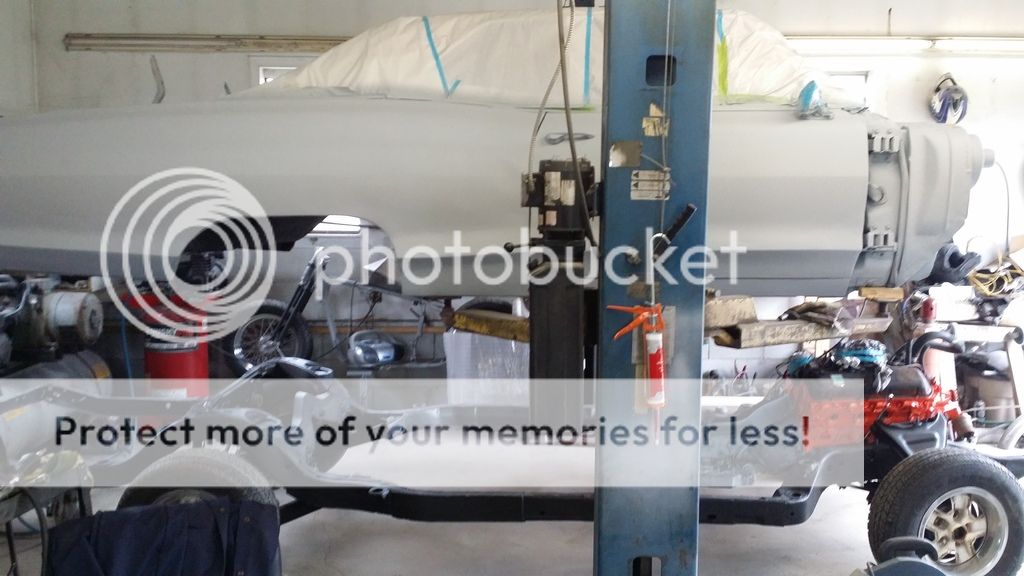
So the plan is to sand and shoot the second coat and examine all the imperfections and see how bad it is. From there I will move this onto the hoist, lift the body and remove the frame. Clean up the underside, blast the frame and fix the shock mounts, then try to get it all mounted once more....then by this time hopefully I can drop the motor in it and start setting up the front clip!
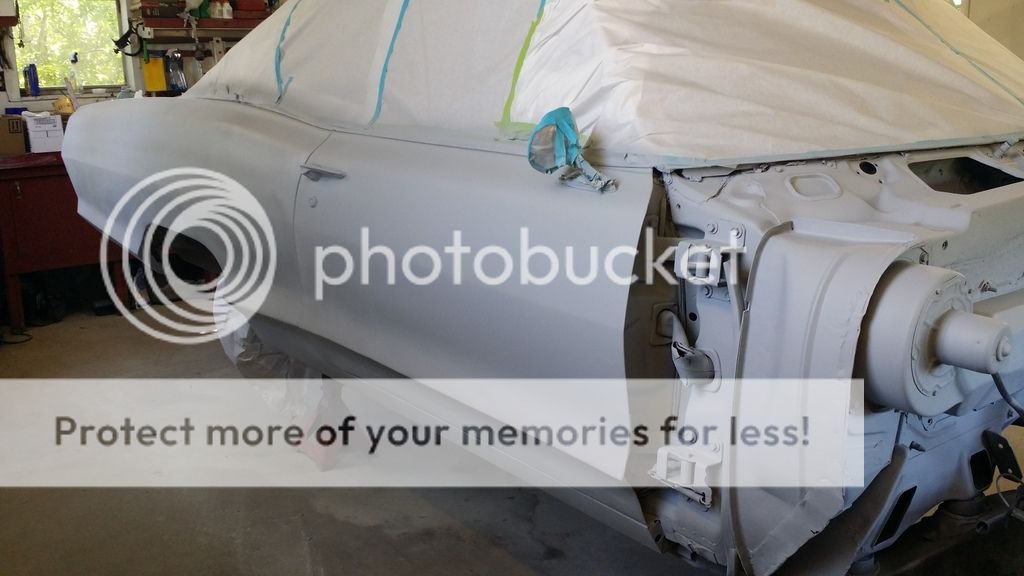
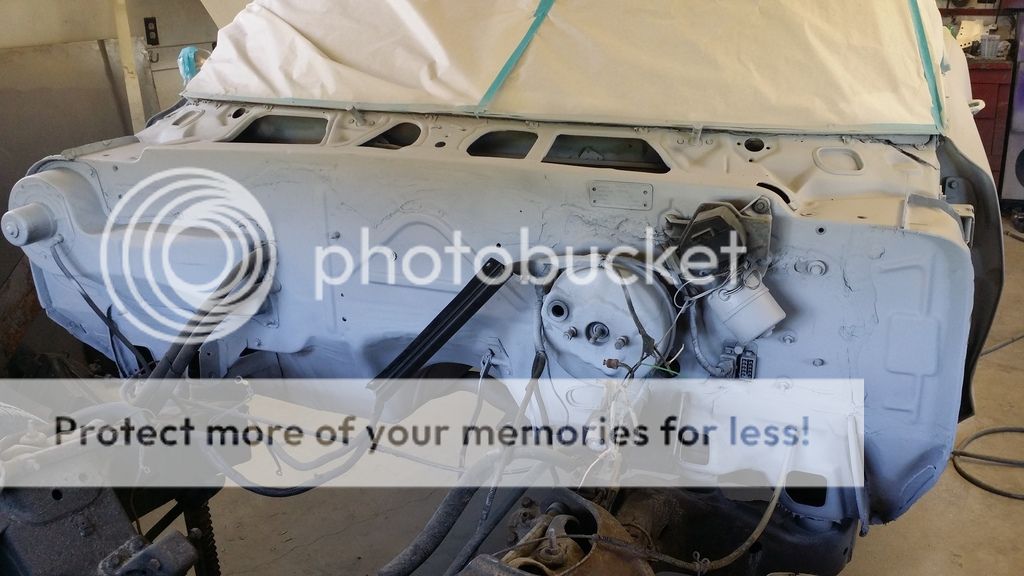
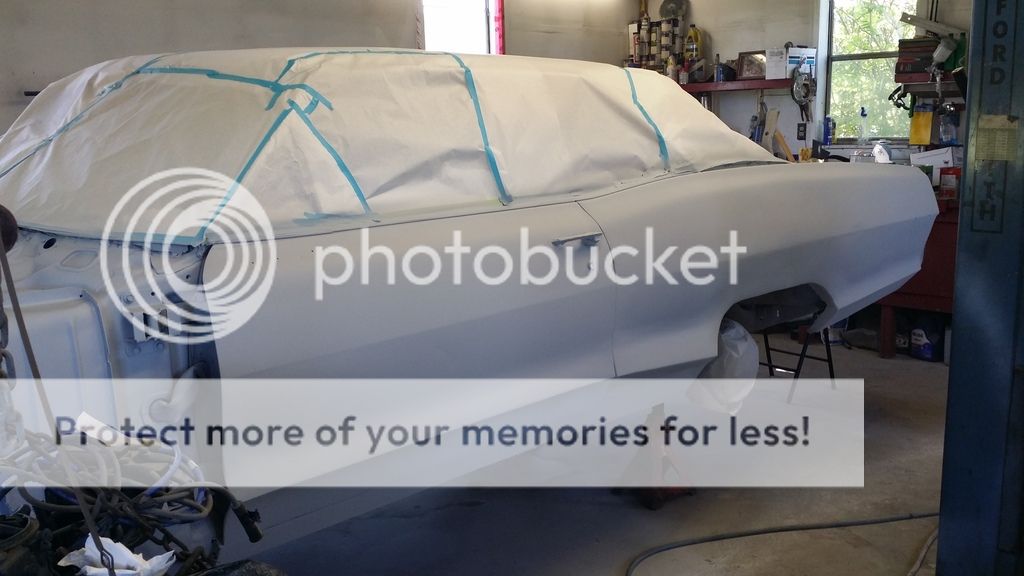
Second coat on nice and thick today. Cleaned the firewall up a little. Not going to spray the rear section until I get it back on the hoist so I can properly fix the underside and what not.
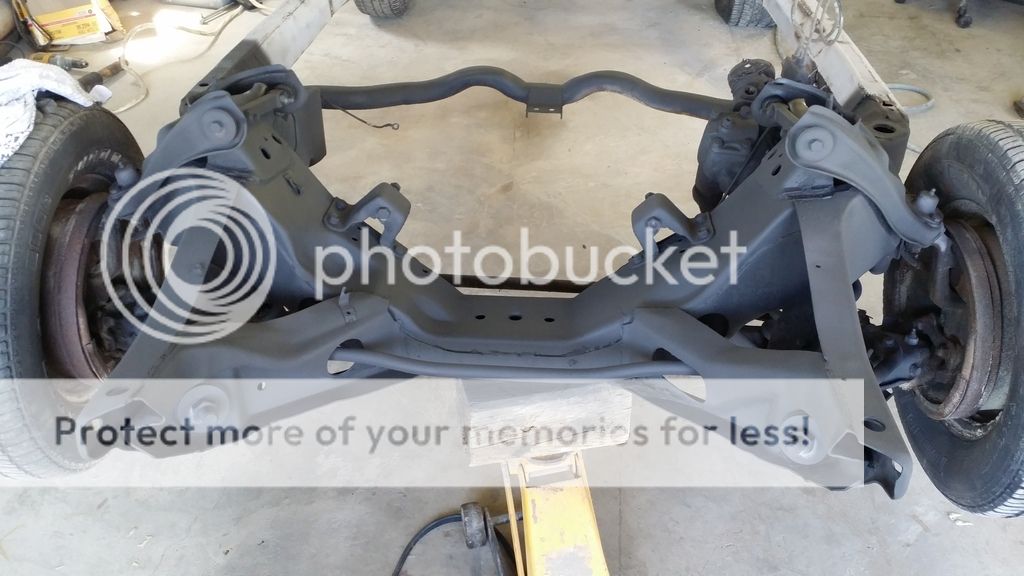
Tomorrow my buddy and I will get it back on the hoist, remove the frame and blast it. Then I can do all the remaining repairs and get it primed.
Getting some help with weekend from some great people, should have the body mounted to the frame, motor installed and front clip back on!!! X my fingers. =)
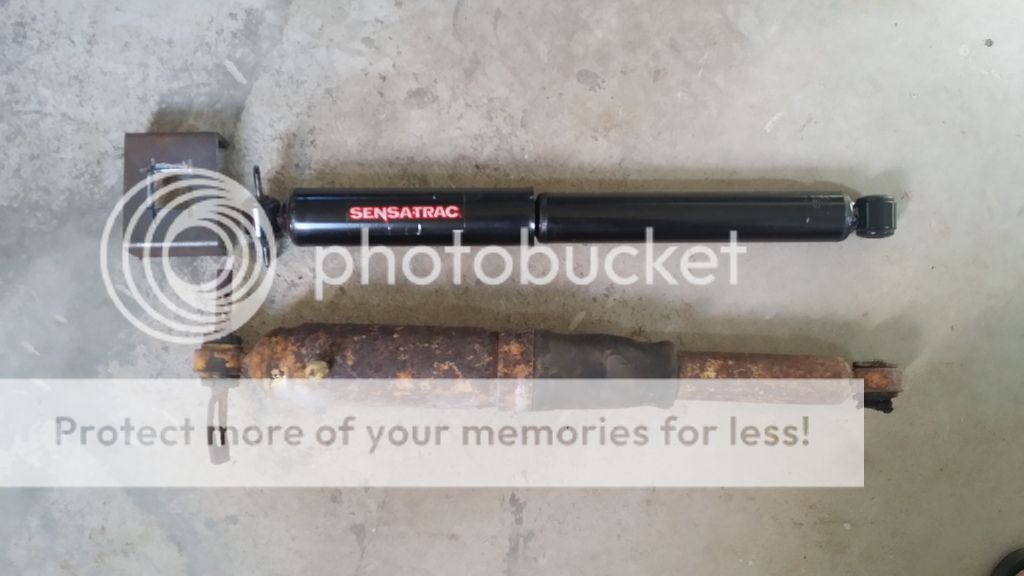
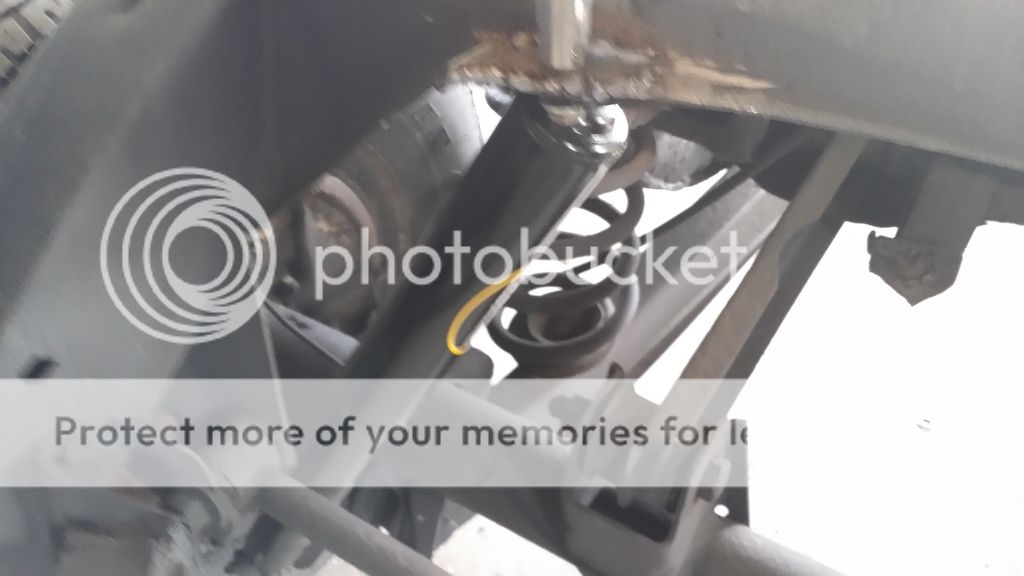
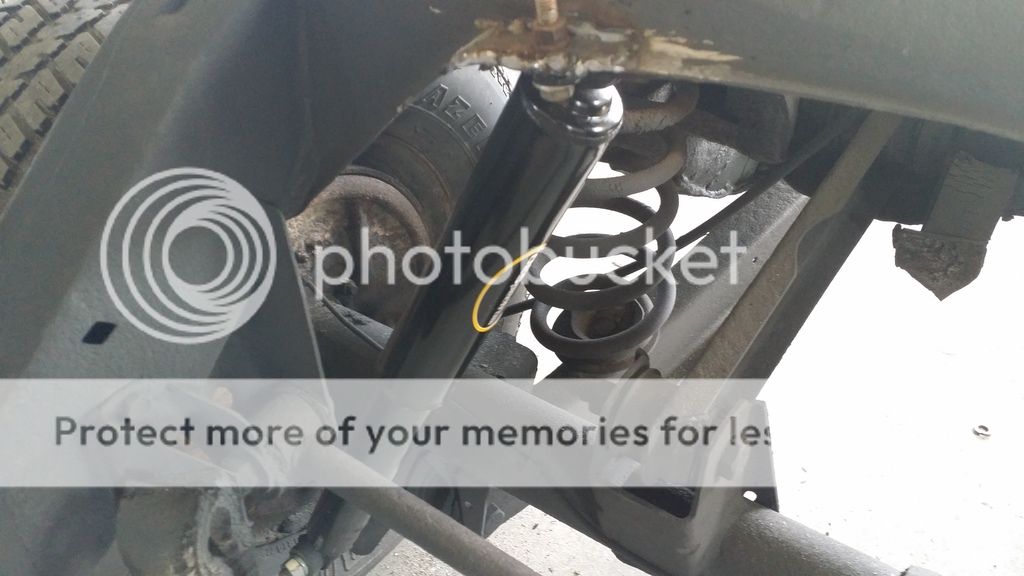
I posted this in the suspension forum but I will ask here as well.
I bought these shocks new about 2 years ago when I got my car.
I just took the old ones off, and they are much longer than my new Munroes.
I made two plates that I can weld to the bottom section of the frame where the old ones bolted to and will bolt these. Is this OK for my car? Or must I get a longer shock?
was this a My first car photo section or a build post I have a few hundred pictures of my 66 in progrress
Hardtail's build post.
__________________
Prince Edward Island
'64 Parisienne CS "barn find" - last on the road in '86 ... Owner Protection Plan booklet, original paint, original near-mint aqua interior, original aqua GM floor mats, original 283, factory posi, and original rust.
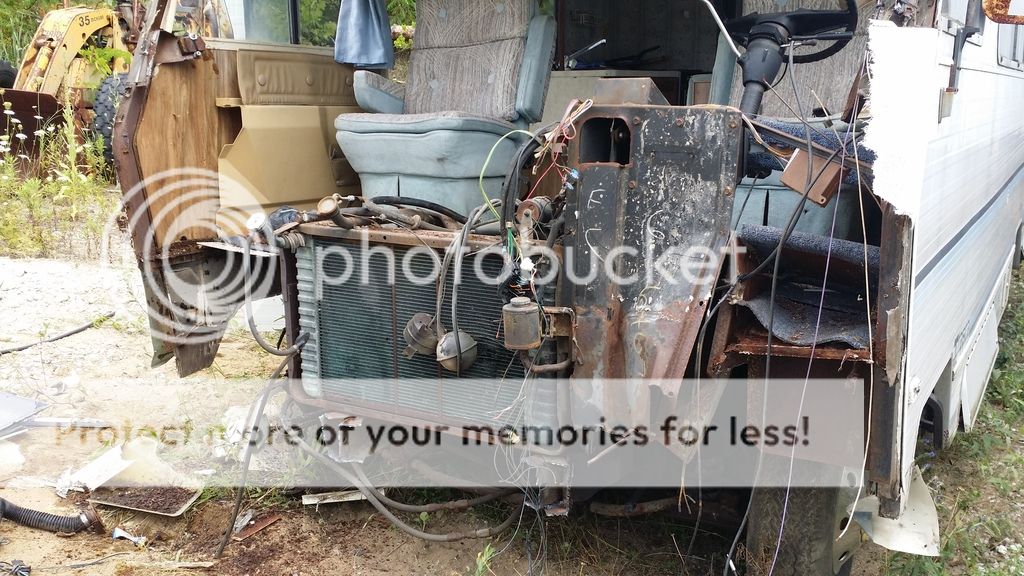
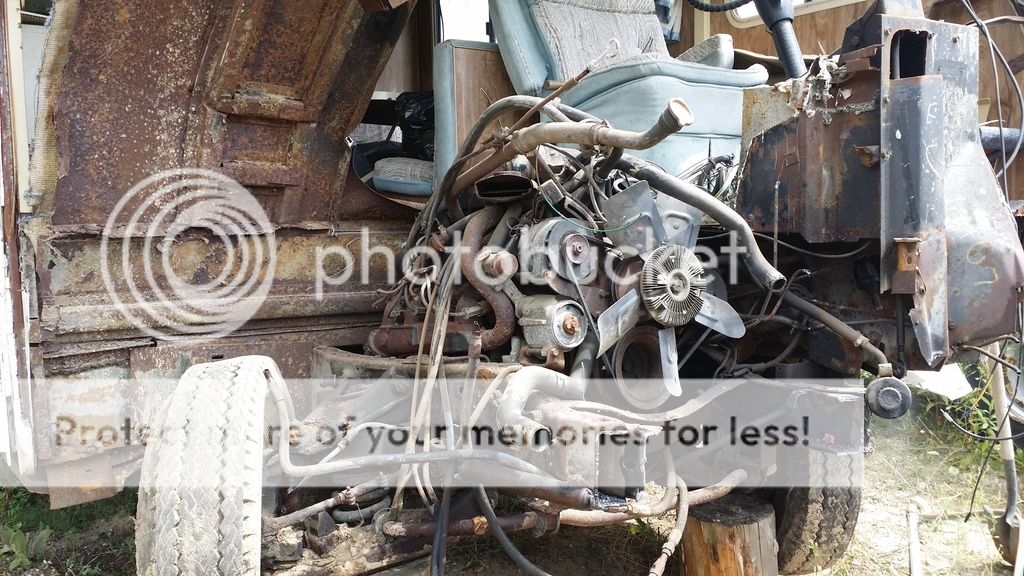
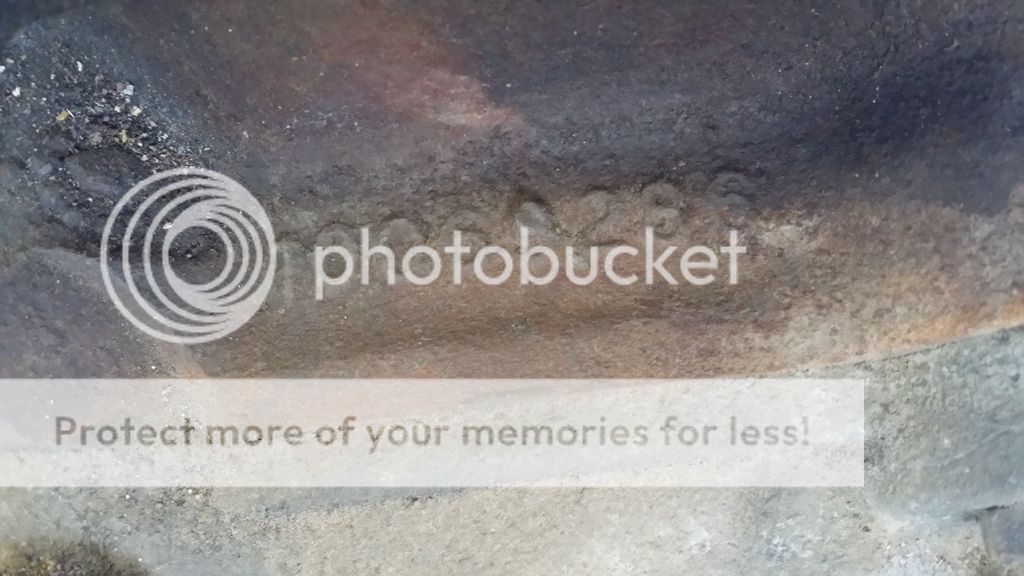
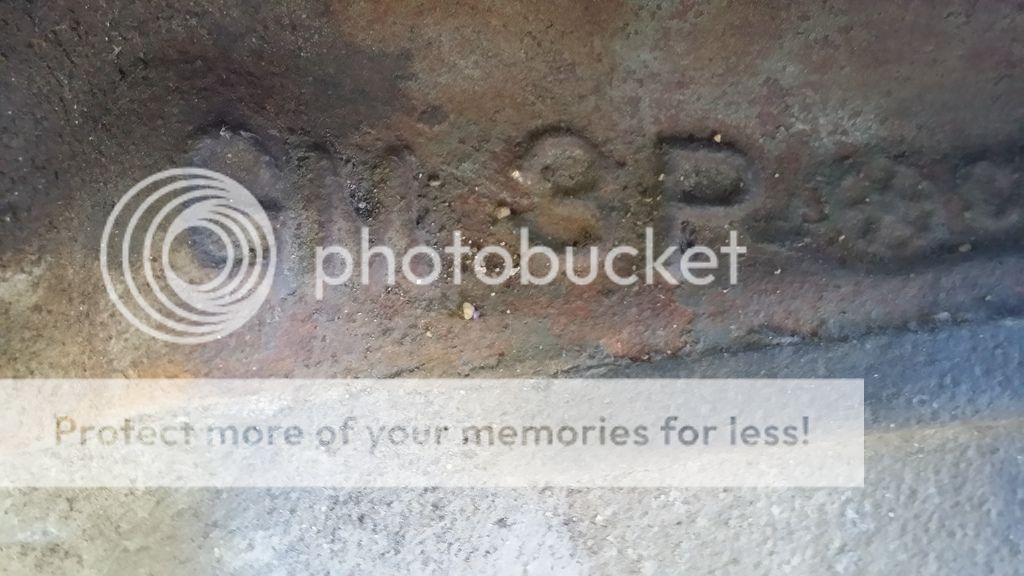
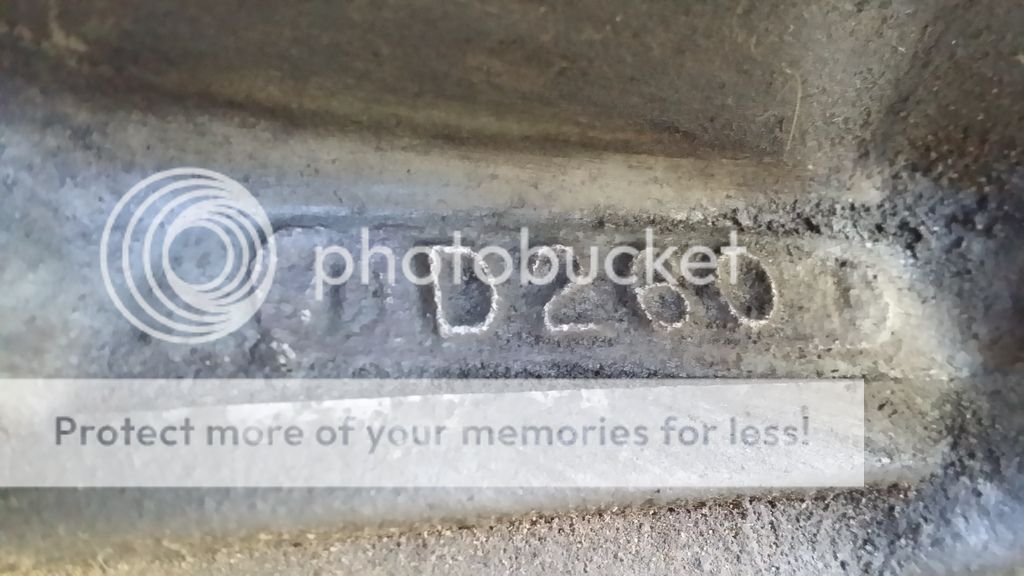
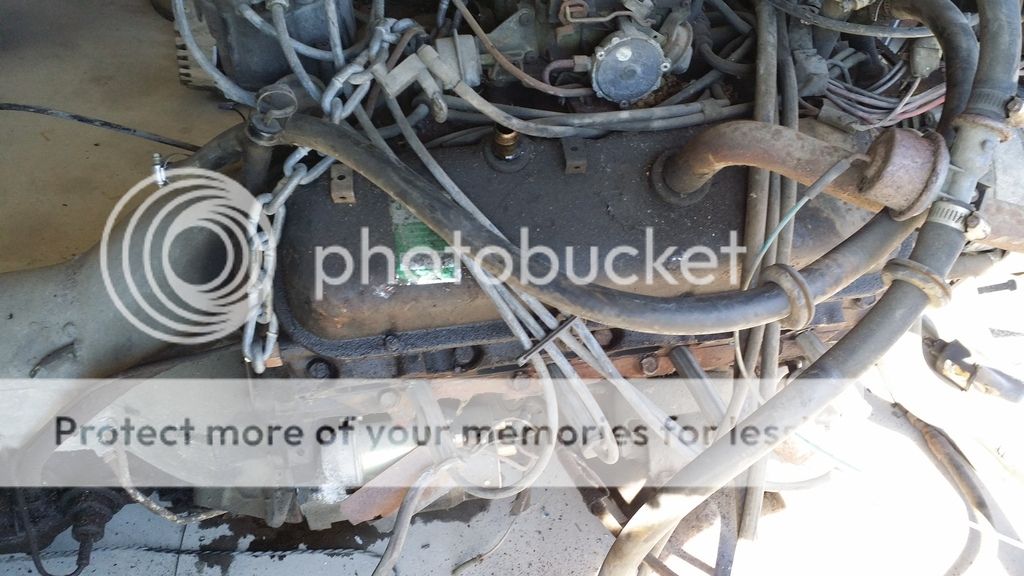
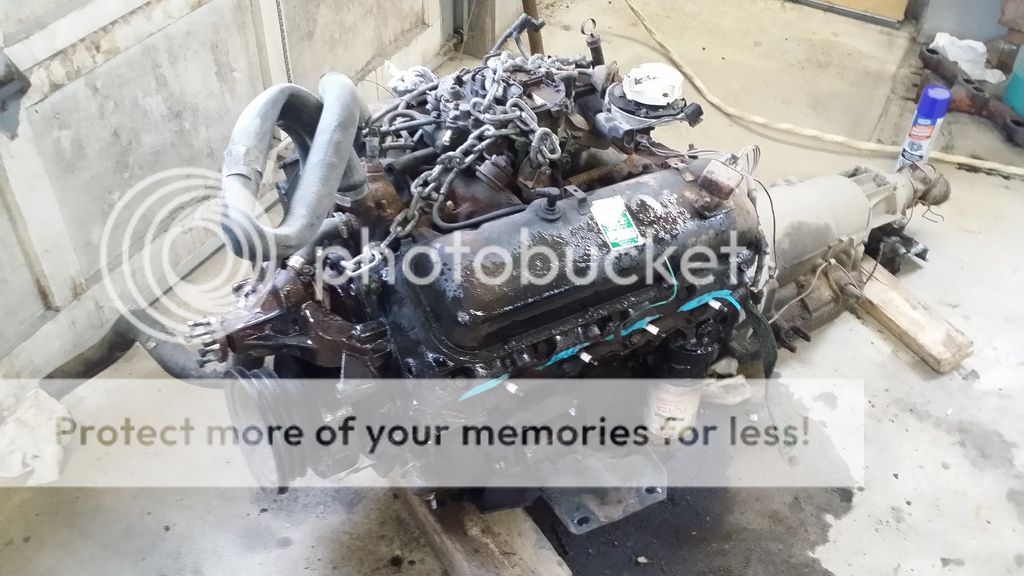
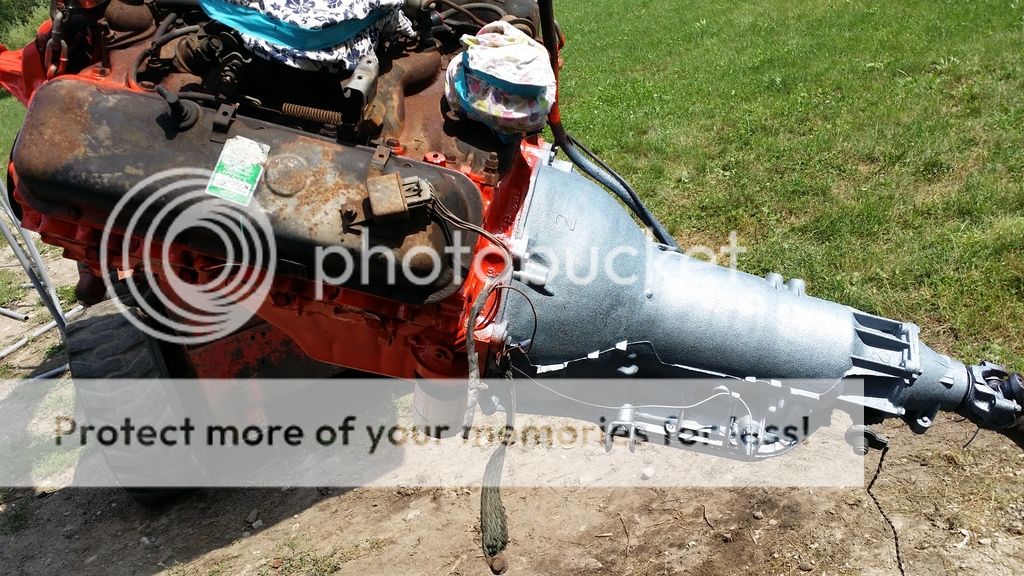
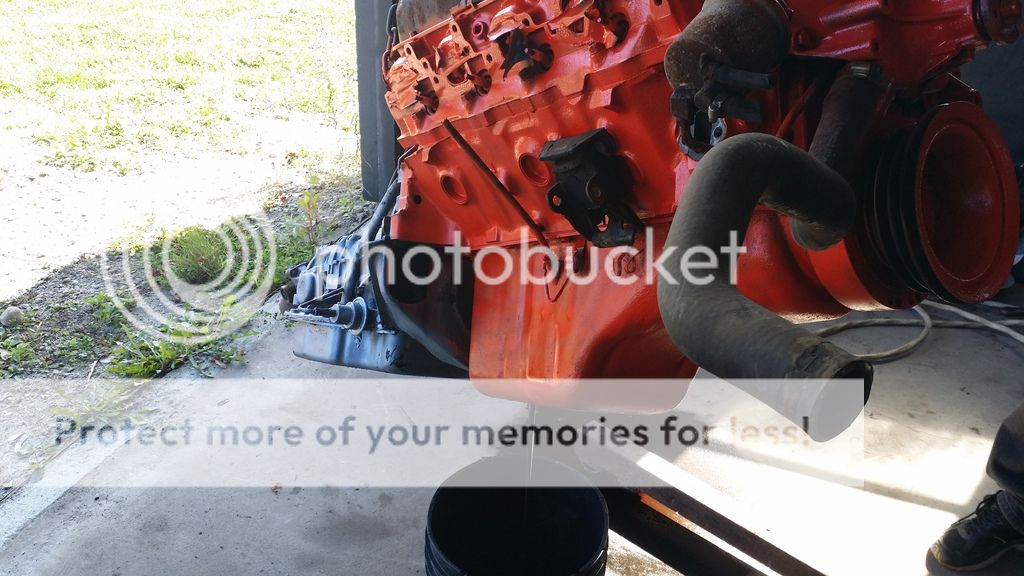
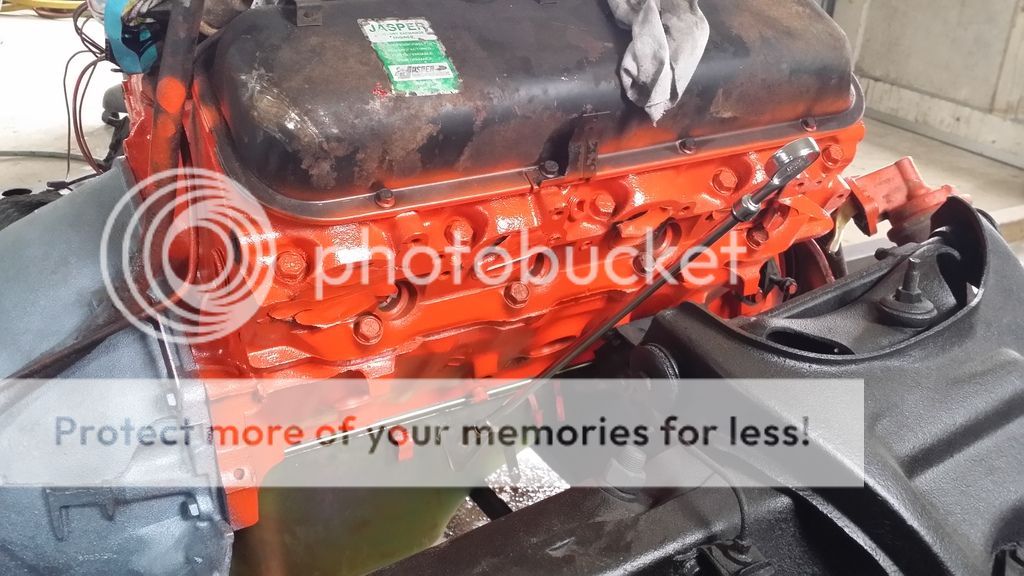
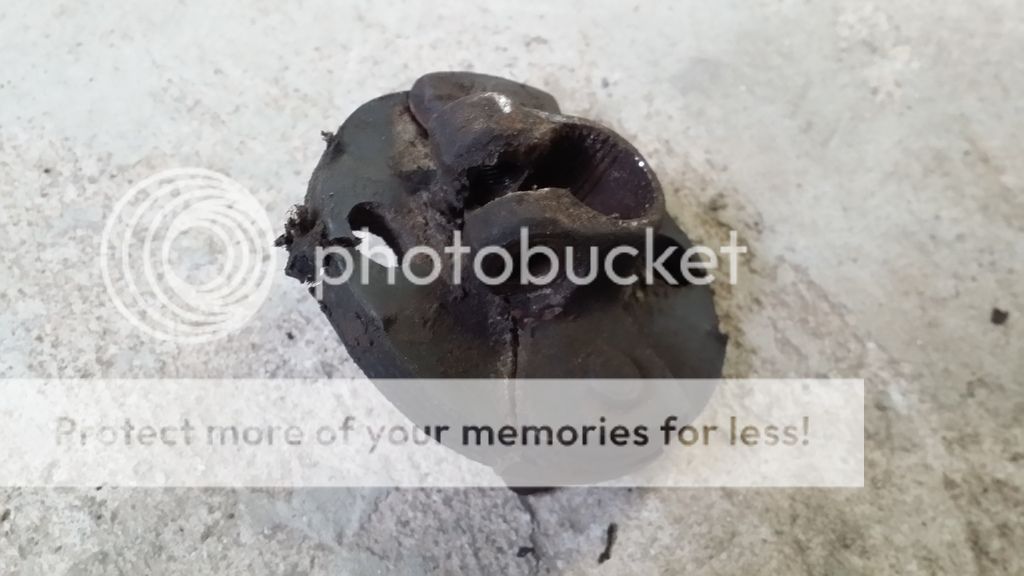
That is an interesting 454 casting you have, no doubt a Mark IV 4 bolt by all big block charts I have referenced. At first I thought it was an L19 which was what the SS454 pickup ran but they were all TBI and I see this has a 4 bbl. It is undoubtedly an LE8 which was a common installation in motor homes. This is a big torque stump puller. Rated at 230 HP and 385 Lbs/ft @1600 rpm as installed in the motor homes. With a good intake, headers and duals this thing will be north of 300 HP with well over 400 lbs/ft. Because they are fairly plentiful and easily obtained you will find many original 60's big block cars running these.
That is an interesting 454 casting you have, no doubt a Mark IV 4 bolt by all big block charts I have referenced. At first I thought it was an L19 which was what the SS454 pickup ran but they were all TBI and I see this has a 4 bbl. It is undoubtedly an LE8 which was a common installation in motor homes. This is a big torque stump puller. Rated at 230 HP and 385 Lbs/ft @1600 rpm as installed in the motor homes. With a good intake, headers and duals this thing will be north of 300 HP with well over 400 lbs/ft. Because they are fairly plentiful and easily obtained you will find many original 60's big block cars running these.
Thanks for the information! I had some trouble identifying it, the casting number I ran told me it was indeed a '90-'91 Mark IV. Wasn't sure on the HP or anything. I got a set of Hedman Headers for it at the moment.
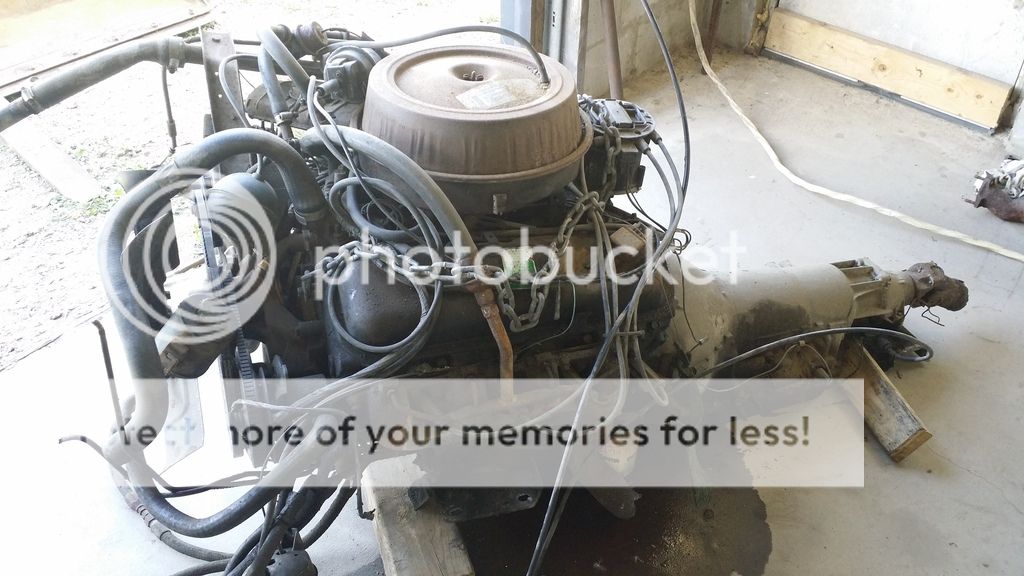
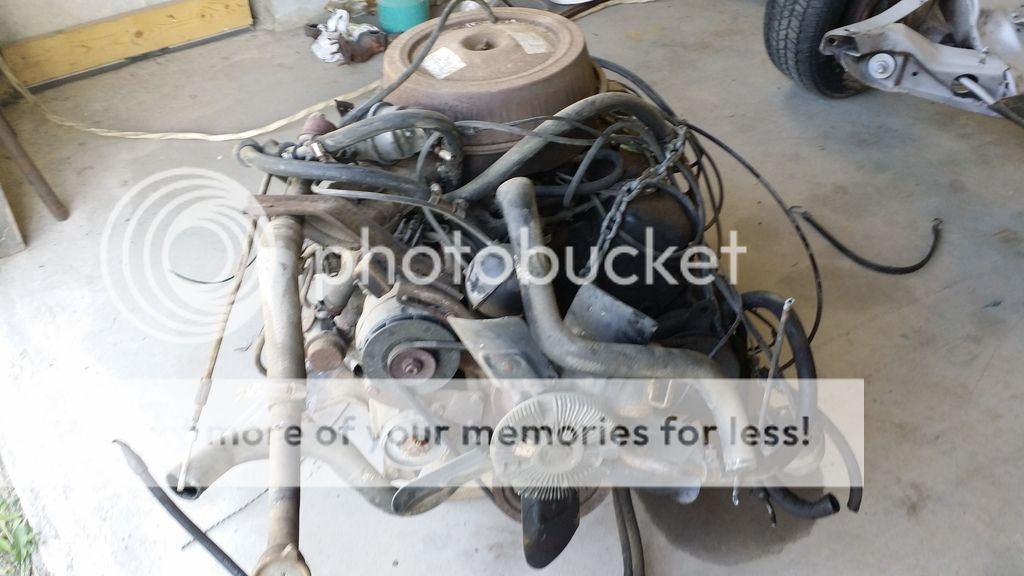
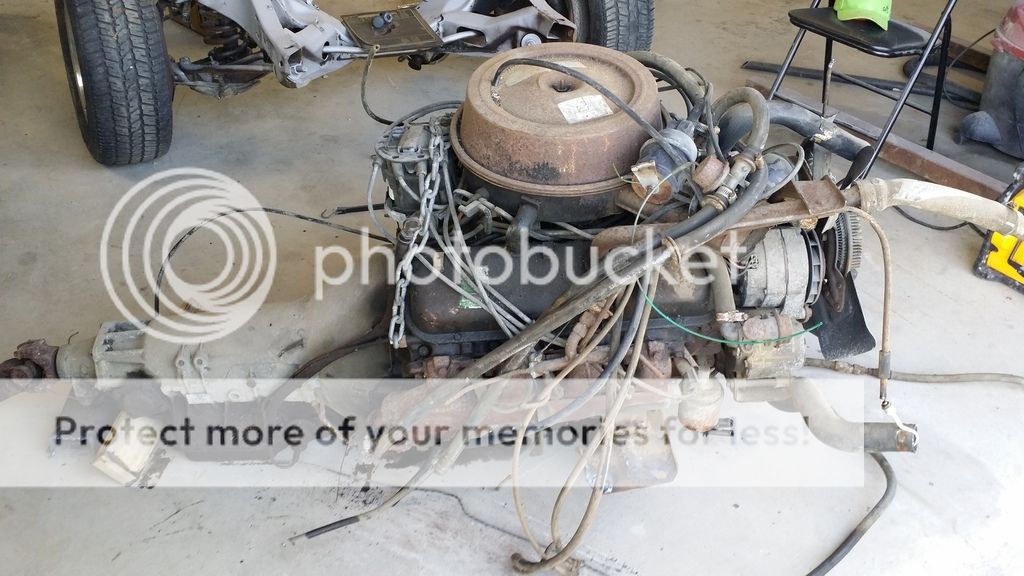
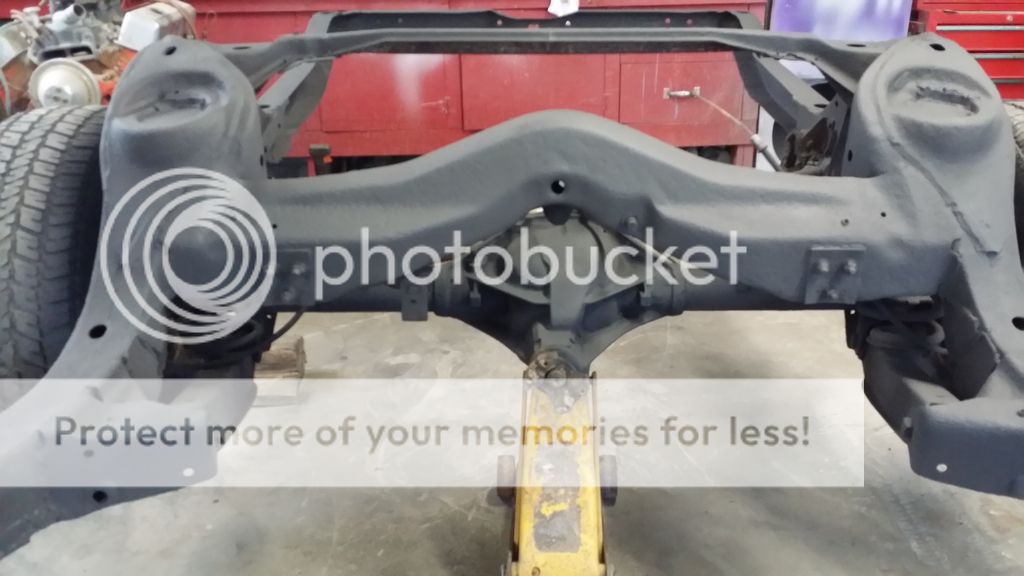
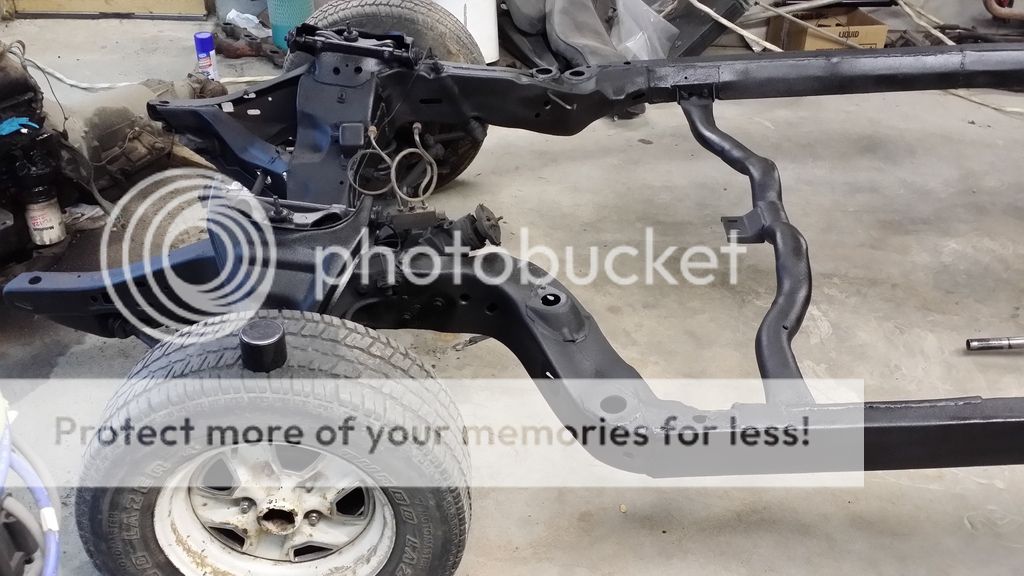
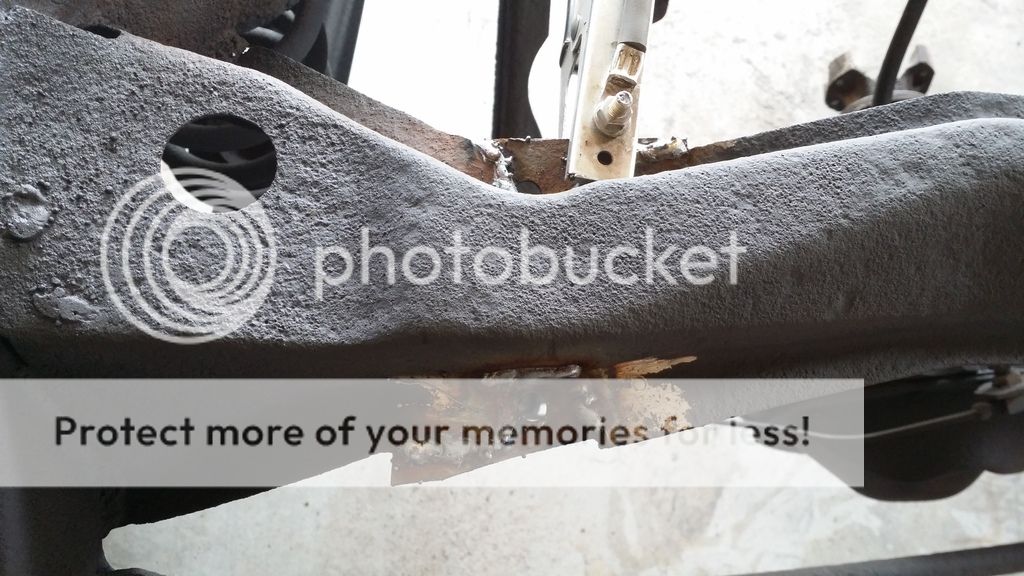
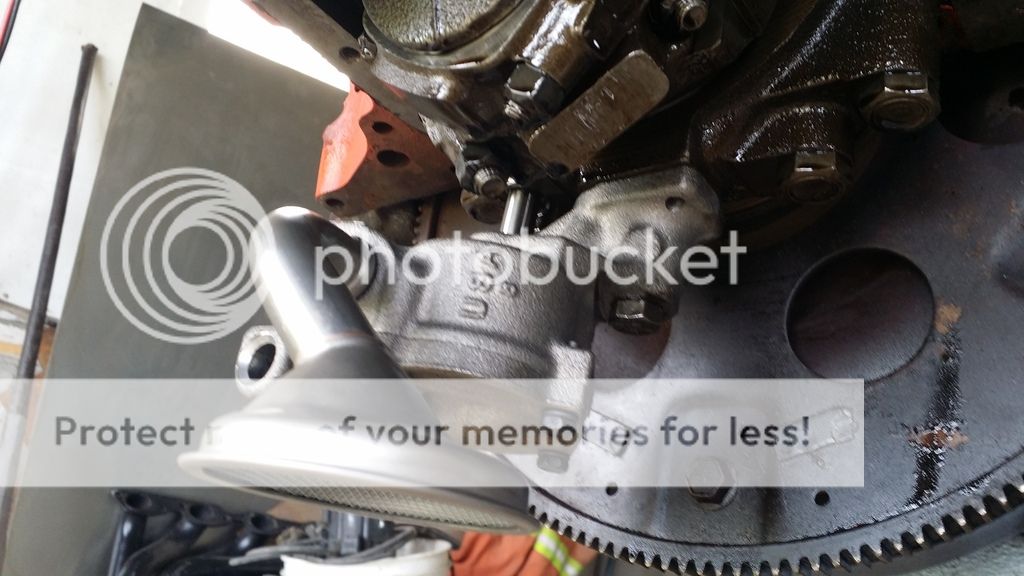
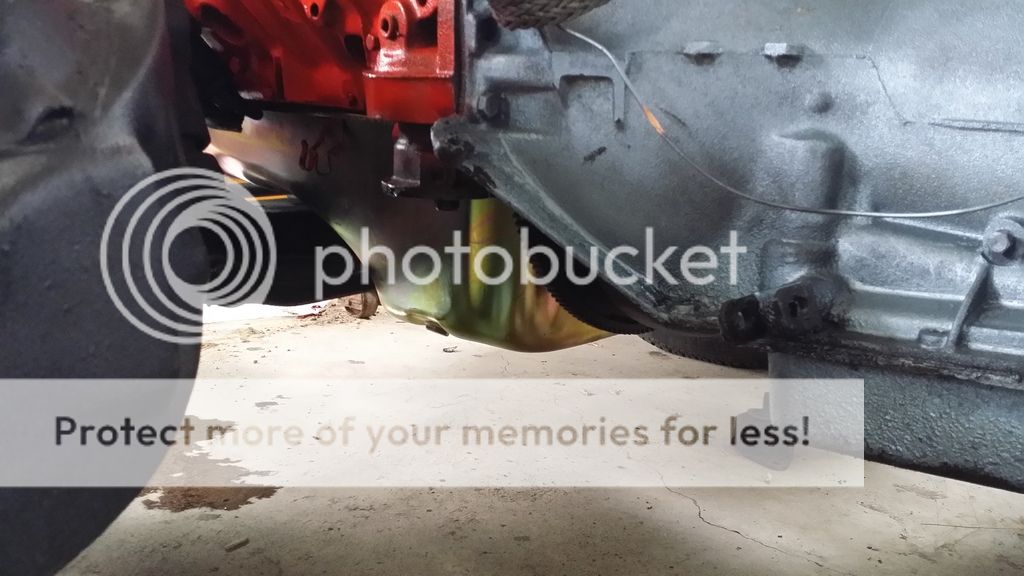
Looks like the messages got cut off in my post with the pictures. The oil pan is too deep, it's roughly 8". It his one of the cross members. Any idea what kind of oil pan will fit?
What a mind numbing experience it has been following your build thread. You have complete respect from me for your amazing fortitude and dedication in putting your 66 together. WOW, just simply amazing brother. Continued good luck with your project and please continue to keep us posted on further results. Cheers. George
__________________
1957 Pontiac Pathfinder Deluxe sedan restored 261 six
1974 Chevrolet Caprice Estate wagon low mileage original 400 V-8
Looks like the messages got cut off in my post with the pictures. The oil pan is too deep, it's roughly 8". It his one of the cross members. Any idea what kind of oil pan will fit?
Thanks
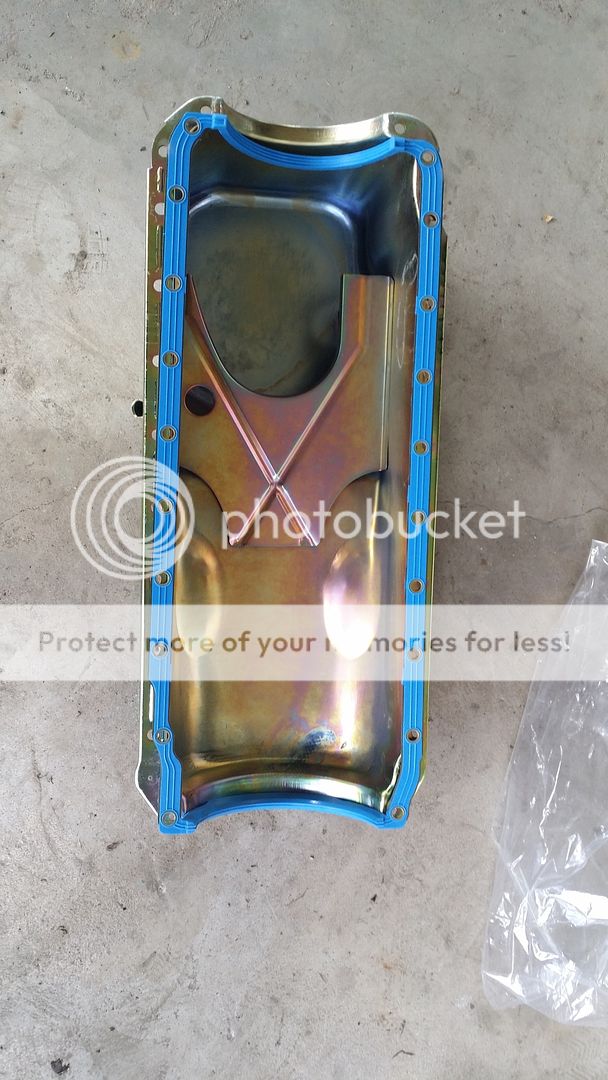
Just source the 427/396 OEM oil pan for the 66 Impala, Bel Air, Biscayne. CLICK HERE for Summit. I used Summit for a lot of parts for my swap.
Get a new oil pump and pick up while you are at it. The pick up will likely have to be adjusted for height with the new pan anyway. Summit sells complete packages or you can source these pieces locally.
With respect to your headers, if you sourced 66 Impala, Bel Air, Biscayne big block headers you will be fine.
-- Edited by 73SC on Tuesday 18th of August 2015 09:35:34 PM
What a mind numbing experience it has been following your build thread. You have complete respect from me for your amazing fortitude and dedication in putting your 66 together. WOW, just simply amazing brother. Continued good luck with your project and please continue to keep us posted on further results. Cheers. George
I cannot thank you enough for your kind words. To many this car may have been too far gone and a waste of time and money, but it has been much more than that to me. I have learned multiple new skills that I did not think would be possible all from working on this project and others. It's been an invaluable experience for me personally. Thanks again, it keeps me motivated!
I want to give a special thanks to Carl Stevenson and Ray White for their assistance on my project. Your knowledge and dedication to help a noob out is much appreciated. Thank you both.
Progress came to a halt but here it is once again slowly but surely.
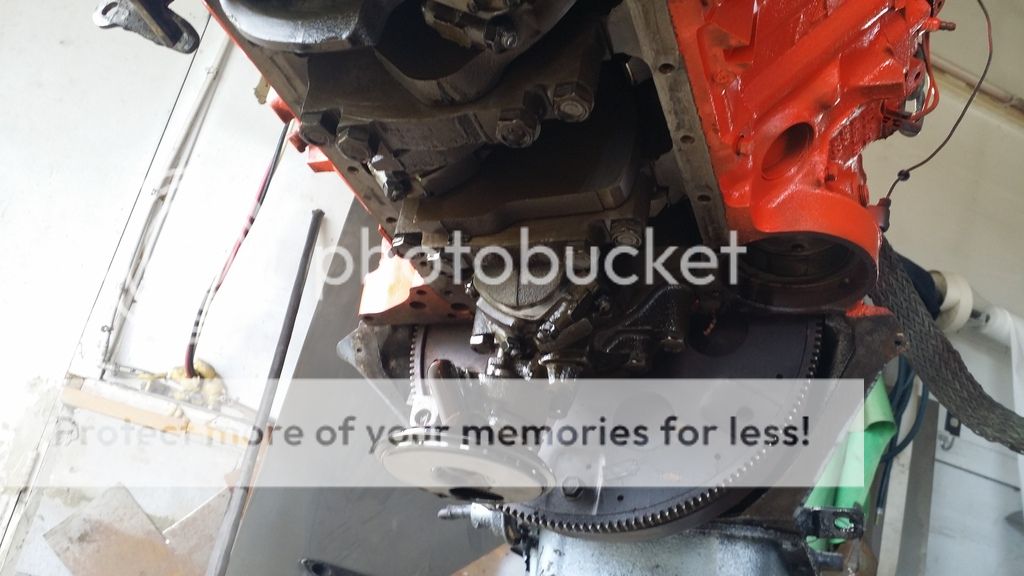
The stock oil pan was too large to fit into my frame.
No issues with the new oil pump.
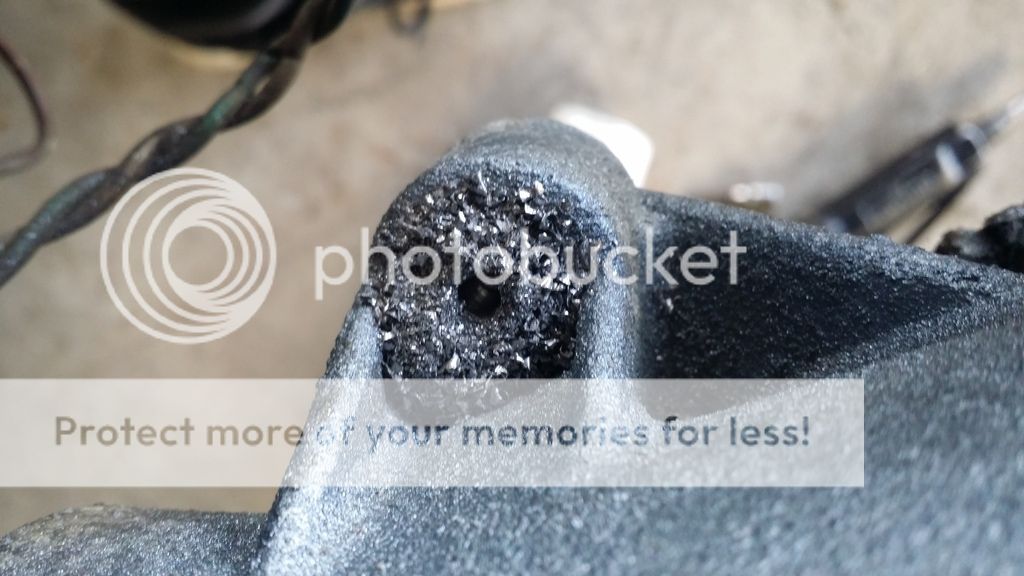
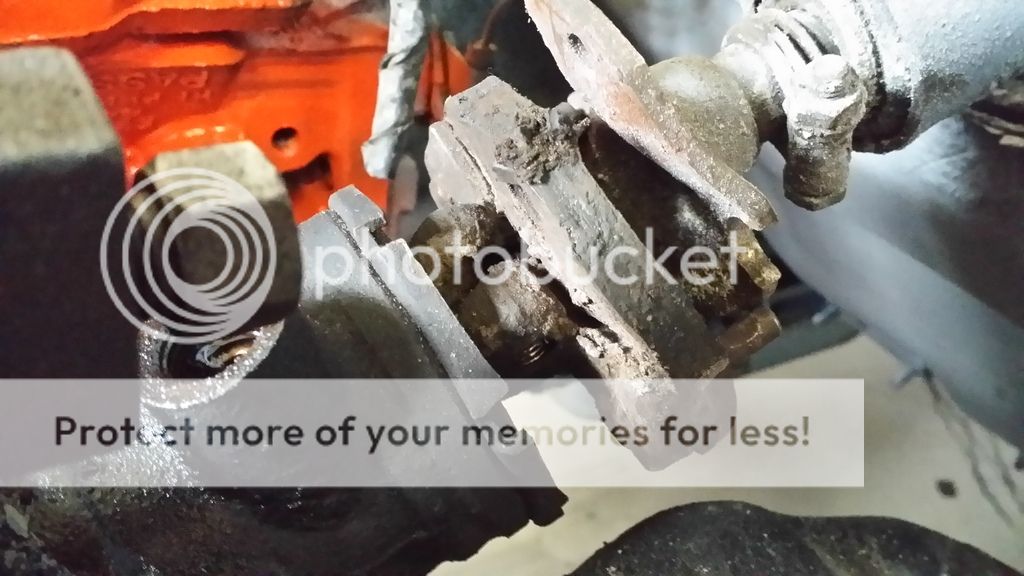
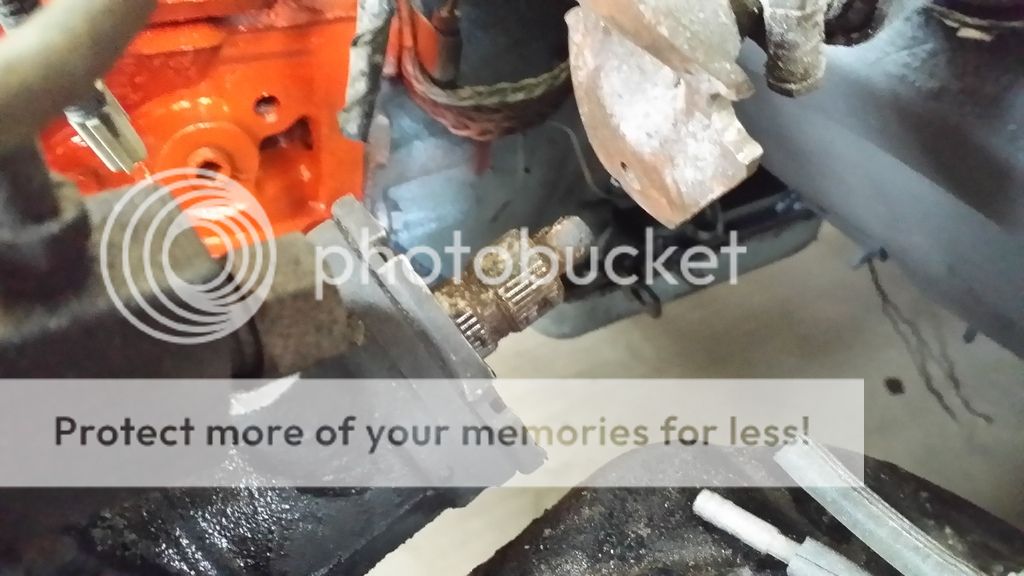
Had to drill the bolt out that broke inside the transmission plate.
The first gasket did not fit.
Nothing Summit Racing couldn't fix! Thanks Ray!
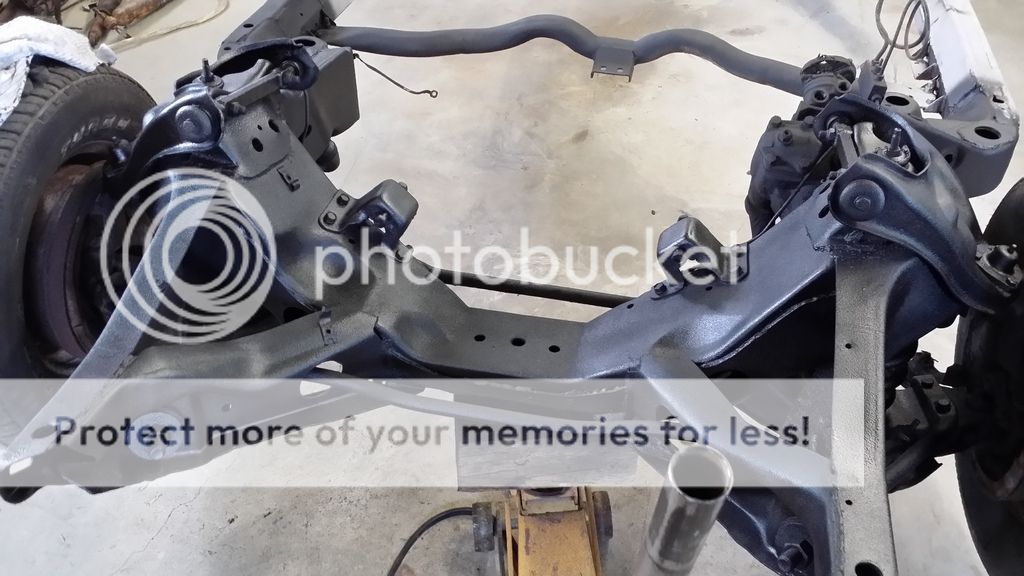
So now I get ready to drill the bodymount holes and line up the car. Removing the old rag joint.
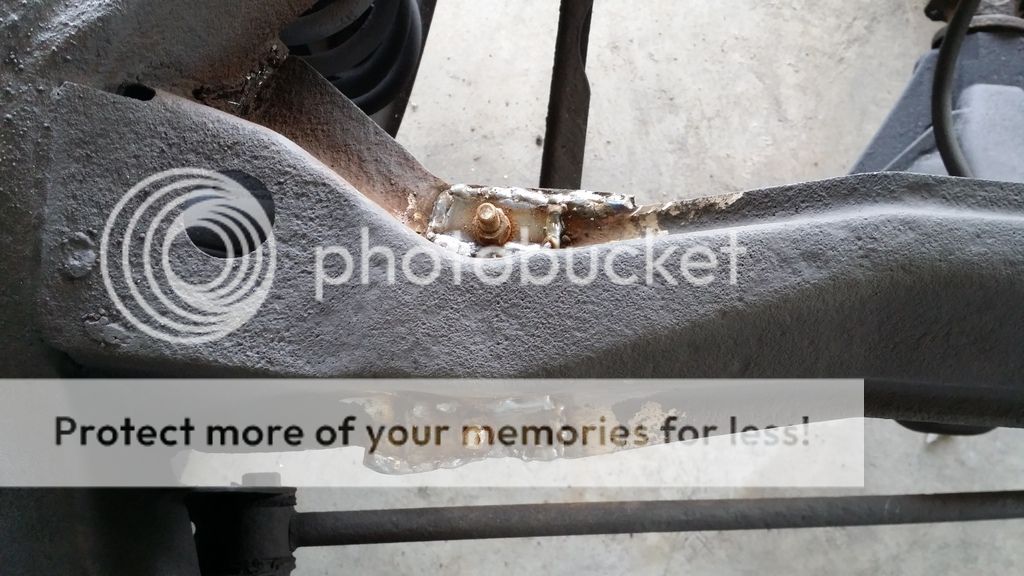
My neighbour gave me a pair of Hedman headers but there is fitment issue on the steering column side...gonna have to cut the pipes and use my bender to make them fit if I use them. More pics soon...next I drill the bodymount holes and blast the front clip and fabricate the mounts.
Love it you are doing great ! Thanks for your shout outs for Big Ray, not necessary though, its a pleasure helping out where I can.
I see a Jasper sticker on the valve cover, that means that this engine has been rebuilt by Jasper Engines and Transmissions I would think, so in reality its probably a little bigger now than 454, if it was tidied up at say .20 over then you'd be around 458. .30 over would be 460. The Chevelle SS 396 used a .30 over bore from 1970 on for 402. NO big deal still called it a 396.