| Post Info | TOPIC: 1964 Oshawa Impala Wagon Restoration - RHD Export to Australia | ||||||||
|---|---|---|---|---|---|---|---|---|---|
|
|
|
||||||||
|
|
|
||||||||
 Nov 18 to Dec 2 Black Friday UP TO 50% OFF Plus Huge Coupons |
|||||||||
|
|
|
||||||||
|
|
|
||||||||
|
|
|
||||||||
|
|
|
||||||||
|
|
|
||||||||
|
Nov 18 to Dec 2 Black Friday UP TO 50% OFF Plus Huge Coupons |
|||||||||
|
|
|
||||||||
|
|
|
||||||||
|
|
|
||||||||
|
|
|
||||||||
|
|
|
||||||||
|
Nov 18 to Dec 2 Black Friday UP TO 50% OFF Plus Huge Coupons |
|||||||||
|
|
|
||||||||
|
|
|
||||||||
|
|
|
||||||||
|
|
|
||||||||
|
|
|
||||||||
|
Nov 18 to Dec 2 Black Friday UP TO 50% OFF Plus Huge Coupons |
|||||||||
|
|
|
||||||||
|
|
|
||||||||
|
|
|
||||||||
|
|
|
||||||||
|
|
|
||||||||
|
Nov 18 to Dec 2 Black Friday UP TO 50% OFF Plus Huge Coupons |
|||||||||
|
|
|
||||||||
|
|
|
||||||||
|
|
|
||||||||
|
|||||||||
|
|
||


|


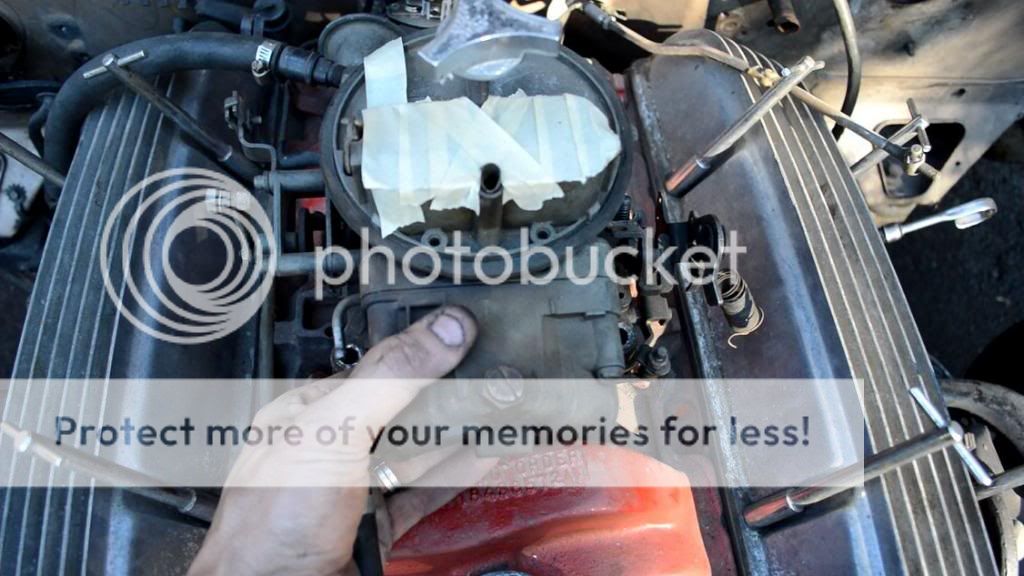


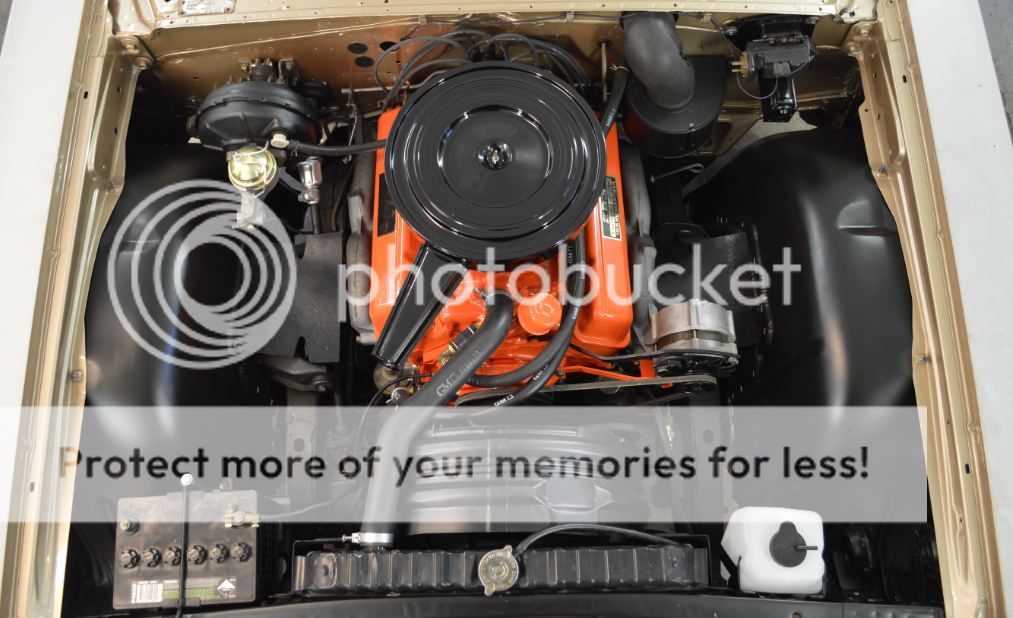


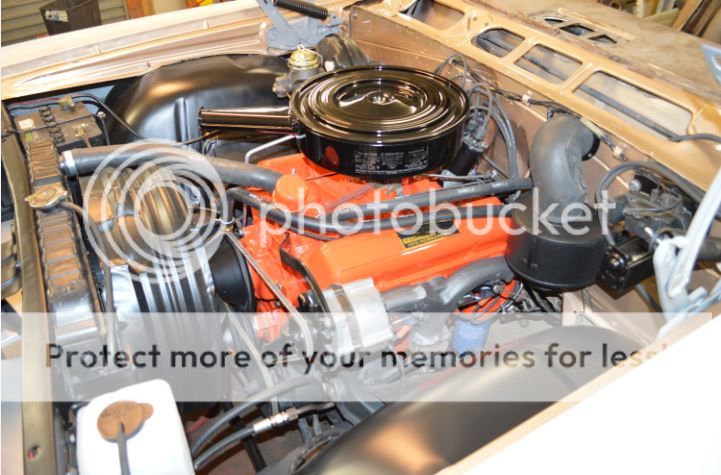

 I'll do some digging and let you know ... they are hard to find. I reused my old choke cover.